Learn all about how to install LVP flooring, why it is so easy to install, absolutely beautiful, and why it is my favorite flooring for families!
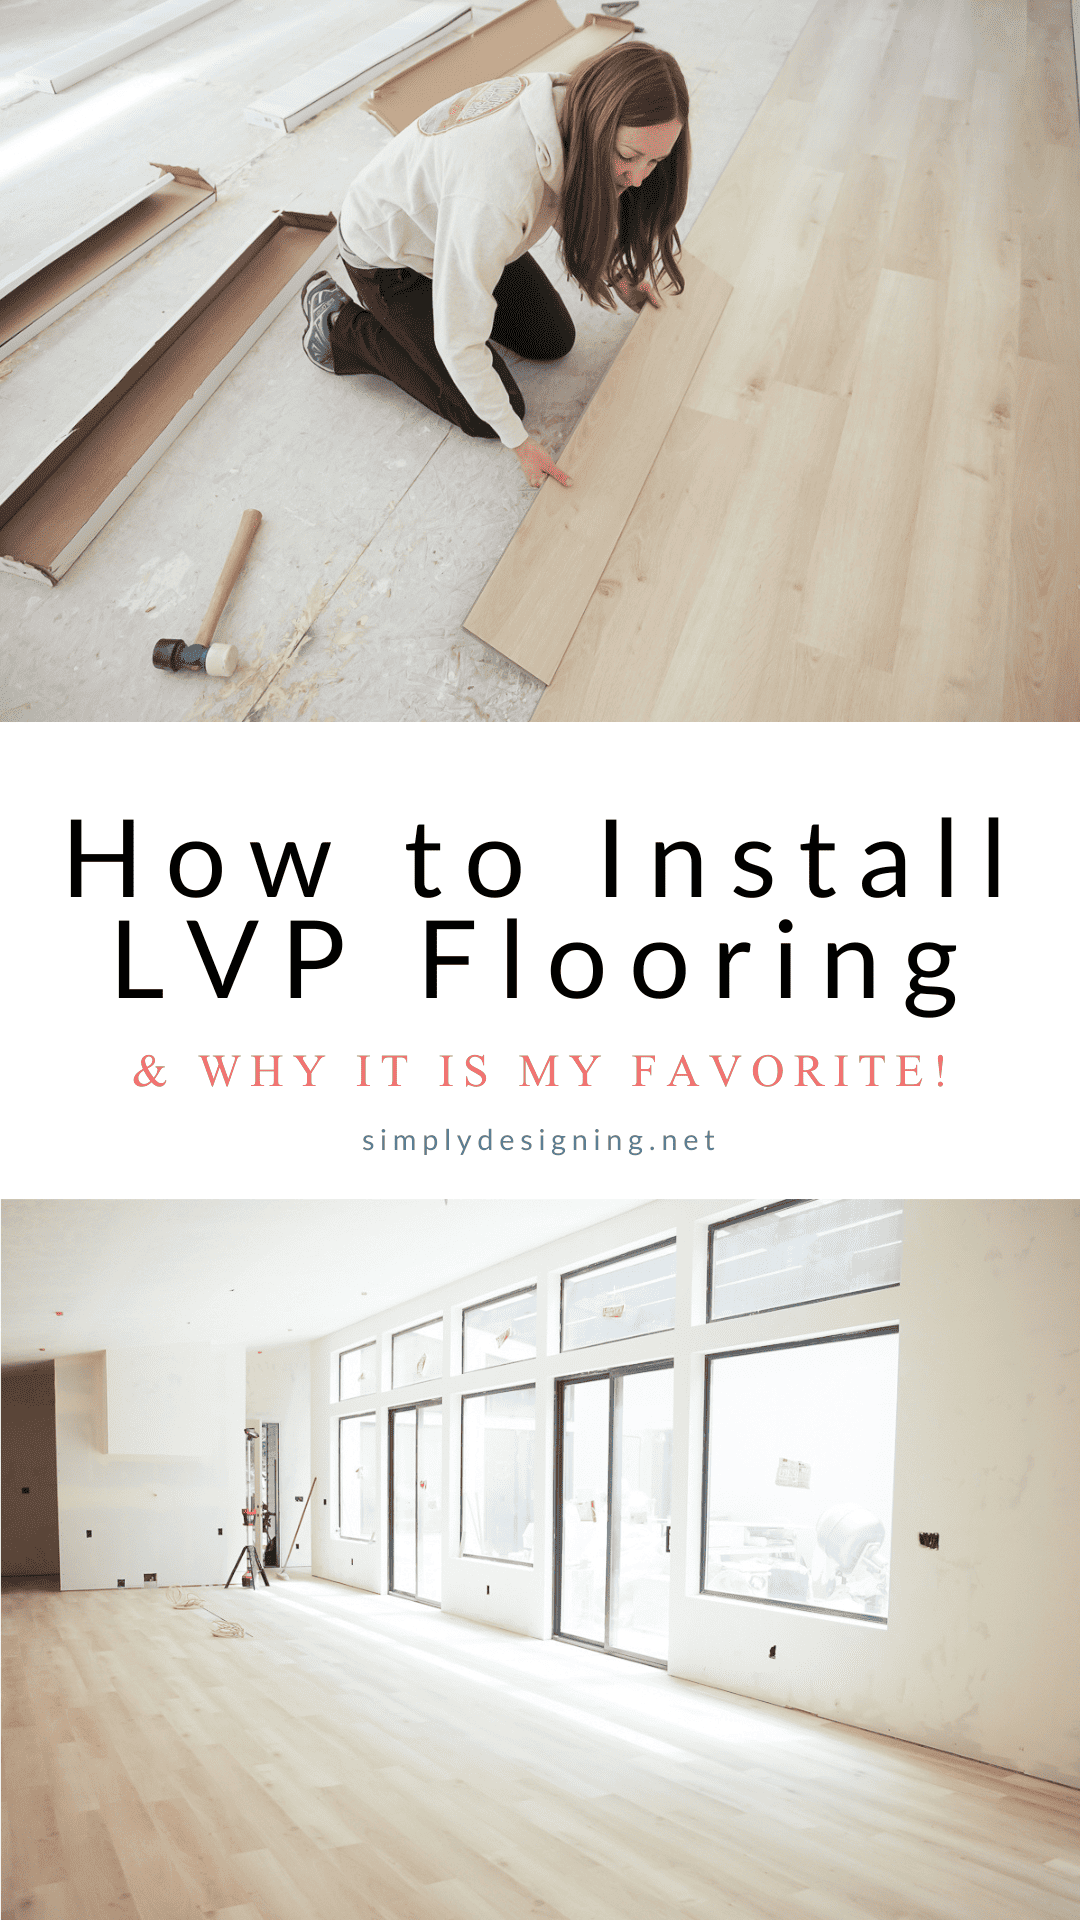
How to Install LVP Flooring and Why it is my FAVORITE Flooring for Families
If you have been following along, you know that a couple of years ago we broke ground on our home.
We have worked non-stop on the house for the last two years and let me tell you what, this project has not been for the faint of heart.
From pandemic cost changes, difficulty getting products, and other uncontrollable delays, it has certainly taken longer than we hoped to get to this point.
But thankfully we are working on some of our finishes and we can see a light at the end of the tunnel!
Today I wanted to chat all about our flooring, why we chose LVP flooring, how to install LVP flooring, and why it is my favorite flooring for families!
I am going to dig in deep and get into all the details about LVP so that hopefully I can answer all of your questions about LVP flooring you may have.
But of course, feel free to leave a comment if you have a question I did not answer!
Let's get started.
What is LVP flooring?
LVP flooring is luxury vinyl planks.
LVP typically looks like wood flooring but is incredibly durable and even water-resistant!
LVP has been used in commercial spaces for a very long time, but it is quickly making a very real appearance in the home decor world as a cost-effective, durable flooring option.
Why is LVP flooring so good for families?
LVP flooring is so great for families because it is water-resistant and extremely durable.
While big drops or heavy furniture being dragged on it can damage the surface, LVP tends to be a lot more durable than other flooring options.
LVP performs very well during normal, everyday wear and tear conditions especially compared to other options out there.
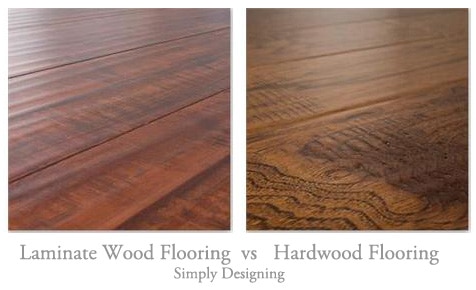
You can read all about Laminate Flooring vs Wood Flooring HERE.
What are LVP flooring costs?
You can find LVP flooring starting at about $2-$3 a square foot and increase from there. Installation is often included with purchases at some stores.
Typically LVP is a more economical type of flooring than other options, but here is a quick little summary of other options.
Tile can be expensive and labor-intensive to install. You may find tile flooring and setting materials starting around $3 a square foot, but labor can add an additional $6 or more per square foot.
Real wood is definitely one of the most expensive options, requires professional installation most of the time, and again, is not good flooring for all locations. Engineered hardwood floor pricing with installation begins at around $6.50 per square foot. And solid hardwood with installation will begin at around $8 a square foot.
Laminate flooring costs are the most similar to LVP and tend to make it the biggest competitor to LVP due to style, installation, and cost.
You can read more about LVP vs Laminate Flooring HERE.
You can read all about Laminate Flooring vs Wood Flooring HERE.
How to clean LVP flooring
Cleaning LVP flooring is so simple! I like to "dust" them and then dry mop them.
I love to "dust" my floors with a mop similar to this HERE.
You can vacuum with a stick vacuum like this one HERE.
And then I often will spray my cleaning solution directly on the floor, and then use this same mop HERE, to dry mop it up!
You can also use this mop HERE to wet mop the flooring...
Can I DIY install LVP flooring myself?
Yes, you can!
Just be sure you have the correct tools and you plan ahead.
A HUGE huge THANK YOU to DuraDecor for sending me product for my home and for this post!
What LVP did we choose?
After looking at so much flooring and deciding that LVP would be the best option for our space, I was lucky enough to be able to work with DuraDecor to find the flooring of my dreams!
When choosing flooring, it is always so important to look at not just samples of the flooring, but an entire box of the flooring in your space, during different times of day and in different lighting, to ensure that the color and style is just what you are looking for.
We ended up selecting DuraDecor's Modern Maven in Sand Tropez LVP for our home.
The planks are 7" x 47.75" each with a thickness of 5.2mm.
These planks also come with a 20 mil wear layer which is considered to be a very high wear layer!
This means that my floors are incredibly durable and are very resistant to scratches, scuffs, and stains! Yay!
A 20 mil wear layer is actually suitable for use in commercial spaces, so it will definitely last a long time in our home!
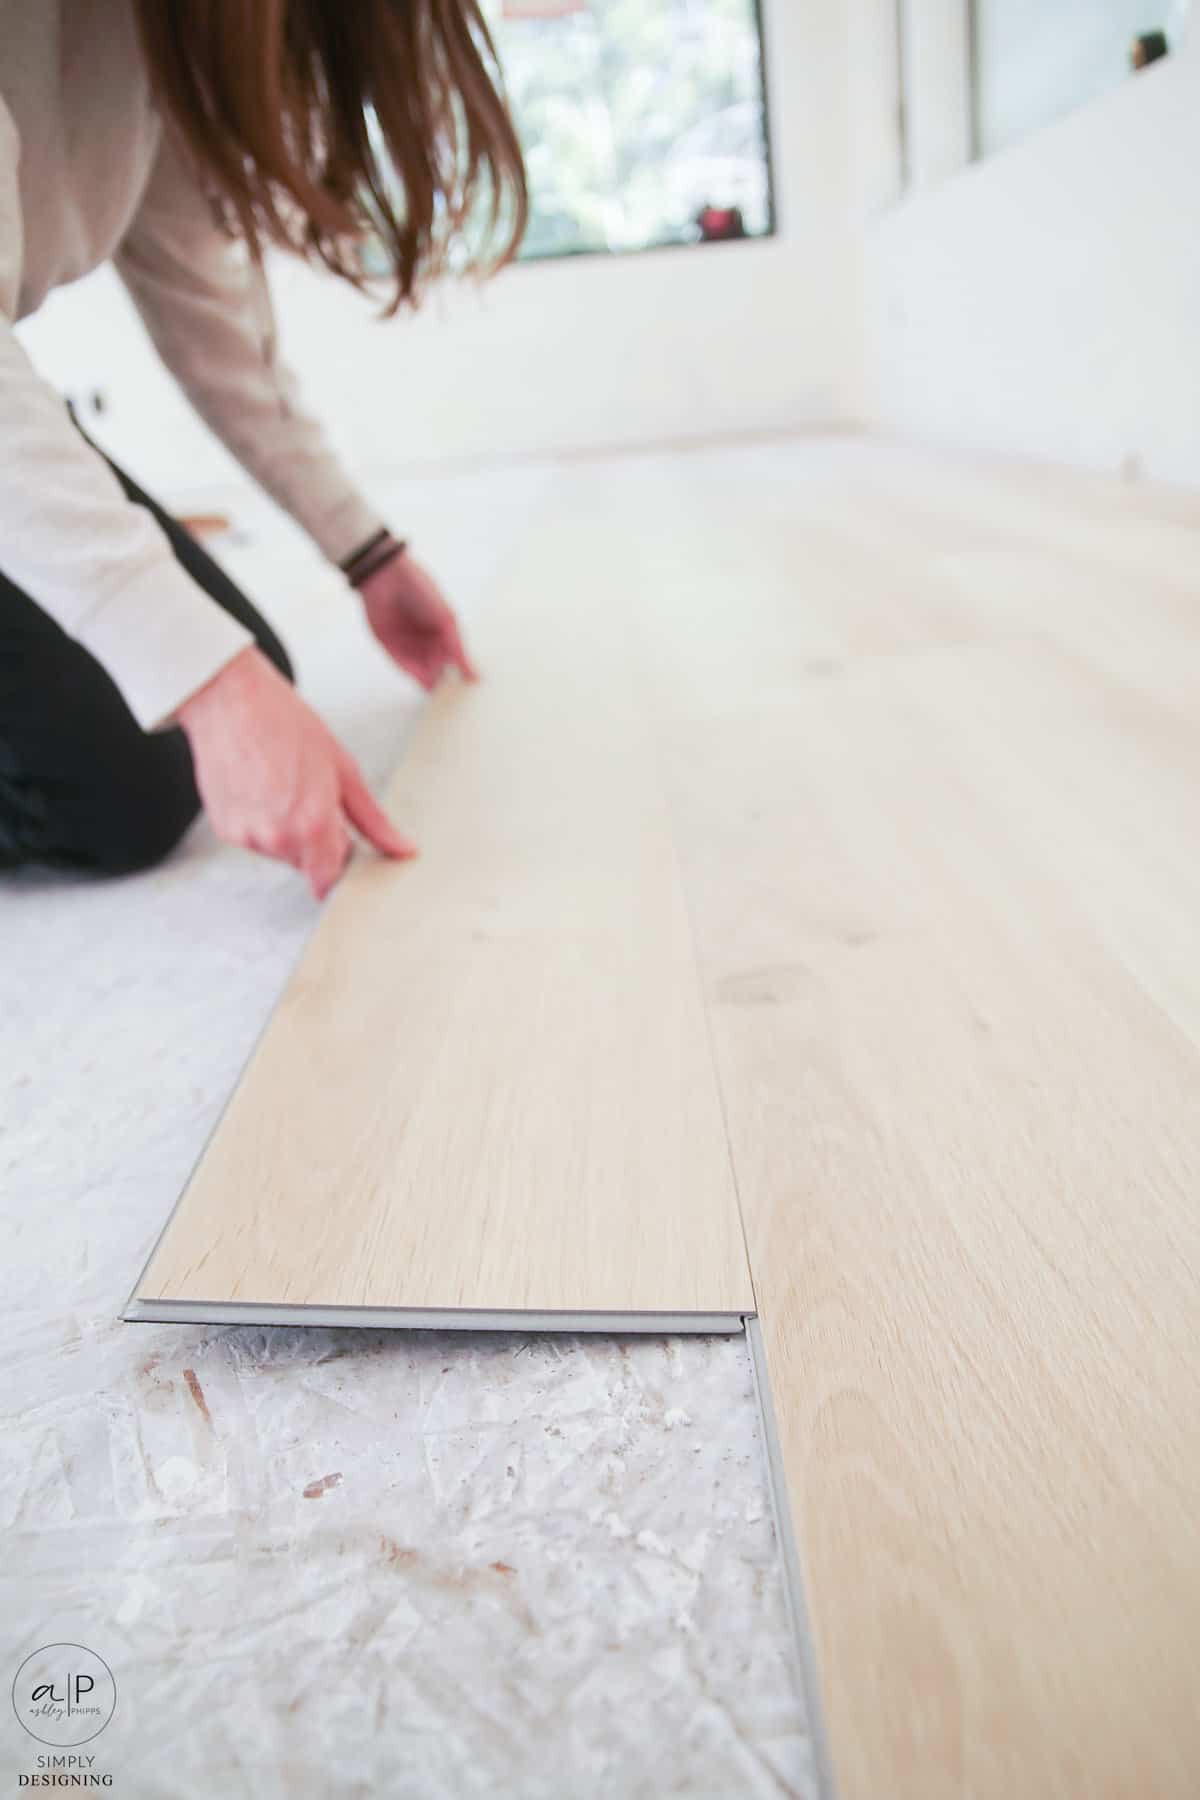
This specific flooring is considered a High-Density Core (HDC) floor covering which just means that it has a thick rigid polymetric core.
This means that the flooring is rigid and "clicks" together to lock using a tongue and groove mechanism, unlike "flexible" LVP which is glued down to the subfloor.
It comes with specific installation instructions to install the rigid core flooring.
I really love that this specific flooring is waterproof, scratch and stain-resistant, and the perfect choice for families and those who live in wet climates!
I am also so impressed with how stylish, beautiful, and durable this flooring is!
Not only that, but this is a budget-friendly option too while still being incredibly high quality and looking really amazing!
Installation was really fairly simple too.
I'll show you a video down below of my installing it!
CLICK HERE to learn more about DuraDecor Flooring!
Should we get to talking about how to install LVP flooring?
Let's go!
How to install LVP flooring
First: Prep your subfloor
Make sure that your subfloor is smooth, mostly level, and clean.
Depending on the condition of your subfloor, you might need to use a "floor patch" to level and smooth the surface, filling in any holes or cracks.
You'll also want to make sure screws and nail heads are not sticking up since those can eventually "telegraph" through your new vinyl floors.
Because our flooring project is new construction, we did not have baseboards or door jams installed yet.
This makes installation much easier.
For existing construction, you will want to consider removing your baseboards and then reinstalling them on top of the floor after.
You will also need a multitool like this one HERE to trim under door jams.
Second: Read all manufacturer instructions
And then read them again! There are many types of LVP and they all come with different instructions for installation.
You want to be sure you install flooring correctly so that you don't run into issues later.
Not following the manufacturer's instructions for installation can even result in your warranty being voided!
So be sure to read the instructions, and then read them again 🙂
Third: Determine Layout
You will need to determine which way you will run your LVP.
It is a good idea to pick your longest wall and run the LVP parallel to that wall.
You will need to consider the layout of your home and think through your installation plan ahead of time.
Consider how you plan to do transitions from room to room. You can use transition strips to go from room to room (this is the easiest way to DIY this project) or for a more advanced installation (but nicer looking in my opinion) you can skip the transition strips and make the installation continuous.
You will want to minimize the amount of flooring that you will need to back lay, so think through the entire project first before beginning it.
Fourth: Underlayment
Our LVP had underlayment attached to the bottom of the planks so we did not need to add underlayment.
If your LVP does not have underlayment attached, read your manufacturer's instructions to determine if you should install one ahead of time.
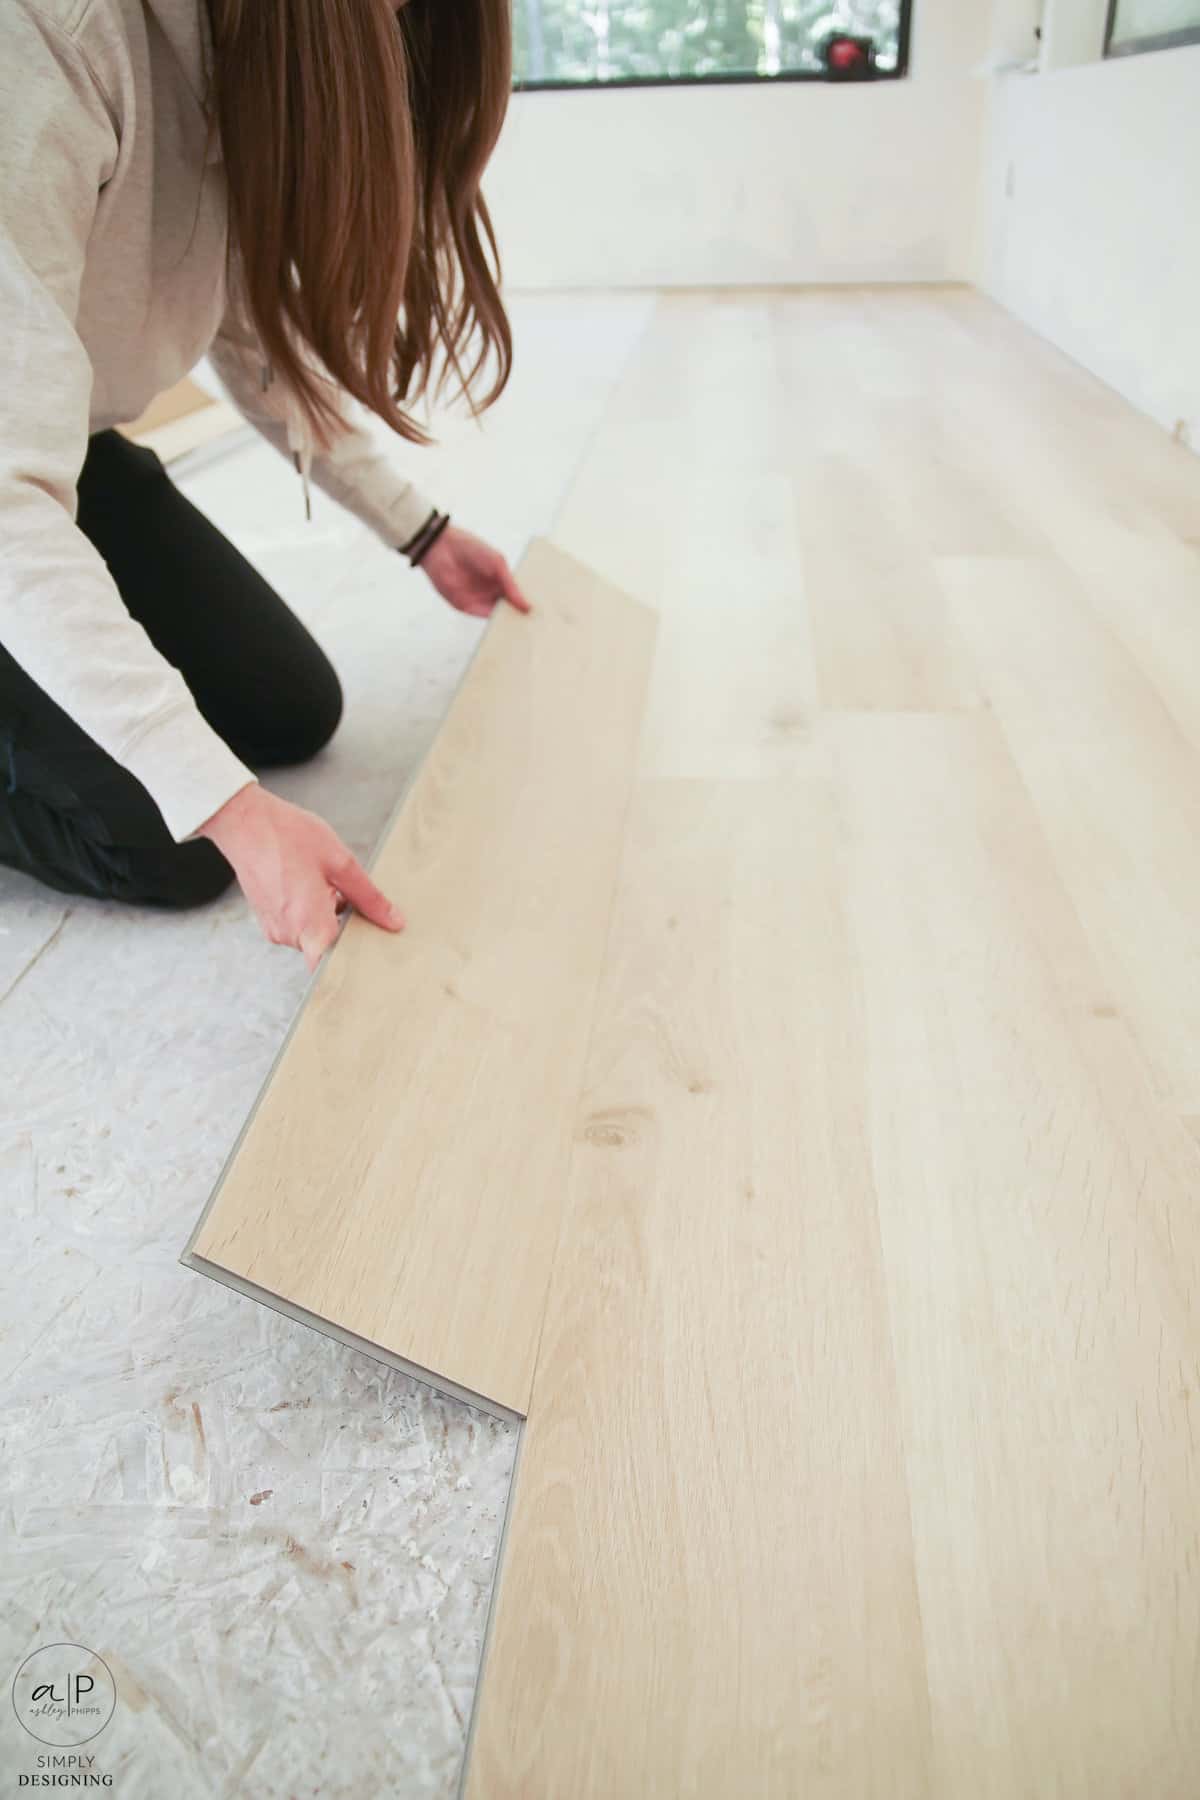
Fifth: Install LVP Flooring
Begin laying your first row along the longest wall if possible.
We used a laser to ensure that we kept our first row straight. A chalk line can also work well for this.
You will want to be sure to leave the manufacturer-recommended distance between your wall and flooring by using spacers. You can find these spacers for less than $10 per pack at most home improvement stores.
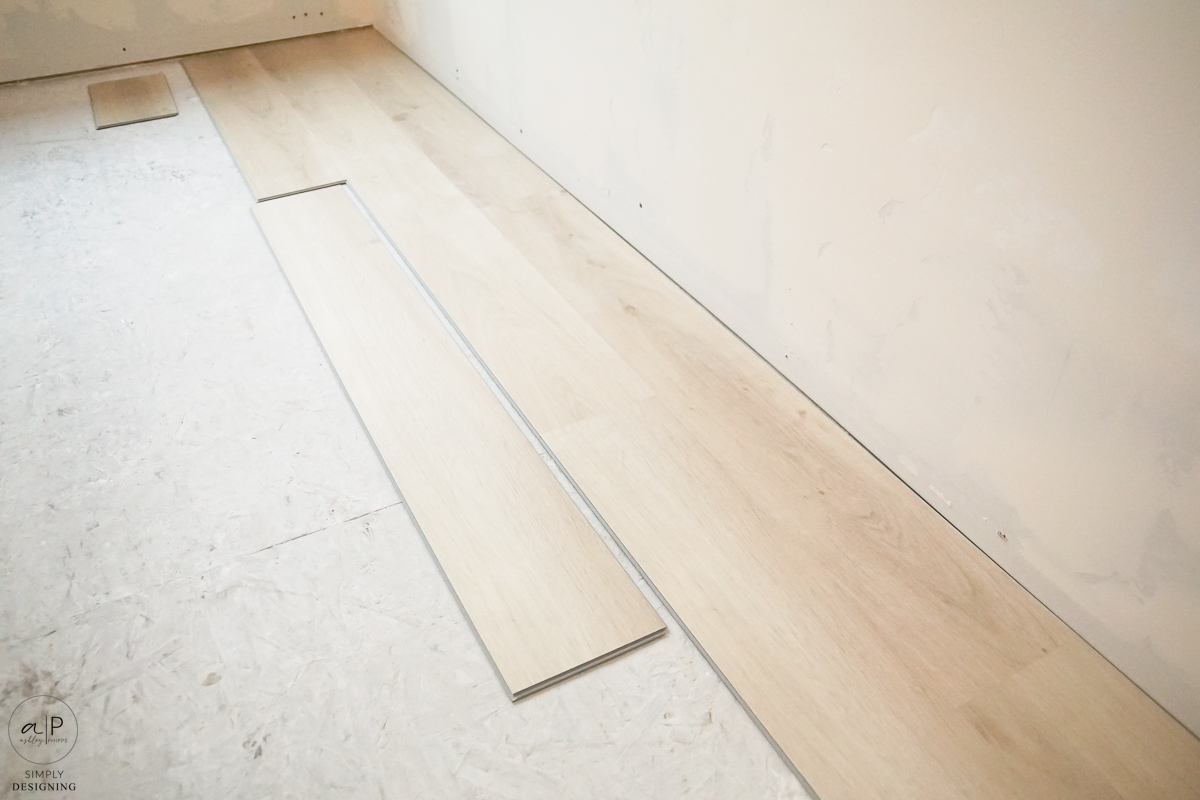
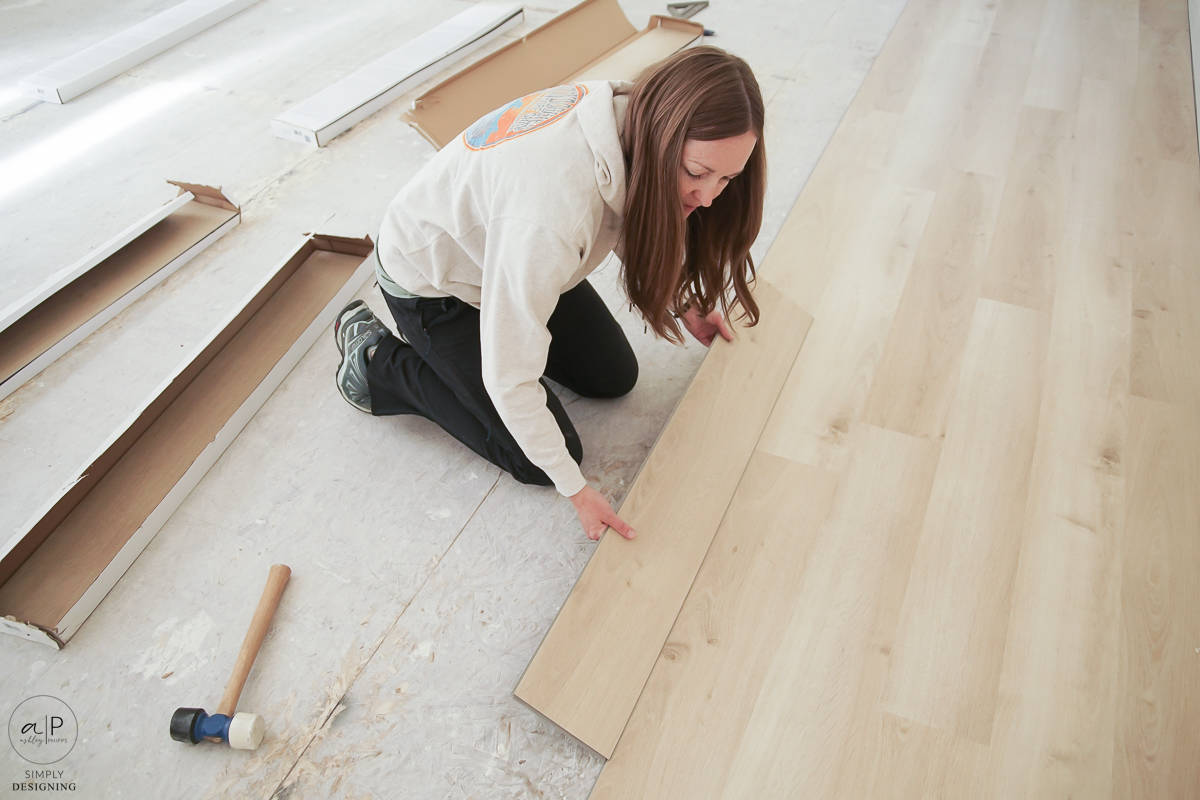
We began by laying 2 rows in tandem because it helps keep the flooring from shifting.
Row 1 against the wall leads, and then row 2 should be installed just behind it.
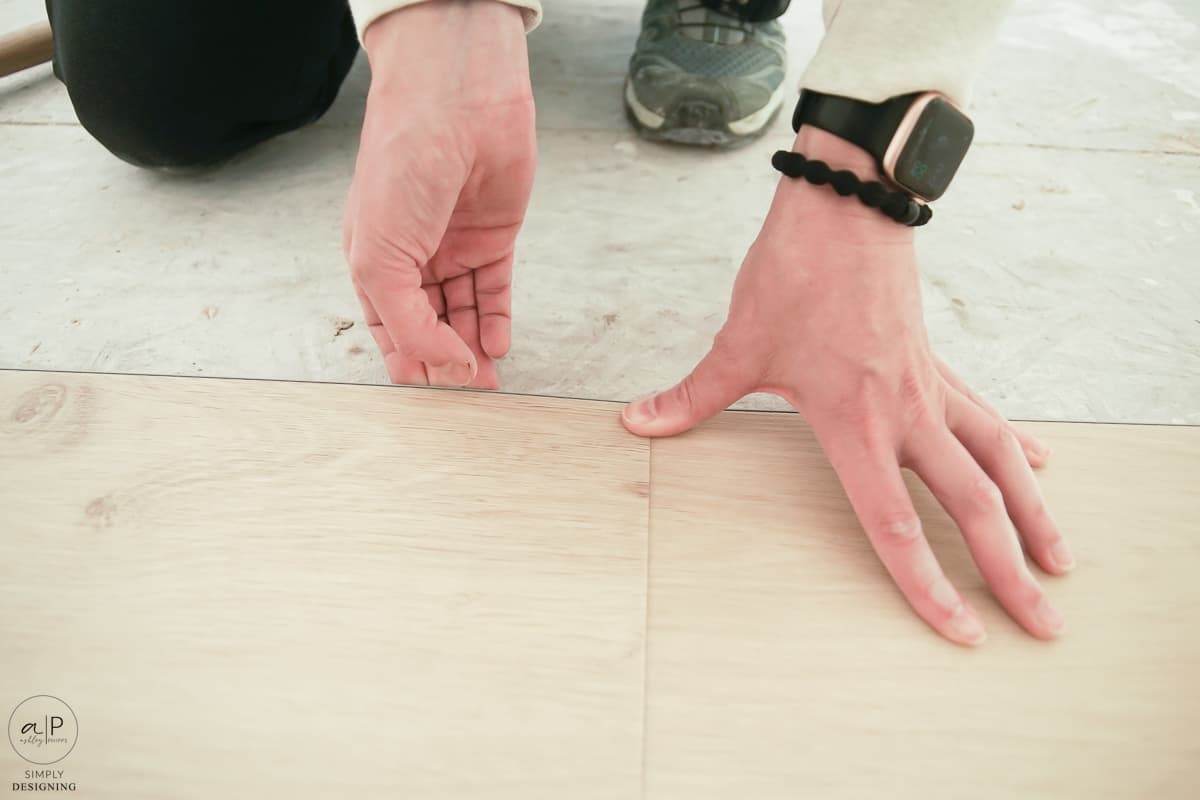
Different types of LVPs interlock in different ways.
Here is a video with a quick little home tour showing ALL the flooring!
Here I walk you through our carport door, into the main living space where our kitchen and living space will be, then through the foyer, into bedroom #1, #2, bathroom, laundry room, the primary bedroom, and the primary bedroom closet, then back out to the foyer.
And here is a quick installation video showing just a snapshot of the process!
Ready for some before and after photos?
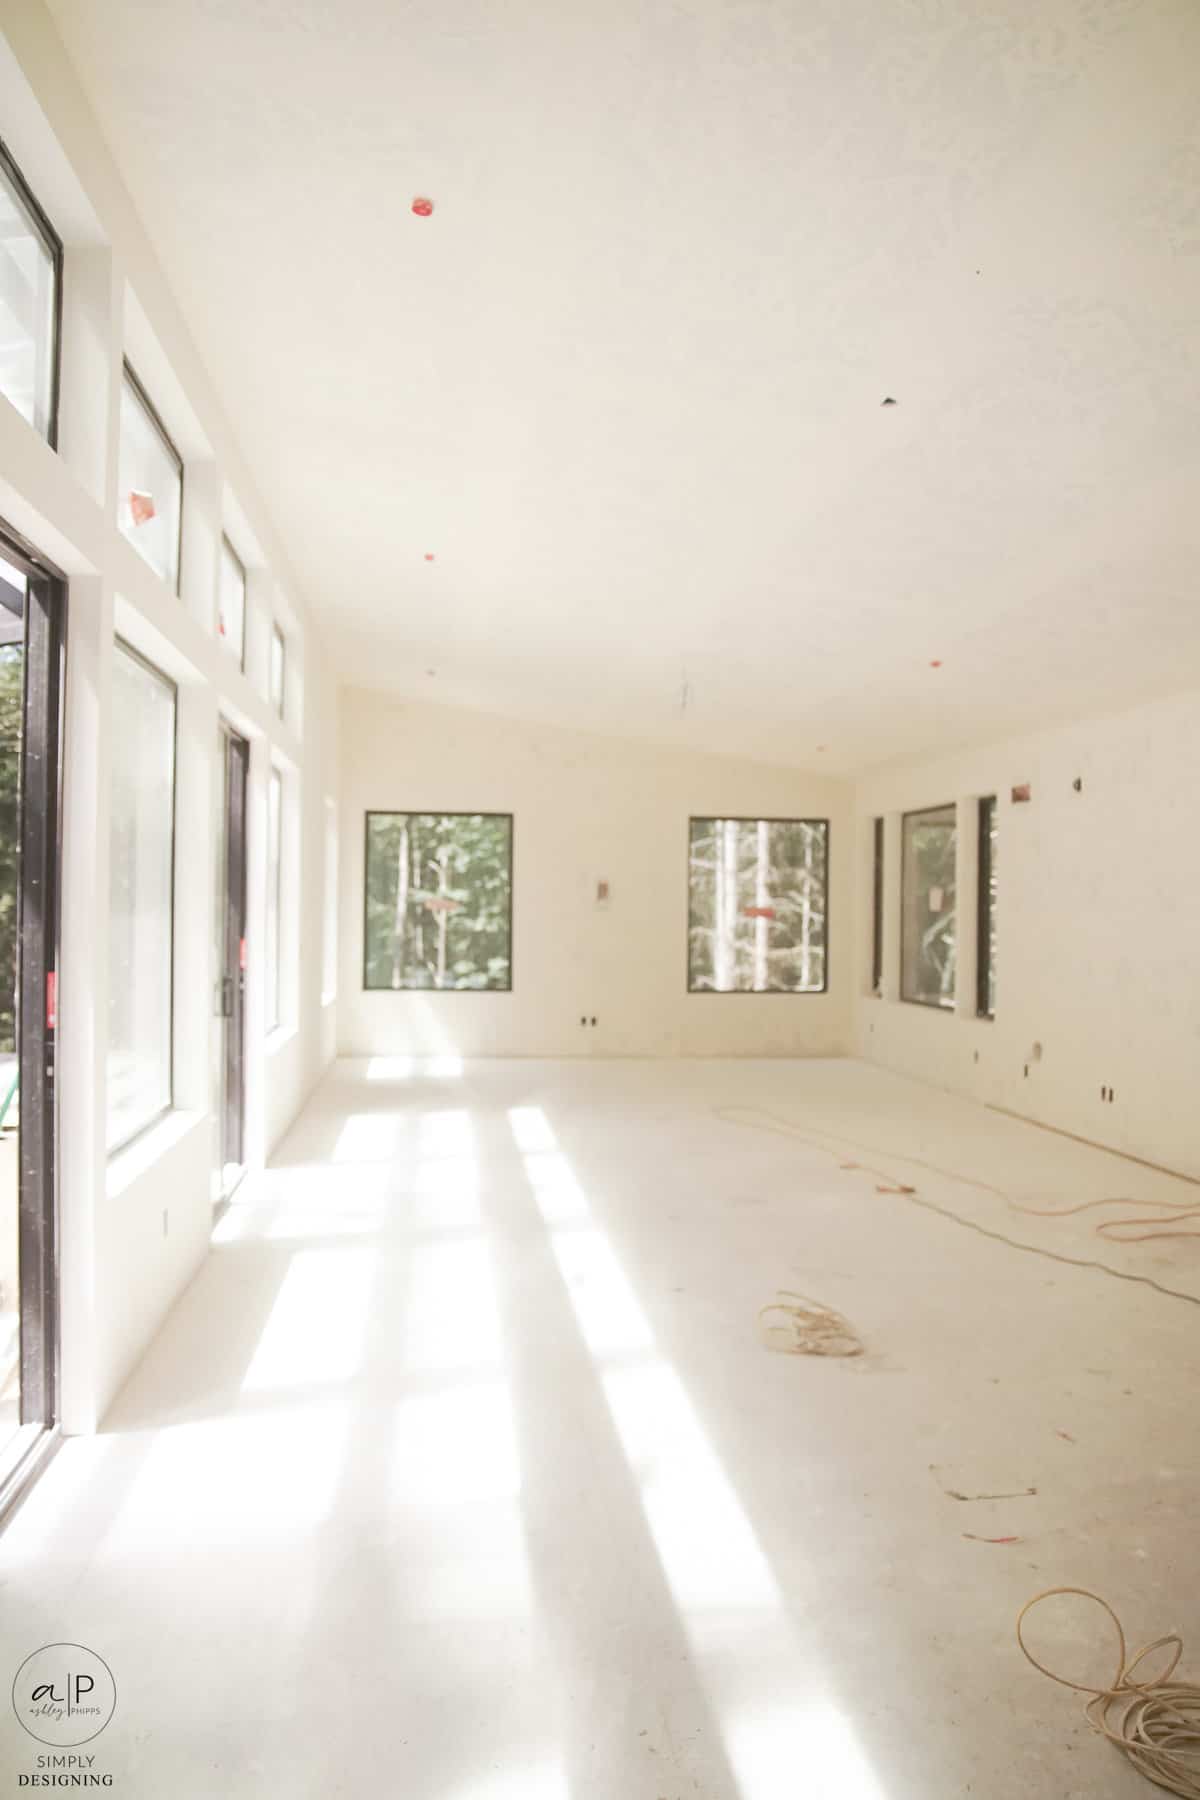
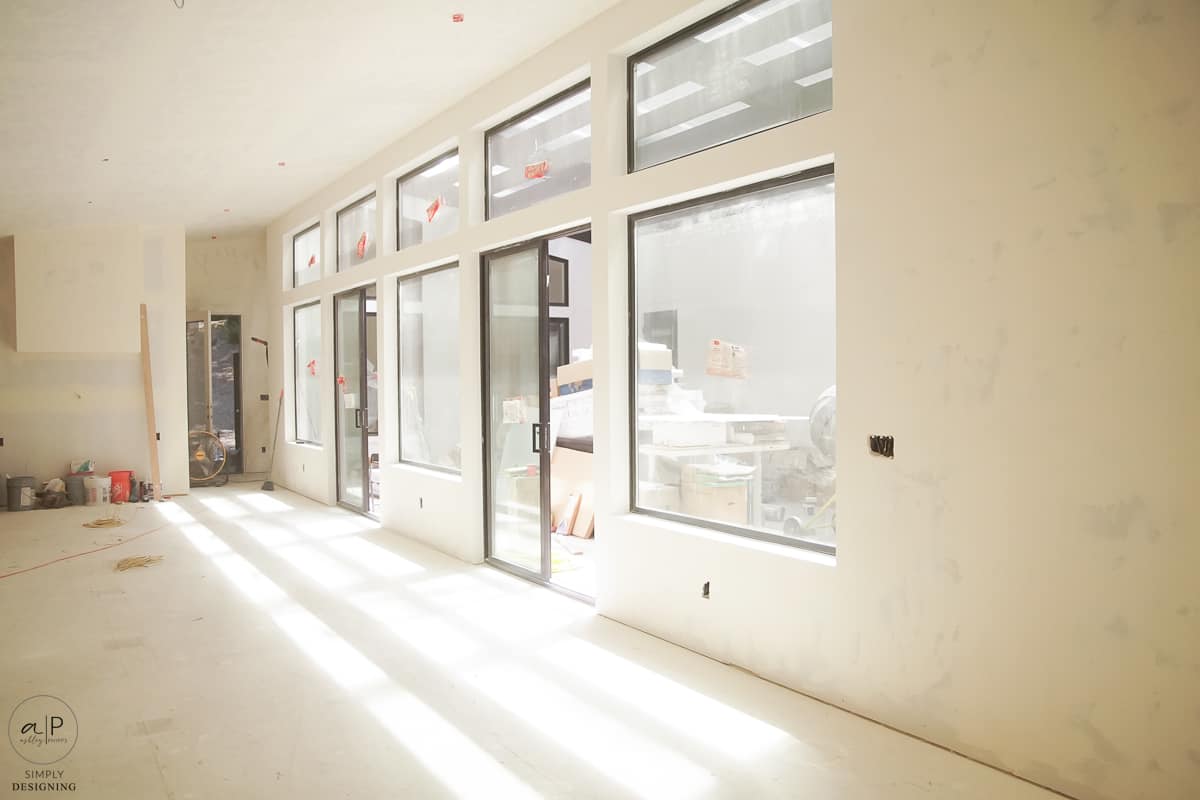
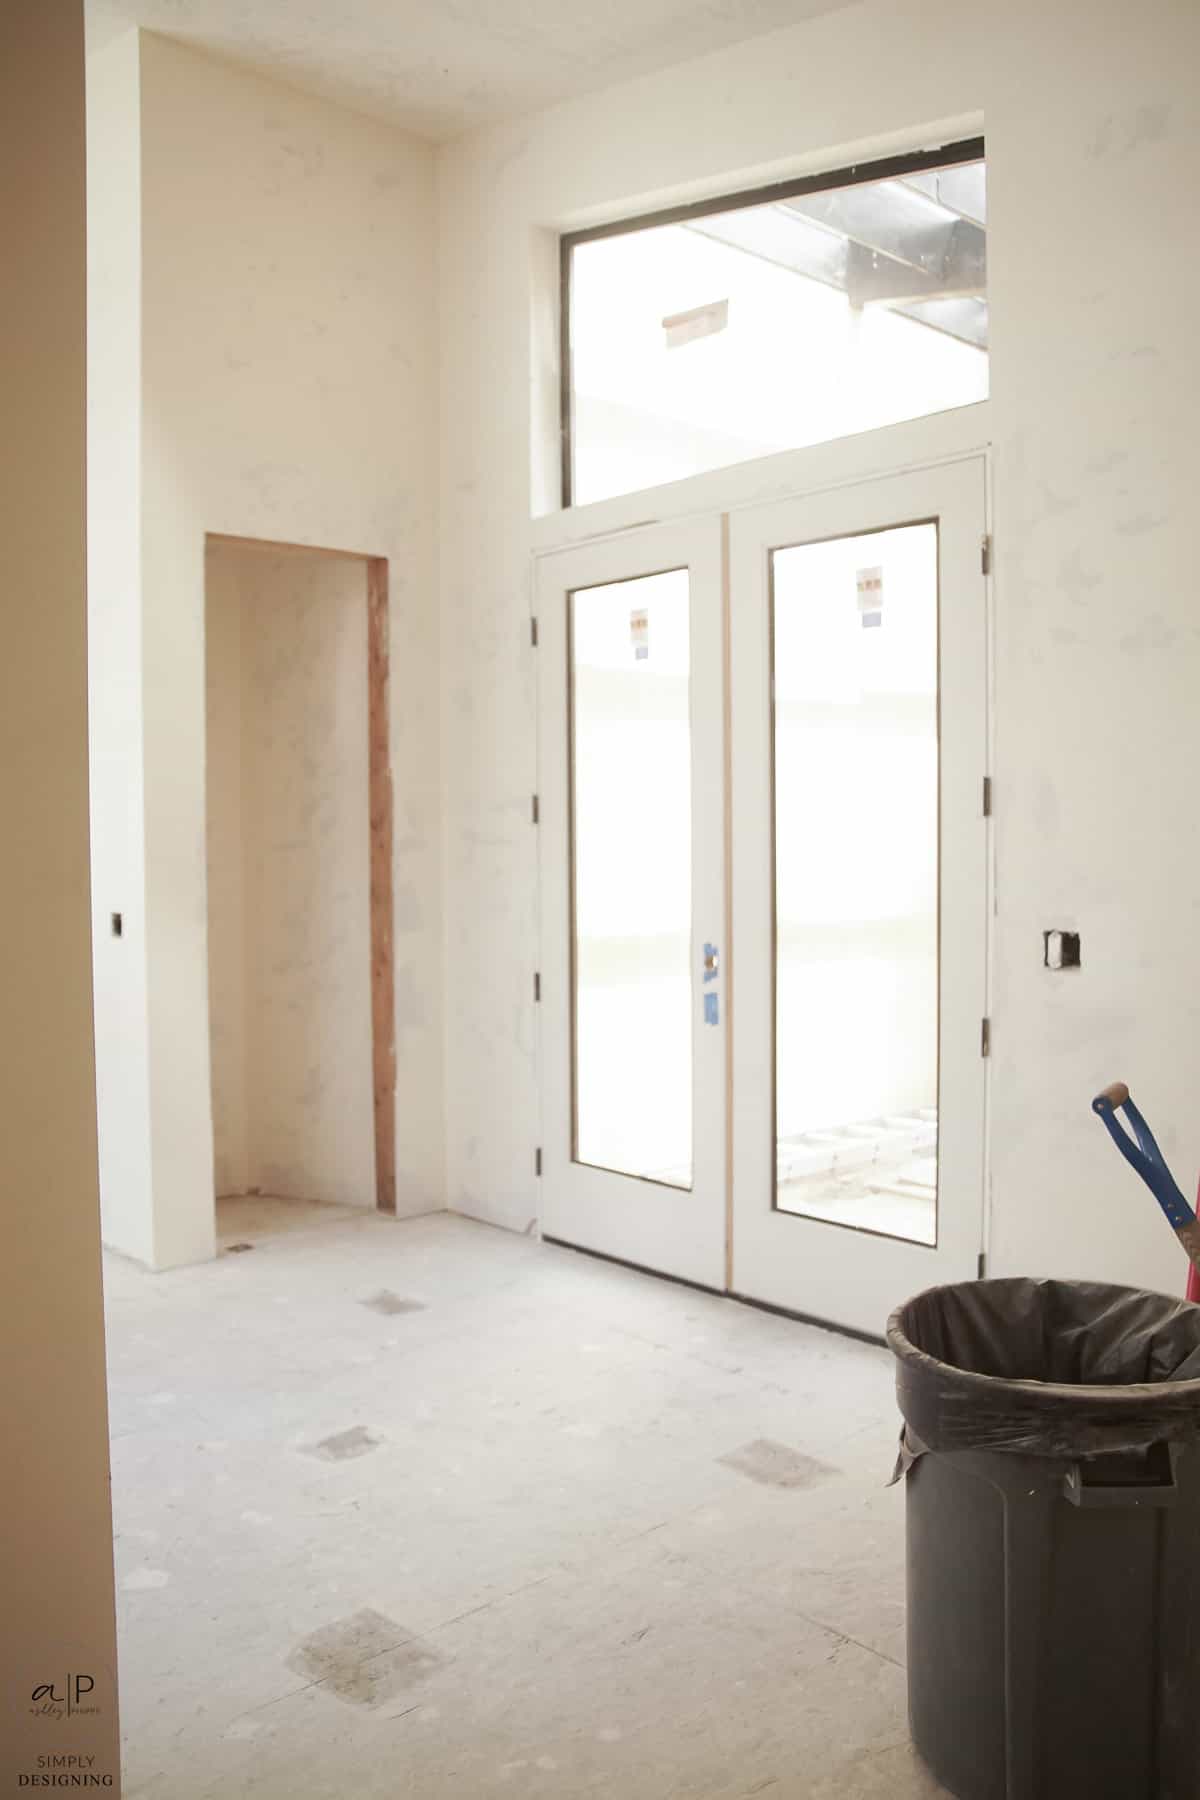
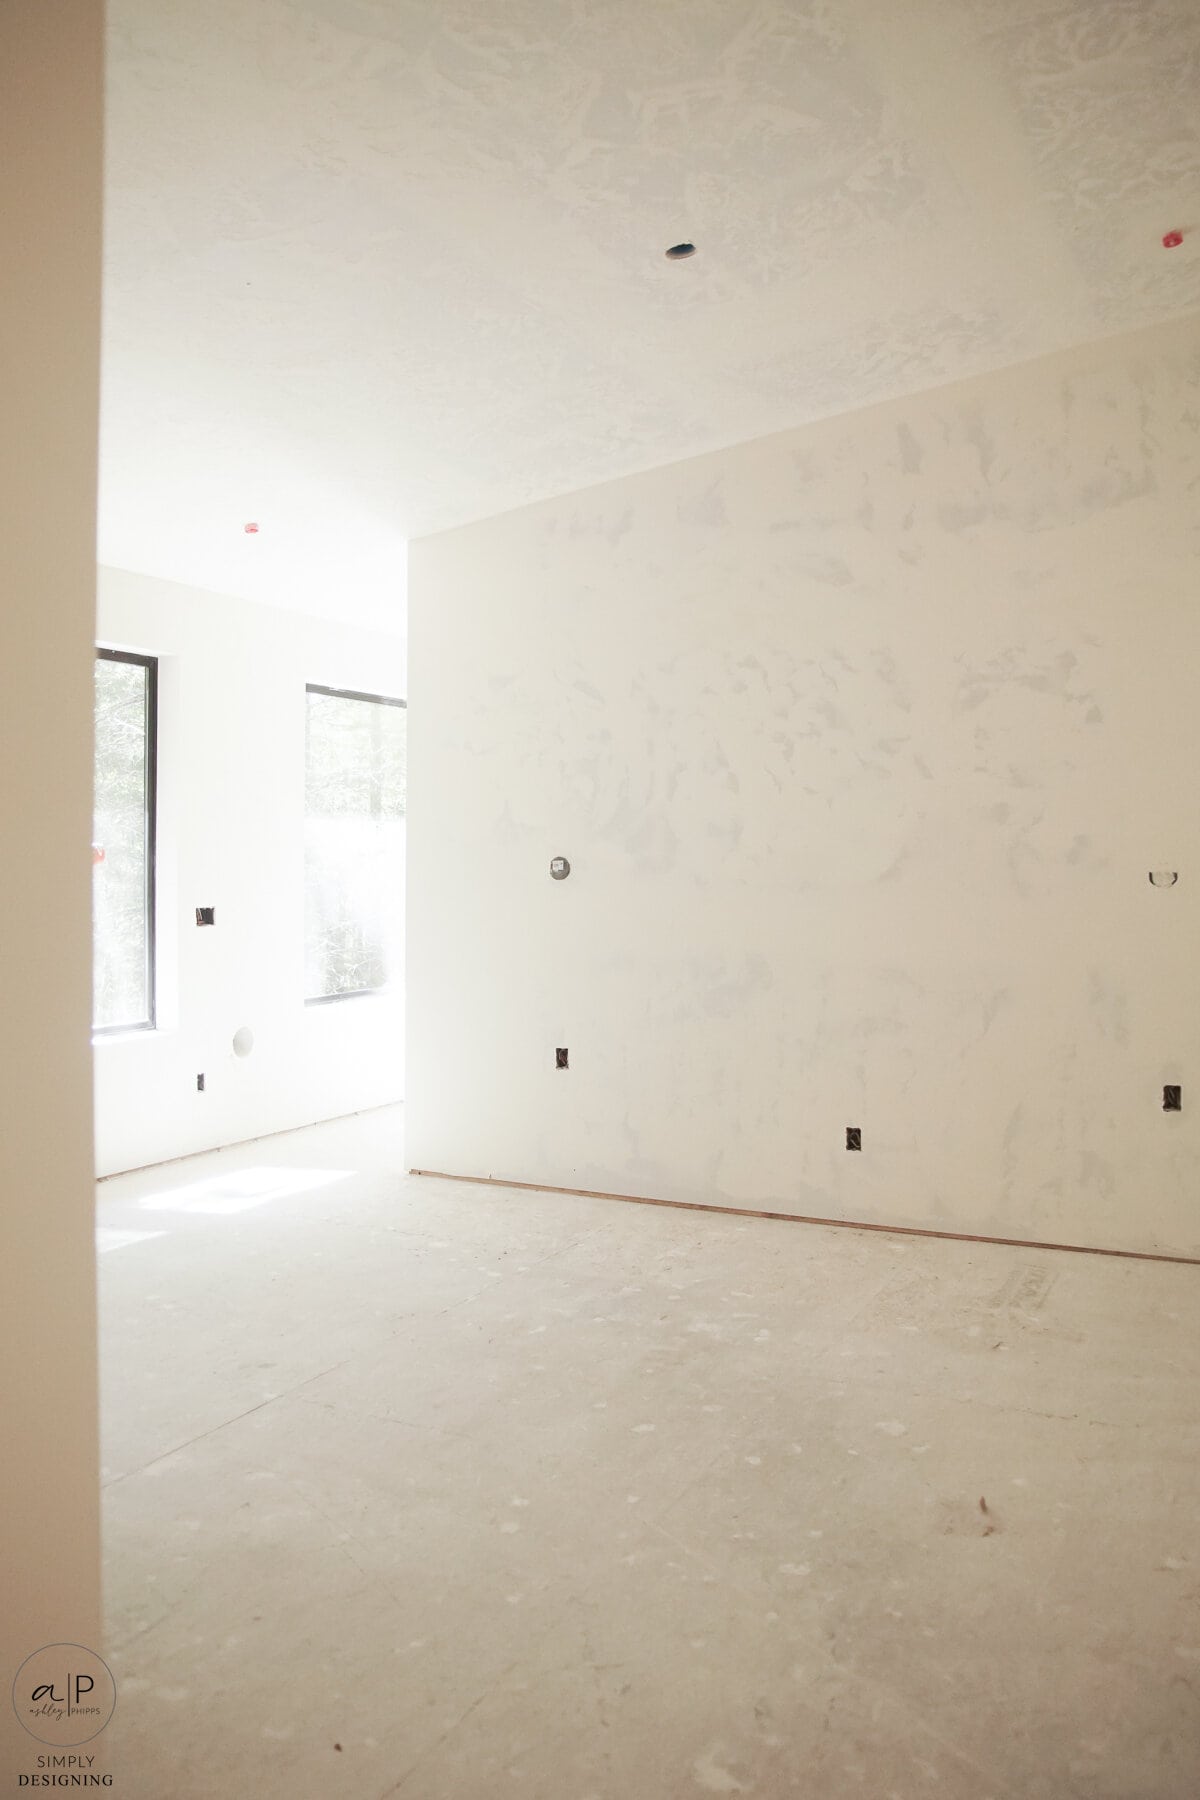
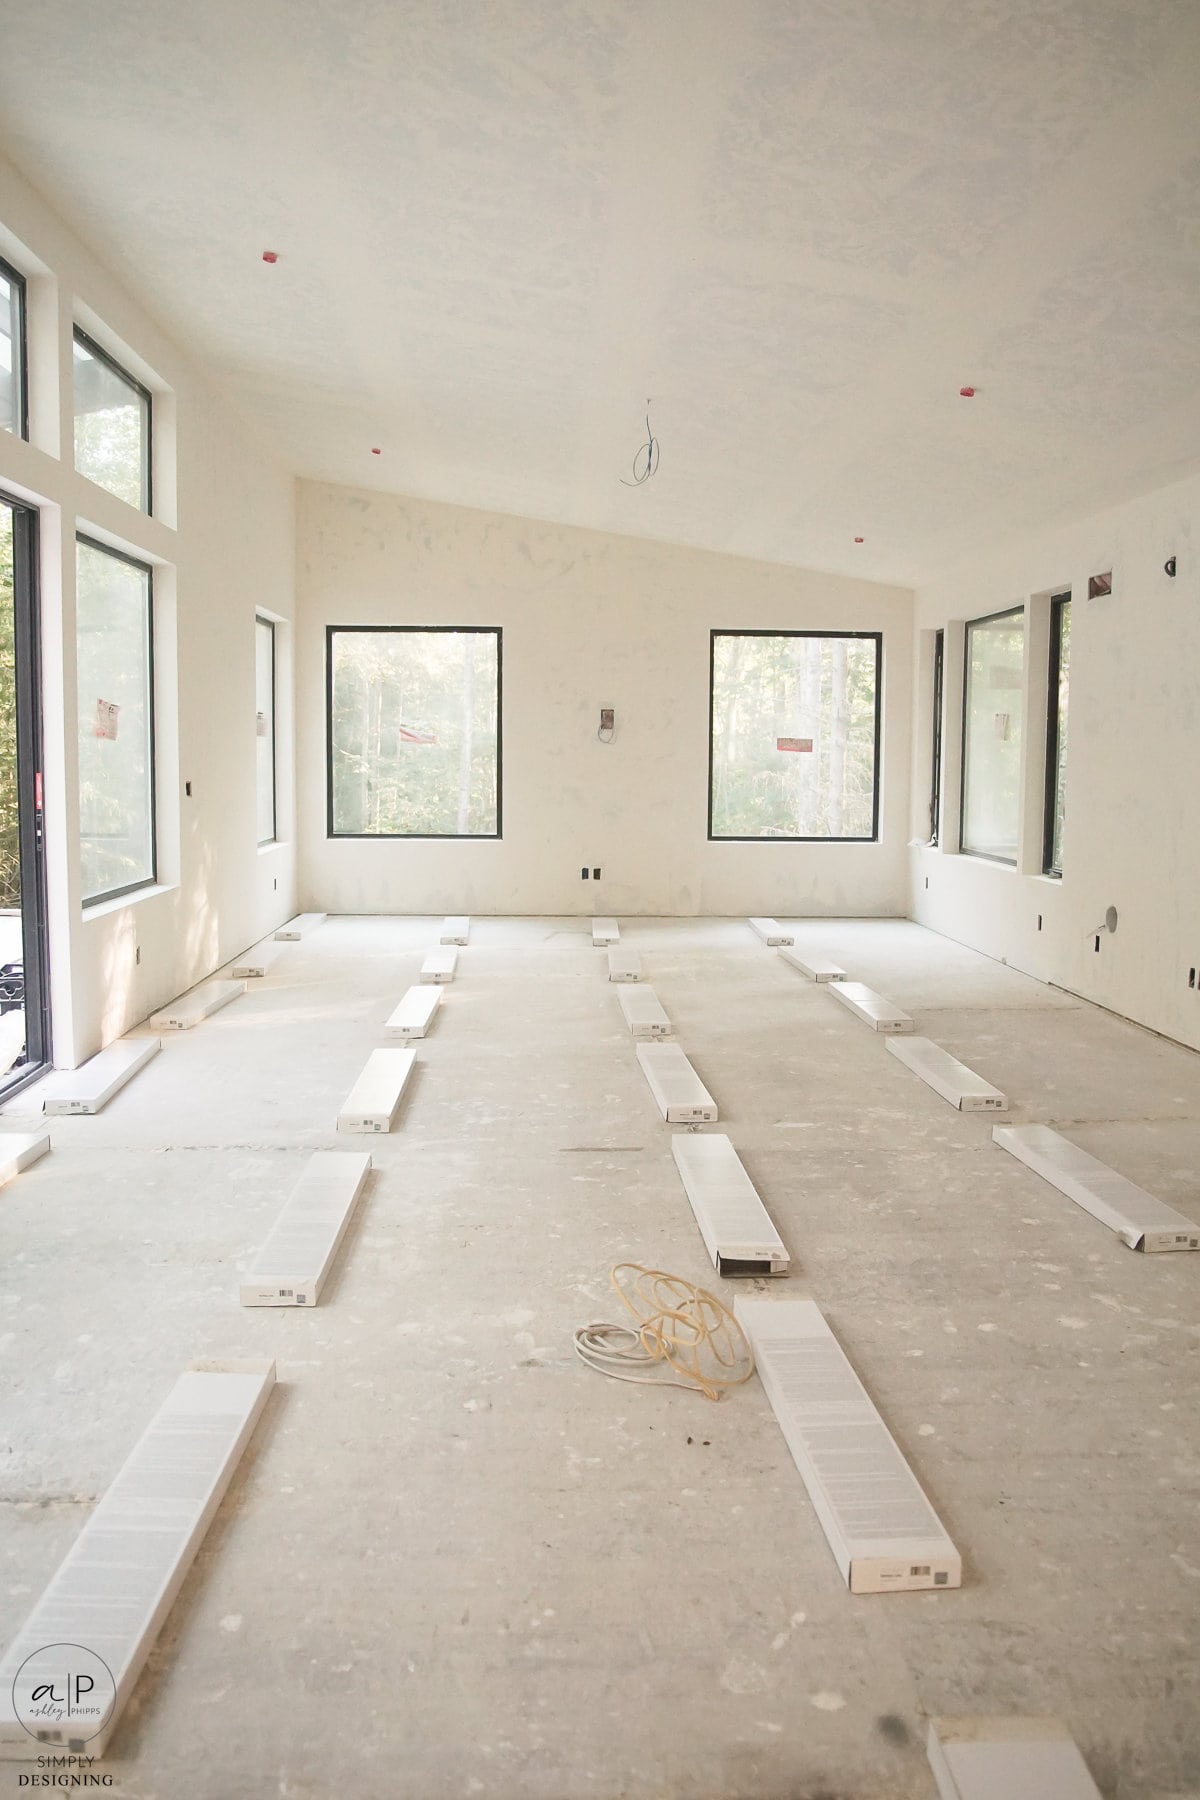
Here are some spaces in our house before we installed flooring.
Please DO note that we have texture on the walls, but they are not painted yet.
In the before photos, you can see the wood subfloor.
While you can see our sprinkler system stubs, the lighting in the space is also not yet installed.
It is still a space very much under construction.
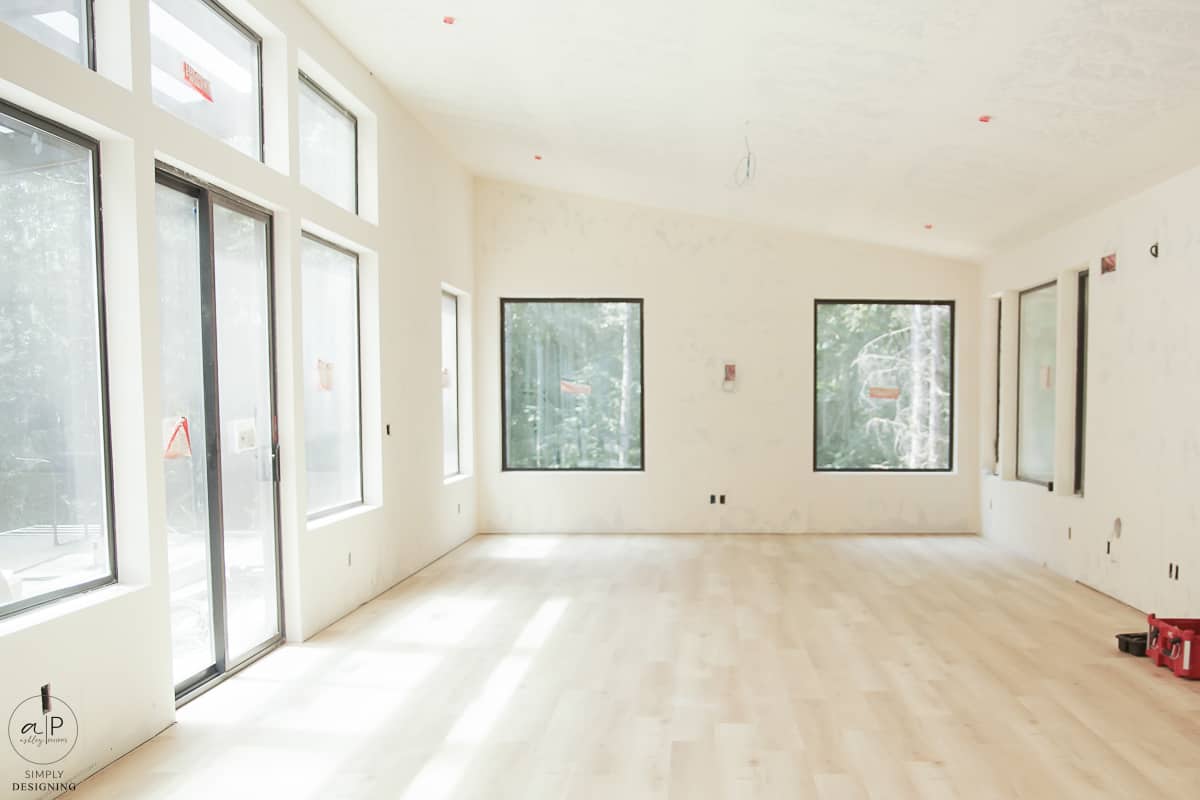
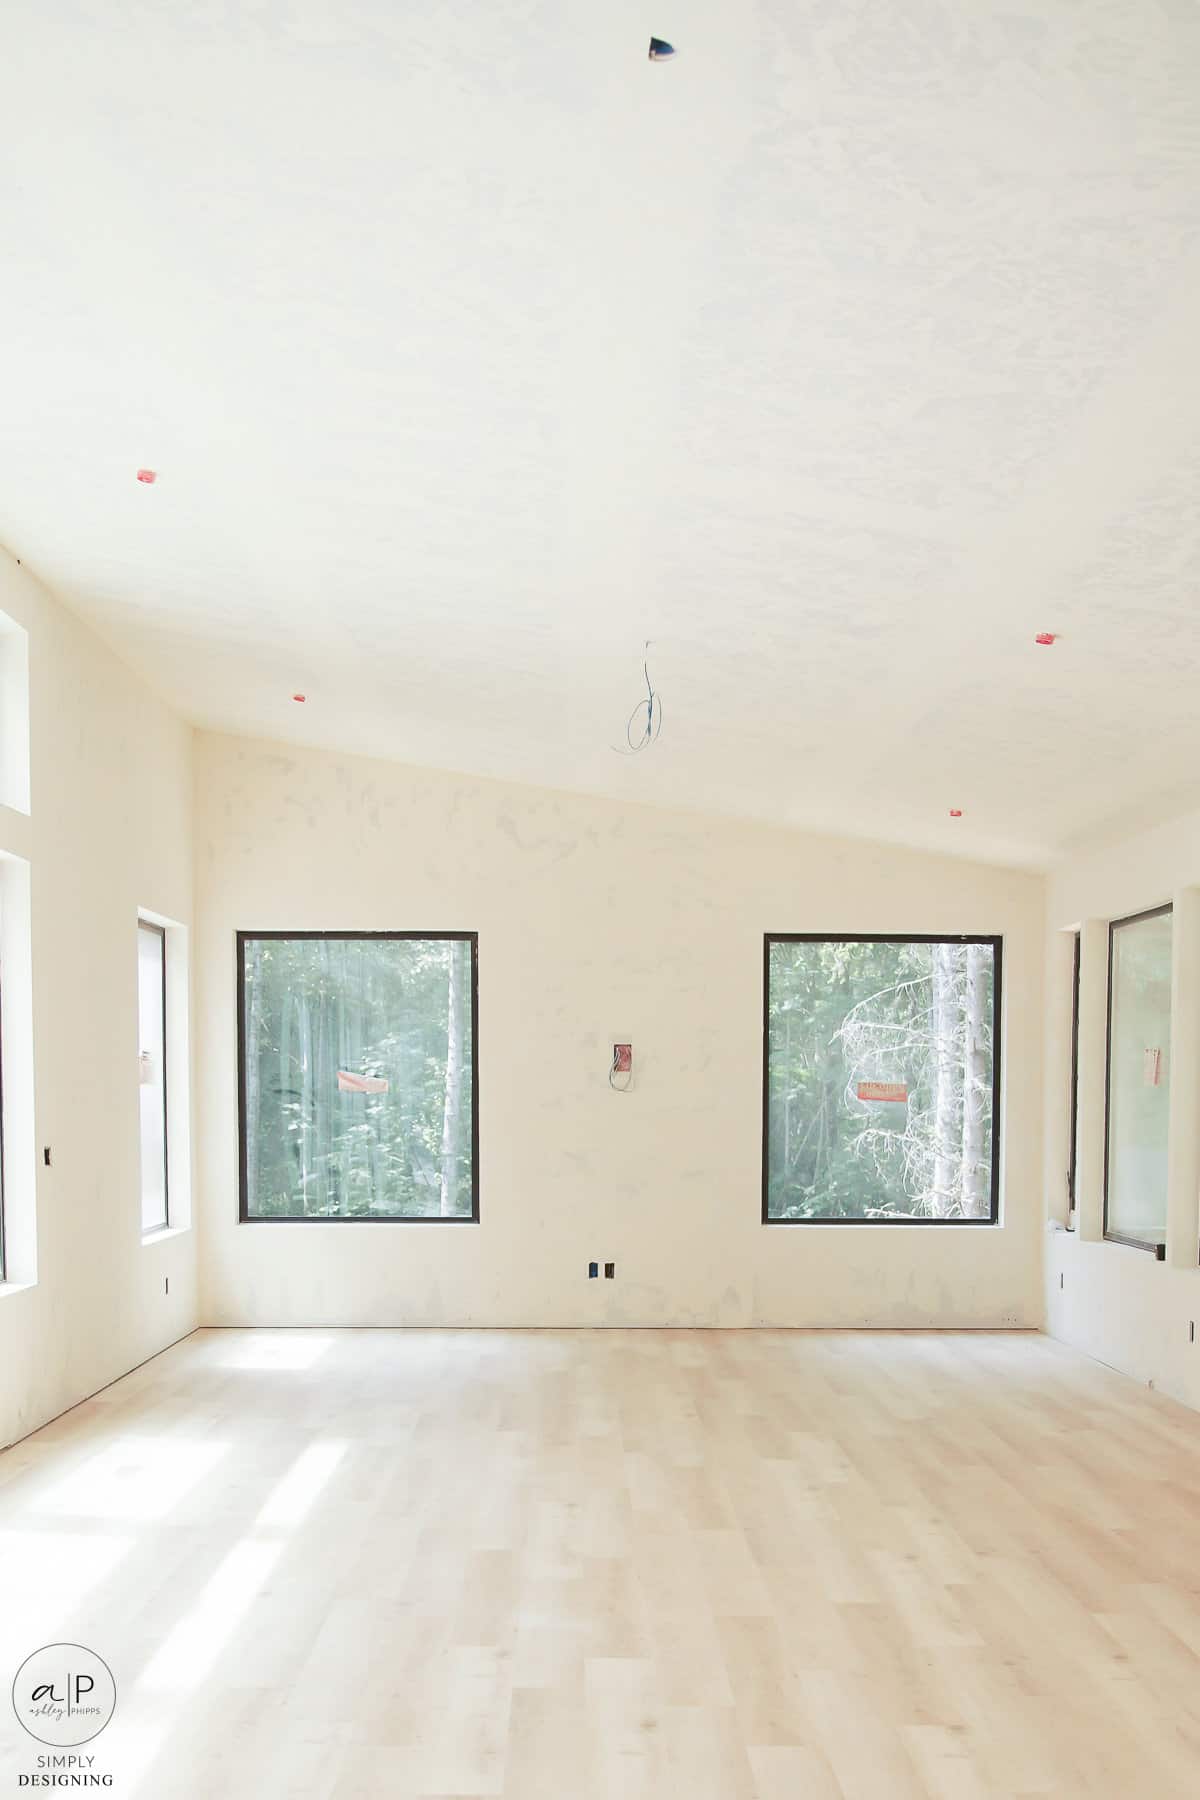
Here is a photo of my main living space.
I am in love with all of my windows!
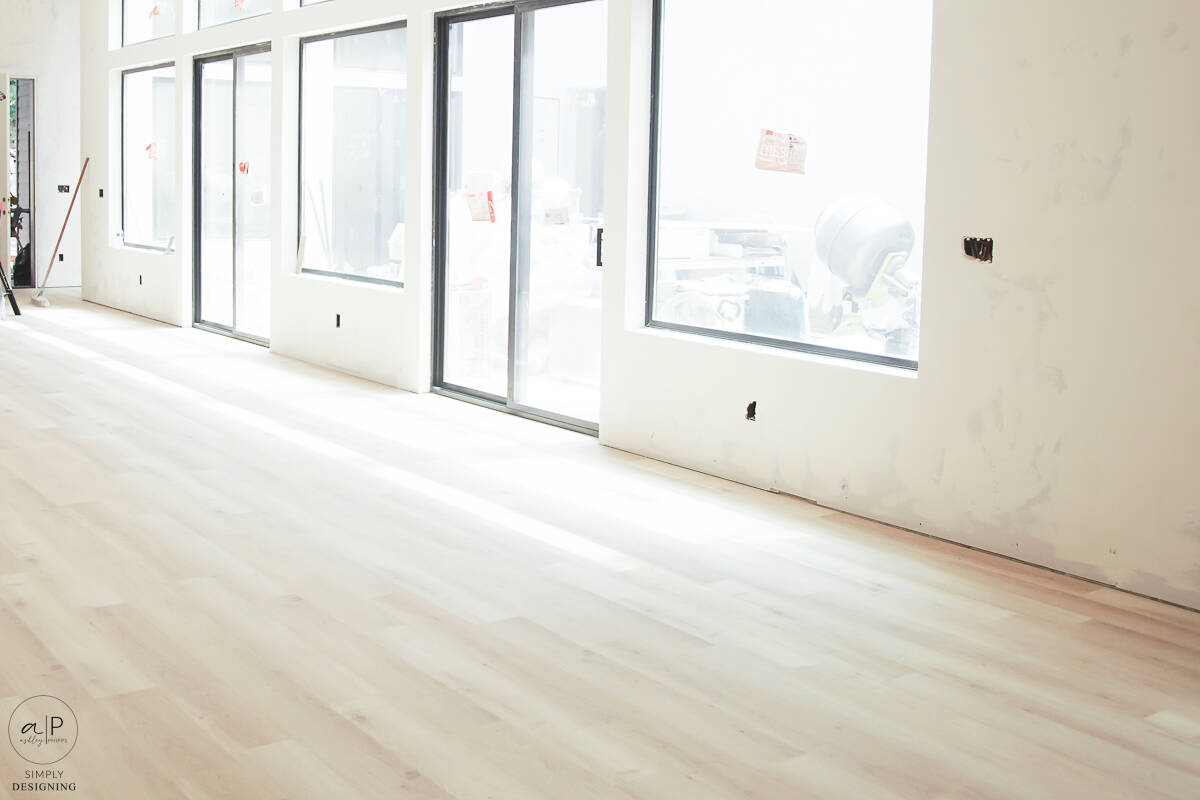
Here is a photo of my living space from the other side!
Again, we are missing interior trim, doors, and paint, but the house is making good progress!
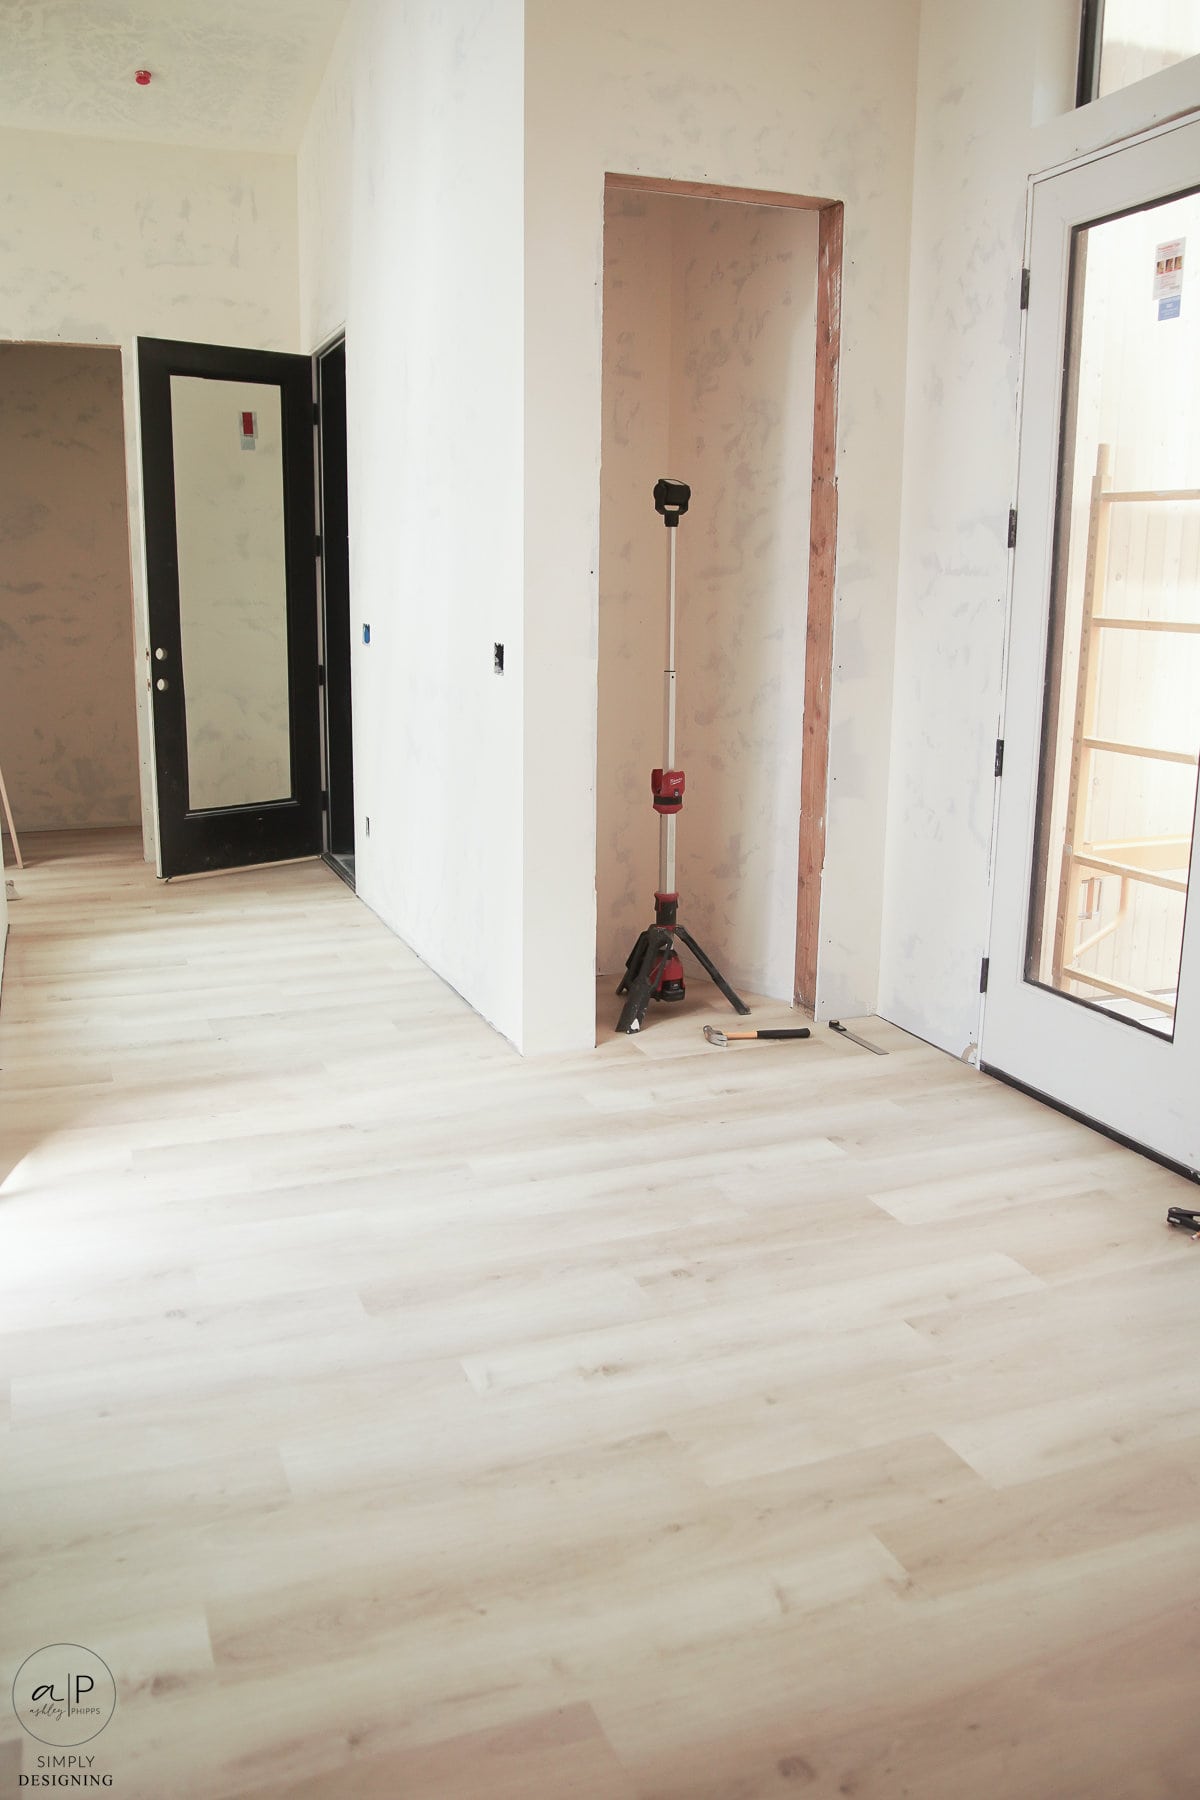
Here is an image of our entryway.
And here is a photo of our master bedroom.
Are you ready for some process photos?
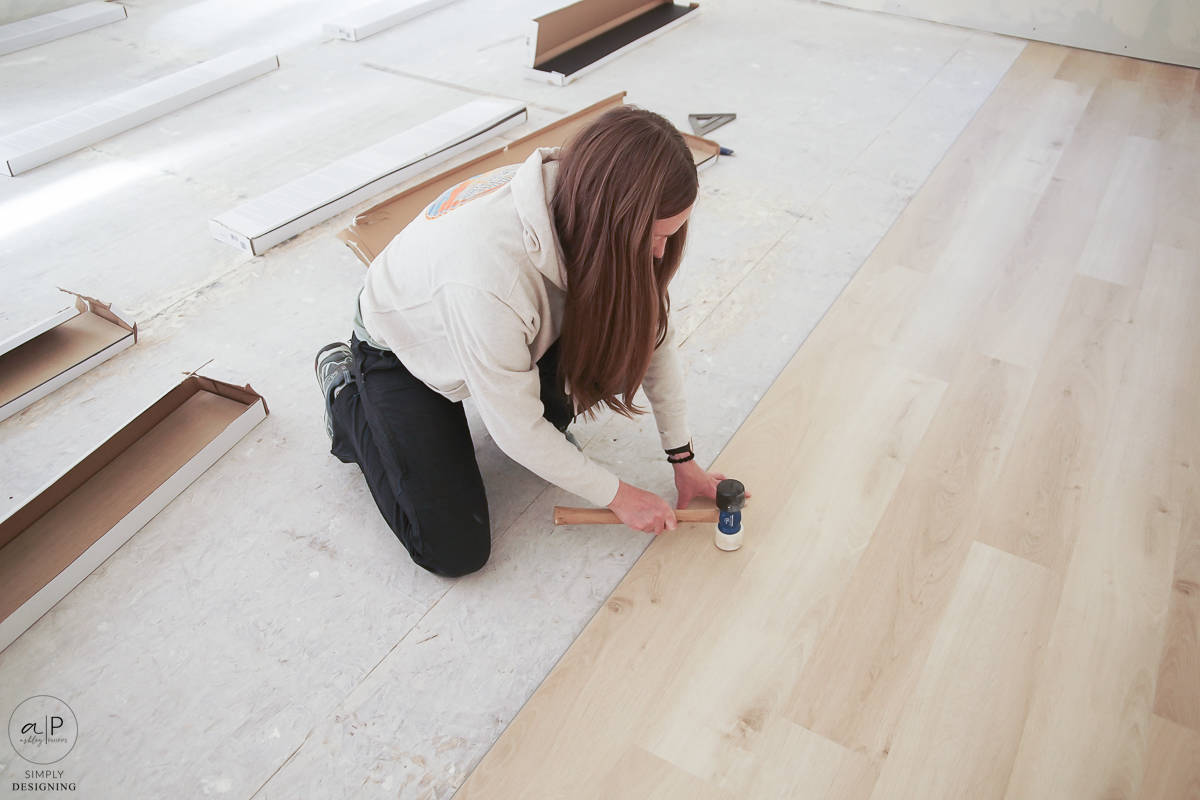
We found it easier to lay out boxes of flooring in this large room so we could easily access our LVP as we installed it.
So what is this flooring again?
It is DuraDecor's Modern Maven in Sand Tropez.
And it is seriously the prettiest LVP I have ever found!
Ok, back to the installation...
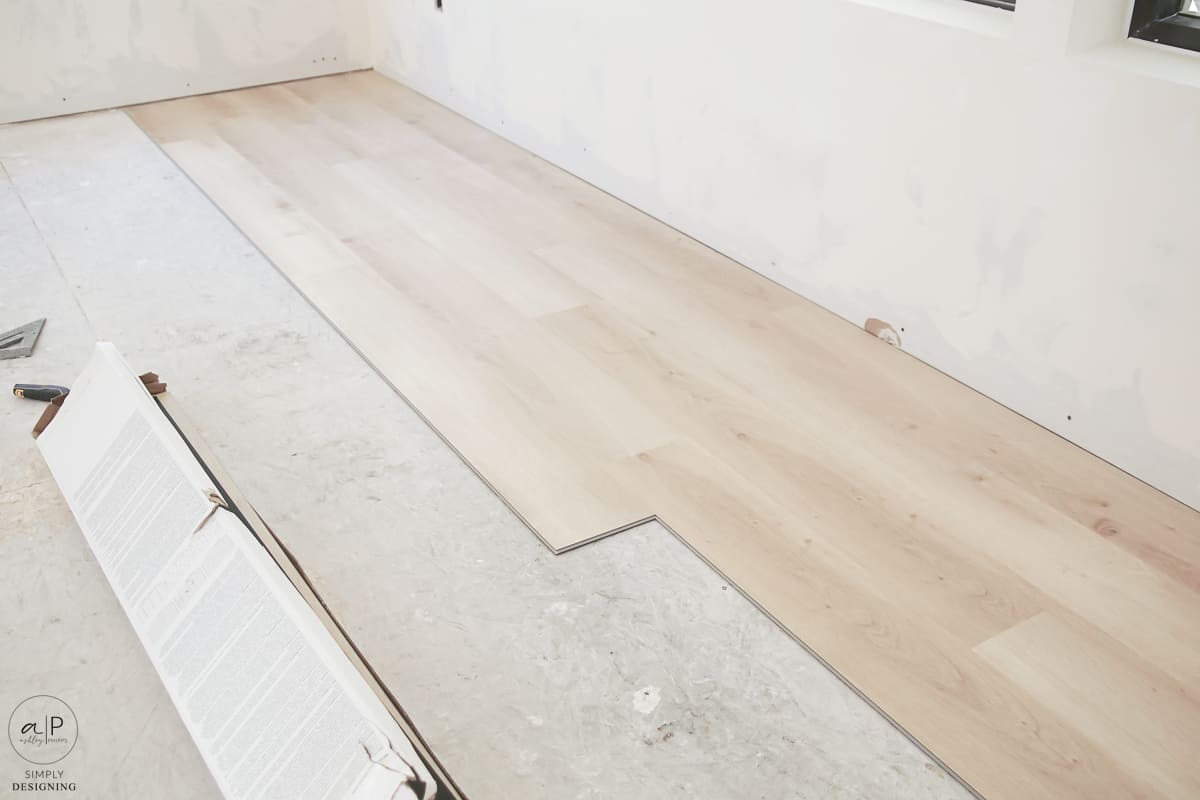
Remember the LONG living space walls?
We started installation against the long wall on the right.
We staggered our beginning length and kept installing it as directed.
Overall, we really truly LOVE how our flooring turned out!
We love that this product is durable, long-lasting, and water-resistant (which is a HUGE thing since we live in the PNW!)
Plus, the color is absolutely perfect for our space and I also really love the variety of colors and patterns that came in each box!
It is the perfect mix of modern and lived-in warmth.
And it is truly what I had envisioned for this space!
I can't wait to paint the space and put baseboards and doors in so you can really see this whole space come together!
If you liked this post about How to Install LVP Flooring, you might enjoy these posts too!
LVP vs Laminate Flooring: Differences, Pros & Cons
I hope you enjoyed my post about How to Install LVP Flooring today!




Leave a Reply