• Skip to primary navigation
  • Skip to main content
  • Skip to primary sidebar

Simply Designing with Ashley

  • DIY
  • Oils
  • Recipes
  • Craft
  • Travel
  • Decor
  • Holiday
menu icon
go to homepage
  • DIY
  • Oils
  • Recipes
  • Craft
  • Travel
  • Decor
  • Holiday
search icon
Homepage link
  • DIY
  • Oils
  • Recipes
  • Craft
  • Travel
  • Decor
  • Holiday
×

Bathroom Mirror Re-Vamp {Part 2}

Published: Mar 21, 2013 · Modified: Mar 7, 2015 by Ashley Phipps · 570 words. · About 3 minutes to read this article. · 4 Comments · This post may contain affiliate links · This blog generates income via ads and sponsored posts · This blog uses cookies · See our privacy policy for more info Filed Under: DIY, Home Decor

A while ago (ie a long time ago) I posted about a project that my husband and I started.  Well, a long time ago, we finished said project and I never posted about the completed project!!  I am sorry to have left you hanging there folks!  So here it is, part 2 of my Master Bathroom Mirror Re-Vamp!  (Go HERE to read Part 1)

bathroom mirror revamp 09a | Bathroom Mirror Re-Vamp {Part 2} | 19 |

Part 1 also tells the story of how I acquired one of my absolute favorite tools!  My +Kreg Jig!

So in Part 1 I talked about purchasing our supplies and using the Kreg Jig to put the basic mirror frame together.  So be sure to check it out!

Having built the basic mirror frame we were ready to do a few tweaks to the frame to make it ready to install.

bathroom mirror revamp 02a | Bathroom Mirror Re-Vamp {Part 2} | 20 |

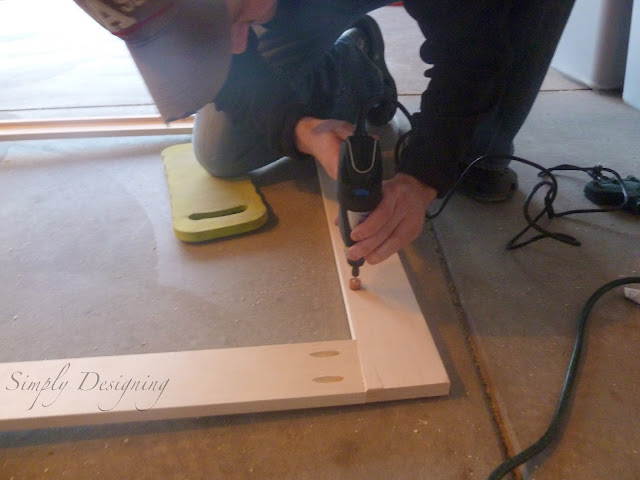
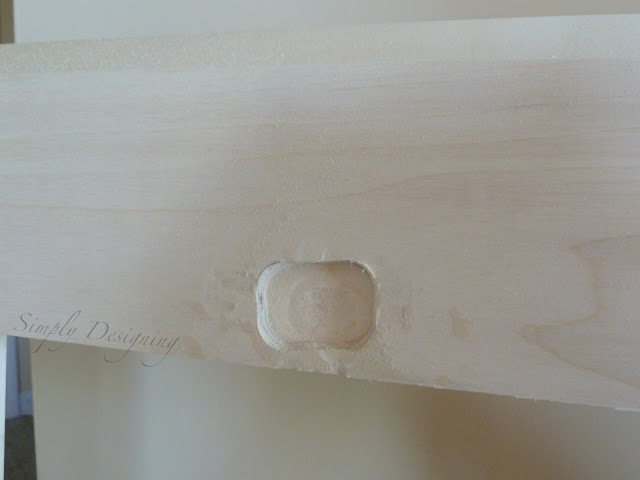
Because we chose to leave the existing mirrors in place, and we wanted the mirrors to sit flush against the mirror we needed to carve out a space for the mirror-holders (technical term I'm sure 🙂  So we marked our frame where the mirror hangers would be and started carving them out with our Dremel.

bathroom mirror revamp 03a | Bathroom Mirror Re-Vamp {Part 2} | 21 |

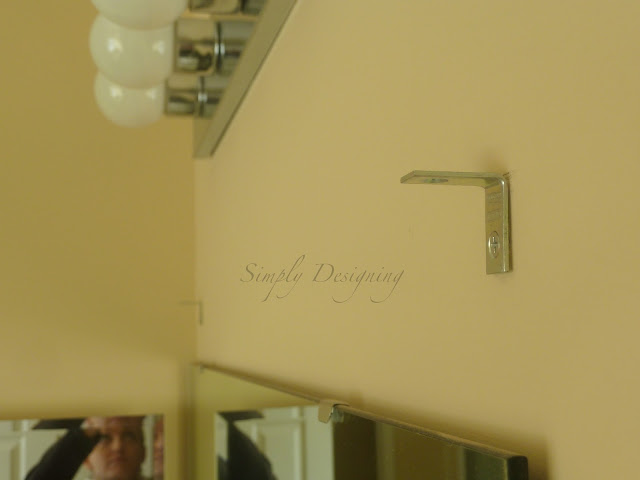
We also knew we needed to hang our mirror somehow and wanted to hide the hardware while allowing the mirror to sit flush against the wall.  So we installed a couple of L-brackets on our wall.  The bottom portion will be behind the frame and the top portion of the L-bracket will be screwed into the top of the frame we built.

bathroom mirror revamp 04a | Bathroom Mirror Re-Vamp {Part 2} | 22 |

A few more details on building the frame.

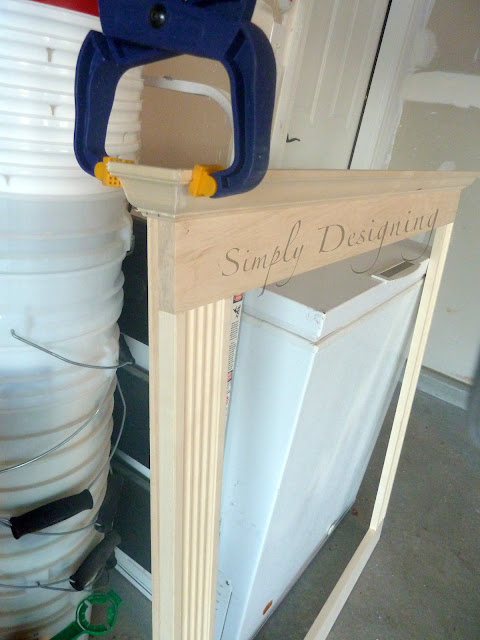
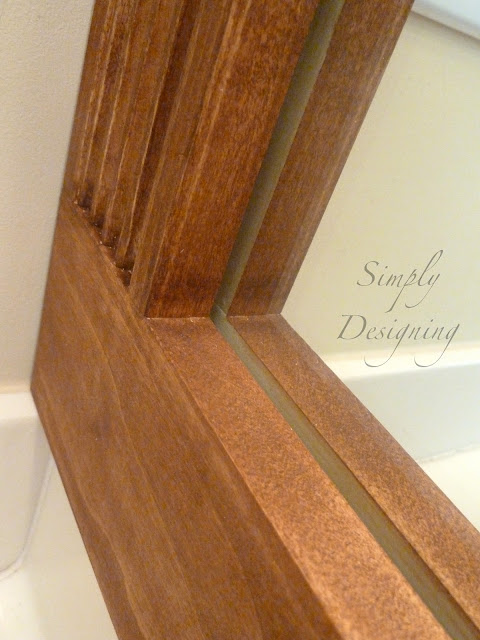
We added a trim around all edges to build out our frame so that it would sit flush against the wall without a gap.  We used the nail gun to get the trim to stay in place.

We also added a bit of skinny crown molding around the top of the frame as well.  We used the nail gun and a little bit of wood glue to hold this in place.

bathroom mirror revamp 05a | Bathroom Mirror Re-Vamp {Part 2} | 23 |
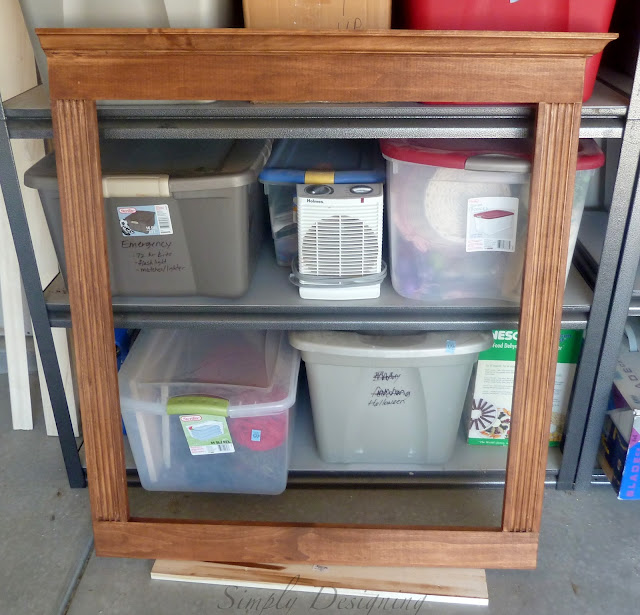
Next came sanding and staining.  Be sure to sand really well so that the stain goes on evenly.
We used two coats of stain followed by one coat of a Wax Sealer.
bathroom mirror revamp 06a | Bathroom Mirror Re-Vamp {Part 2} | 24 |

Hint:  See the photo below, but as soon as we put the mirror in place we realized that you needed to stain both the front and the back of the mirror because the back reflected in the mirror reflection. Oops.  So off the wall and back to staining 🙂

bathroom mirror revamp 08a | Bathroom Mirror Re-Vamp {Part 2} | 25 |

After your mirror is totally built, stained and sealed, it was time to install the frame.

You will simply place the frame in place screw the top of the L-brackets into the top of the frame.

Our frame stayed almost perfectly in place.  Except for a bottom corner that wanted to lift up a bit.

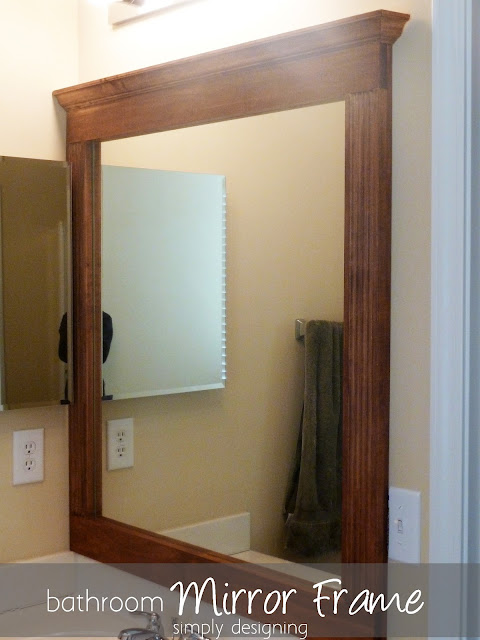
So we bought exterior-grade double sided tape from the hardware store and inserted the tape in between the mirror frame and the wall.  And it worked perfectly.  The frame is perfectly flush to the wall and totally upgrades our bathroom!

bathroom mirror revamp 09a | Bathroom Mirror Re-Vamp {Part 2} | 26 |
The other vanity in our bathroom looks identical to this one.

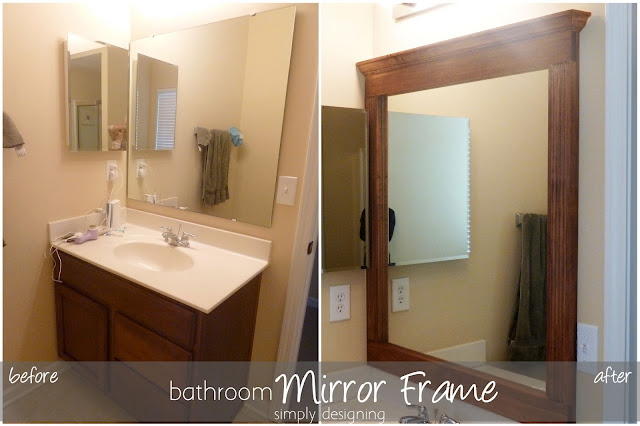
So here is the Before and After:

bathroom mirror before and after small | Bathroom Mirror Re-Vamp {Part 2} | 27 |

It makes SUCH a difference, huh!?  We absolutely love our upgraded look!

And it was so simple!  And really inexpensive!  We spent about $20 per frame!  You can't beat that price for such a fabulous upgrade to my master bathroom.

Have you done any upgrades to your home recently?

Go HERE to read Part 1

More Home DIY

  • woman installing lpv flooring
    How to Install LVP Flooring and Why it is my FAVORITE Flooring for Families
  • image of guy in jeans installing lvp or laminate flooring - LVP vs LAMINATE FLOORING
    LVP vs Laminate Flooring: Differences, Pros and Cons
  • woman filling square firewood holder with firewood
    DIY Firewood Rack
  • bat house high up in a tree
    How to make a Bat House

Reader Interactions

Comments

  1. Mandy A

    March 22, 2013 at 12:20 pm

    wow. i love it! i have a big mirror from an old dresser and it's just sitting there, i think this would be so lovely in a room (our bathrooms are way to small for a huge mirror).

    Reply
  2. Jill @ Create.Craft.Love.

    March 28, 2013 at 7:57 pm

    That is amazing! I can't believe the difference it makes! Great job, Ashley!

    Reply
  3. Beth Procopio

    January 20, 2014 at 3:49 pm

    Did you have trouble with clearance for the medicine cabinet?

    Reply
    • Ashley Phipps

      January 20, 2014 at 11:51 pm

      Beth, we had enough space in between the medicine cabinet and the mirror. Our wood was only 1" thick so it didn't take up a ton of room.

      Reply

Leave a Reply Cancel reply

Your email address will not be published. Required fields are marked *

Primary Sidebar

Hello Friends!

Ashley Phipps Simply Designing I'm Ashley Phipps and I love sharing SIMPLE DIY, home, travel, food, craft and essential oil ideas with you! Learn more about me here. Contact me here. Find Media/PR info here. Privacy is important to us. Please read my Privacy Policy.
  • Email
  • Facebook
  • Instagram
  • Pinterest
  • Twitter
  • YouTube

Join our mailing list

Get our latest updates & exclusive content!

Privacy Policy, Disclaimer & Terms of Use

Favorite Posts

body scrub recipe book

Body Scrub Recipe Book with 20 Scrumptious Recipes

image of guy in jeans installing lvp or laminate flooring - LVP vs LAMINATE FLOORING

LVP vs Laminate Flooring: Differences, Pros and Cons


COPYRIGHT: You’re welcome to link to Simply Designing or use a single image with a brief description to link back to any post. Republishing posts in their entirety is strictly prohibited.  Any use for commercial purposes is strictly prohibited. Feel free to pin on Pinterest. Find out more in my Privacy Policy.  Simply Designing with Ashley Phipps LLC is a participant in the Amazon Services LLC Associates Program, an affiliate advertising program designed to provide a means for sites to earn advertising fees by advertising and linking to Amazon.com . Simply Designing with Ashley Phipps LLC and it’s owner, employees and affiliates are not liable in any way for injury or loss (whether physical, emotional, monetary or any other kind of loss) resulting from any inspiration, ideas, directions or information gained from this website. We advise you to always follow manufacturer instructions, take appropriate safety precautions and hire a professional when in doubt. We love it when you use our site for inspiration, but by using it, you agree that you do so at your own risk.

Privacy Policy 

Copyright © 2025