This is part three of our complete series to teach you laying and installing laminate flooring yourself. This part focuses on installing the trim molding and how to choose transition strips and install them as well to complete your project.
After our floors were prepared and we installed our tongue-and-groove (aka click-and-lock) floating laminate flooring, we were ready to put the finishing touches!
Re-Install Moldings after Laying and Installing Laminate Flooring
As I mentioned earlier, we decided not to remove our door frames or our main molding, but we did remove our quarter round.
My husband had the brilliant idea to number all of our quarter rounds so that we knew exactly where to re-install it at. Genius. This made re-installation an absolute breeze!
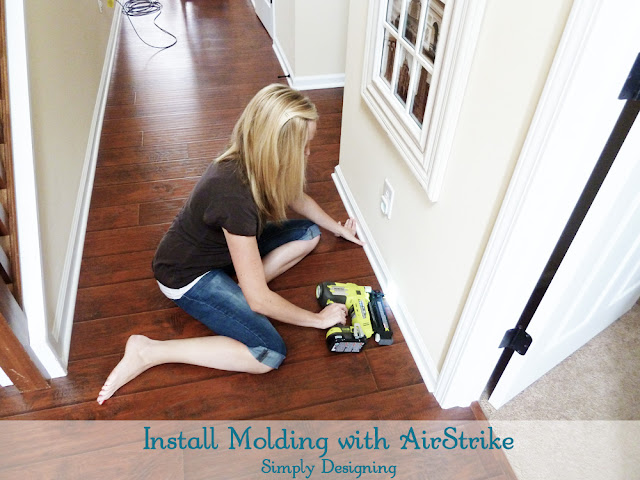
All we had to do was match the numbers back up and use our nail gun to reattach the molding.
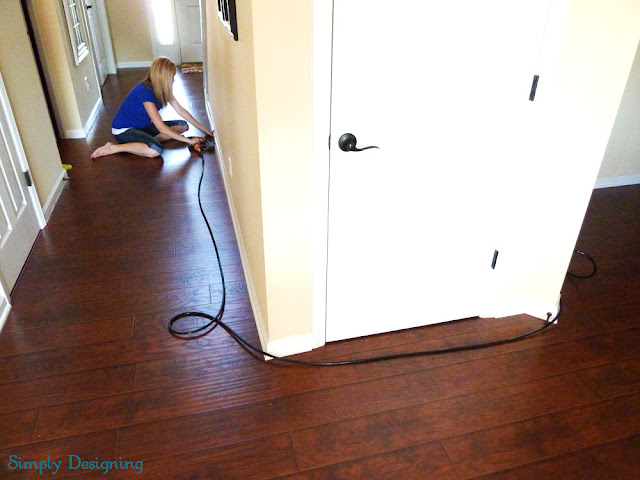
We started by using our traditional nail gun that needs an air compressor to work. It works well, but it is an effort to set up, it takes time for the air compressor to be ready to run, and it is stinkin' loud!
Plus, you have to drag a big long cord with you everywhere! Bleck. It works great but is kind of a pain sometimes.
However, like many people with young children, we do a lot of our DIY work when our children are in bed.
So for the safety and sanity of our family, much of the work on our flooring has been done after the kids are in bed. So after 8 pm at night. We live in a nice neighborhood, and we don't want to upset our neighbors...and our air compressor is SO loud! We felt like we couldn't run it much after 9 pm at night.
Which meant, if we were lucky, we had a little over an hour to for installing laminate flooring at night. This meant progress was very slow.
Enter.....the-world's-coolest-awesomest-neatest-handiest Power Tool from +RYOBI Power Tools!
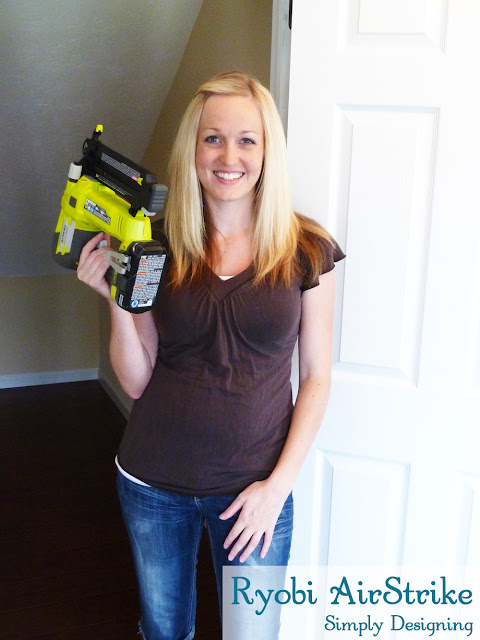
I was able to try the Ryobi AirStrike a few months ago at Haven and fell in love! I also knew this would help our slow-going project move a little faster! So I was really thrilled that Ryobi agreed to send me one to check out! Woot woot!
The Ryobi AirStrike was simple to use, easy to handle, and gives you the EXACT SAME RESULTS of a nail gun with a compressor, without the cords, noise or compressor!
Seriously.
Amazing!
So with no air compressor noise and the same power as a traditional nail gun, we were able to quickly and simply re-install ALL of our quarter round molding in a cinch!
And even though the AirStrike is battery powered, I was able to get all of my molding attached without needing to recharge it and all of the nails went in FLAWLESSLY! I didn't have any nail heads that needed to be tapped in or fixed. They seriously went in perfectly!
(insert chorus of angels singing here)
Plus the Ryobi AirStrike is cheaper then purchasing a nail gun + air compressor so it is really a no-brainer in my opinion if you need to purchase a nail gun (which...every girl (and guy) needs. Just sayin'
After you have re-installed all of your molding and/or quarter round, you will want to calk the edges and corners, fill in any nail holes, and re-paint it for a nice, professional finish.
Choosing the right transition strips after installing laminate flooring
Along with all of our weird angles, corners and door jams, we also have 5 transitions in our space! Four between our newly installed laminate flooring and existing carpet.
The 5th transition will eventually be between our laminate flooring and tile in a half bath...but that's a project for another day. Anyway...
There are several types of transition strips so be sure to choose the proper one for your space.
- T-Molding transitions are for transitioning from your wood flooring to another same-height hard surface flooring (like tile).
- End-Caps are good for when you are transitioning from your wood to carpet.
- Reducer transitions are for step-down instances where you are transitioning from your wood to another surface that is at a different height.
In our home, we mainly used end caps but we also used one reducer transition strip temporarily to go from our wood floor into our half bath. (We left linoleum in there for now, but will eventually replace that with tile.)
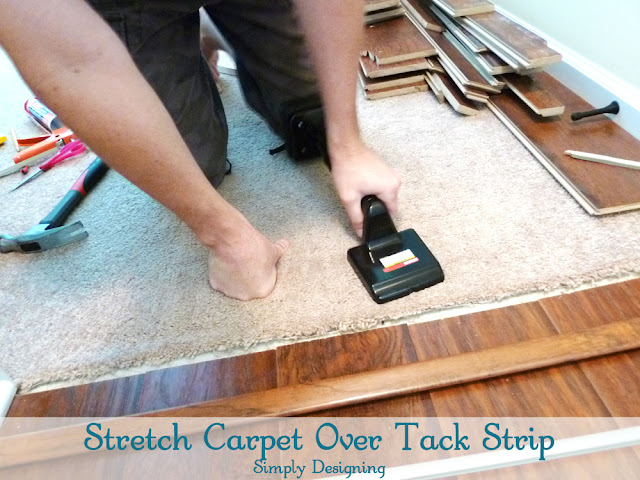
We took our laminate up to four different carpeted areas and each of those areas needed to have carpet trimmed, a new tack strip put in place, and the carpet stretched to fit over the tack strip well.
Tack strips need to adhere directly to your sub-floor. You can use your Ryobi AirStrike to install the tack strip directly to a wood sub-floor. But if you have concrete sub-floors like we do, you will want to use a Powder Actuated Tool to secure the tack strip in place. Be warned, they are loud and smell like gunpowder but they are about the only thing we found that will get a nail into concrete sub-floor. (you can purchase a powder actuated tool here)
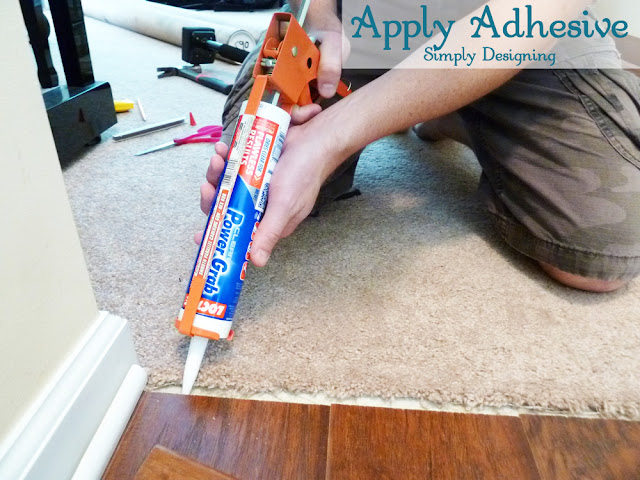
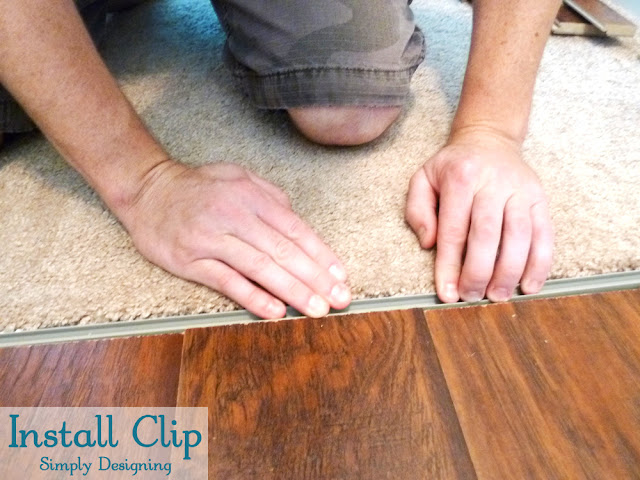
Next, you need to install your transition strip. Our t-molding transitions came with a plastic clip that the molding sits into that you need to first install. We installed ours using a multi-purpose adhesive that secured it tightly to our concrete sub-floors. If you have wood sub-floors you could quickly nail gun this down.
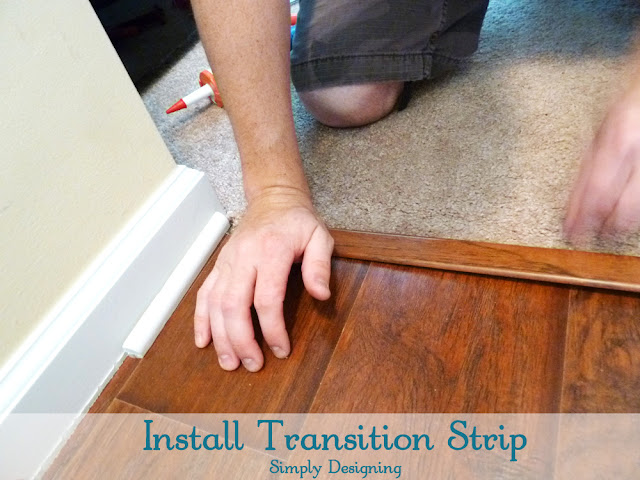
After that is in place you will set your transition strip into the clip! And you are done!
All molding kits and transition strips will come with instructions, so please always refer to your manufacturer instructions for specific details of installation.
Sit Back and Admire how well you did at installing laminate flooring!
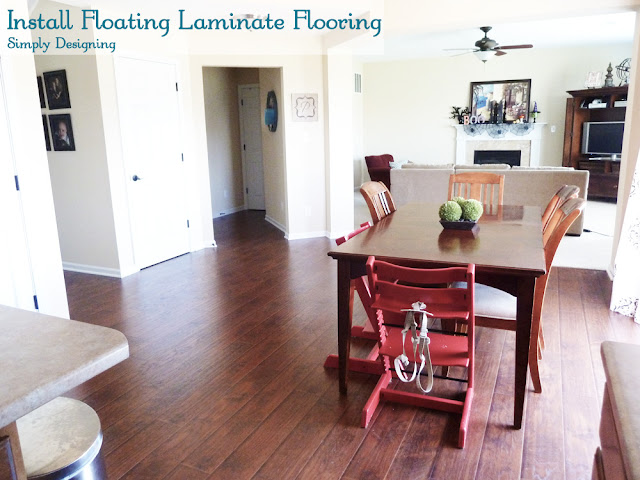
I mean really!! We just installed almost 1,000 square feet of new flooring! And we LOVE how it turned out! So we decided to just enjoy it!
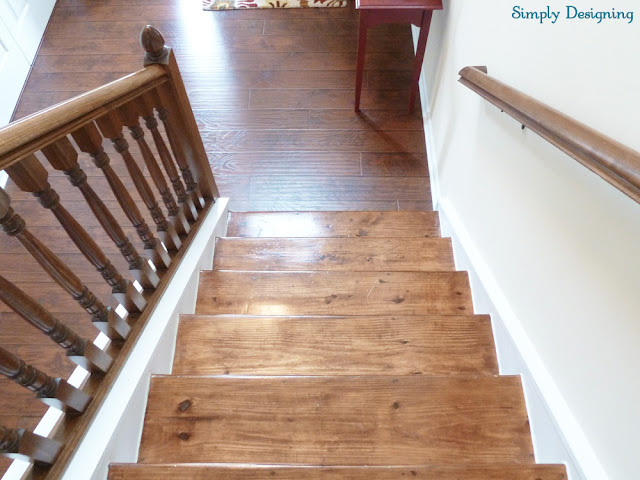
For about 0.2 seconds until we started on the next laminate wood flooring project that now desperately needed to be tackled: Re-Doing our Stair Case to Match. (Read more about our initial staircase make-over here: Stair Case Make-Over {Part 1})
Seriously...
They don't match.
{to be continued...}
Read More:
How to Install Floating Laminate Wood Flooring {Part 1}: The Preparation
How to Install Floating Laminate Wood Flooring {Part 2}: The Installation
(*Please note that we are not professional installers or contractors. I am simply sharing what we have done and what worked for us with the best knowledge we have on the topic. This is our second time installing laminate flooring and each project was a little different. Your experience may be different than ours depending on many factors. When in doubt, consult a professional.)





Jillian @ Hi! It's Jilly
Wow! Your turned out great! And, that tool sounds so awesome! No cords AND noise?! Sweet! 🙂
Ashley Phipps
Thank you so much!
Mique (as in Mickey)
I love your husband's idea to number the pieces- genius for sure. They turned out amazing. I need to get my hands on some of those Ryobi tools.
Ashley Phipps
Oh thank you so much Mique! And thanks for stopping by!
Building Moxie
resisting the temptation to say something like, I don't no what is cuter you or that Ryobi AirStrike. whoops. tie! (sorry Mr. Ashley) and anyway thanks for introducing us to this new tool and thanks too for the incredibly thorough tutorial. best of luck with the stairs and the other upcoming projects.
Jessica Hill
It looks fantastic! I would love to get my hands on some Ryobi tools like that AirStrike!
Ashley Phipps
Thanks so much Jessica! It is a fabulous tool!! You would love it!
Carolyn
You always impress me with your skills and confidence with tools! I might even be able to handle that Ryobi tool... maybe.
Ashley Phipps
Oh thank you Carolyn! And you could TOTALLY handle the AirStrike! 🙂 It is so super easy 🙂
malia
Wow it looks amazing!
Ashley Phipps
Thanks so much Malia!
Shanna Gilbert
Looks fantastic! You guys did a great job!
Ashley Phipps
Thanks so much Shanna!
Katelyn
Awesome post! And that nail gun does sound fantastic. Because, ya, power tools, noise, and three year olds don't mix. 🙂 Your floors look BEAUTIFUL too! And I love the pictures of you working on it with your pregnant belly, lol.
Ashley Phipps
Thank you so much 🙂
Dria S
Wow your floors look fantastic! The nail gun looks like a blast!!
Ashley Phipps
Thanks so much!! And thanks for stopping by!
Angela
I just bought the Ryobi nailer for a few of my projects, too! (After trying it at Haven) LOVE it!!! Your floors look great!
Ashley Phipps
🙂 I am so glad you got your hands on one Angela!! It is so much fun! Thanks for stopping by! 🙂
Petronella
I tried to post earlier on the part 1 put I think it didn't work. I am glad I found your post today. Your floors look awesome! I am just in the process of doing finishing touches to our floor (we also have the same flooring from sams club) we installed few weeks ago. With kids this project is dragging forever and I had to paint my baseboards and quater trims white. I appriciate your detailed
Ashley Phipps
I bet your floors are looking just lovely! <br /><br />Thank you so much!<br /><br />I honestly wish I had my wall color accessible. Our home was a spec home and this is the paint color it was already painted with! If you take a photo to a paint store though I bet they could help you find a similar color. <br /><br />Good luck!