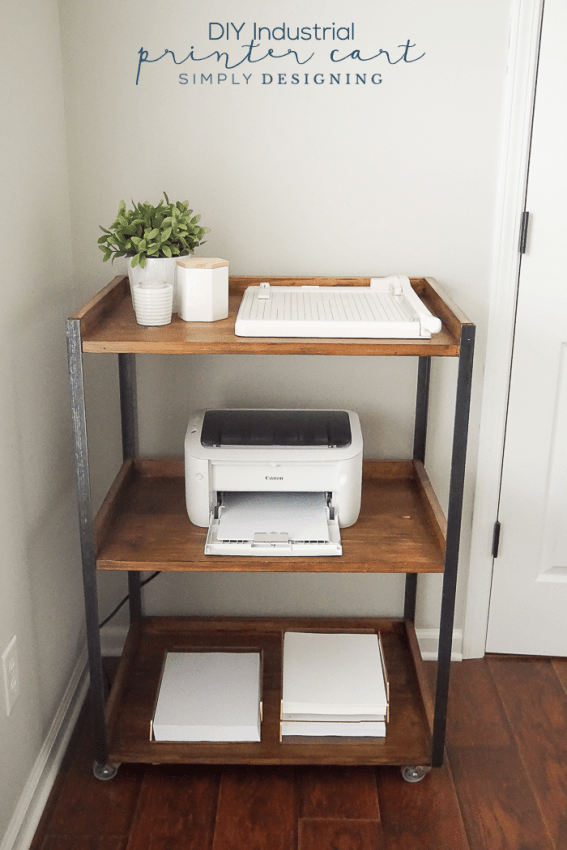
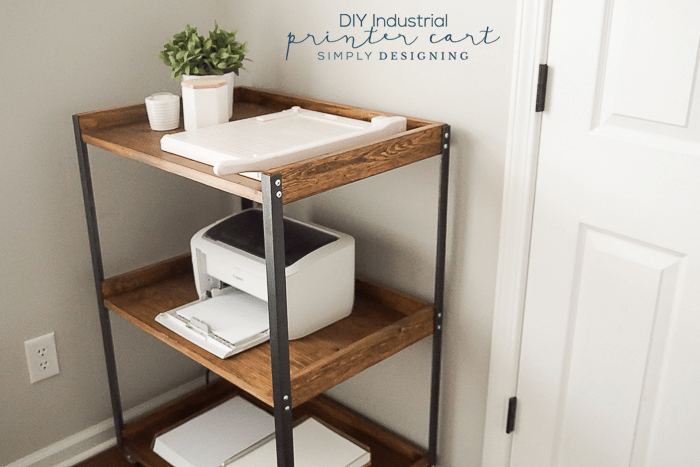
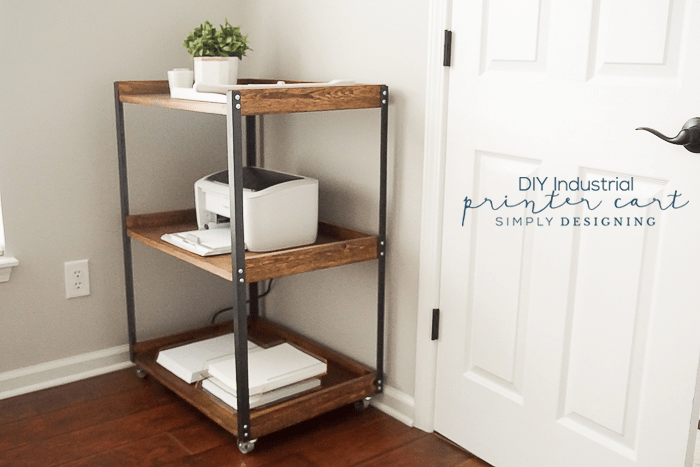
There is one project from my office update that I haven't shown you yet, my industrial DIY Printer Table. I needed a place to put my printer and so we created an industrial DIY Printer Cart for the space and I just love it! I just love a good DIY project! And my fun office and Craft Room was one of my favorite projects from last year. It has been so fun to have and use and I just love how it has a clean and industrial feel to it. We created this printer table in the same manner that we made my Industrial Rolling Paint Storage here, but we made it bigger and wider and perfect for the space I have and fit the printer. We actually built an outdoor beverage cart just like this last year...gosh I must just love this fun industrial style! Anyway, this Industrial DIY Printer Cart was a really easy build and I just love how it turned out!
How to make an Industrial DIY Printer Table
I love how fun and easy it is to DIY an industrial look in your home without a lot of time or expense.
And I just really really love how my DIY printer cart turned out!
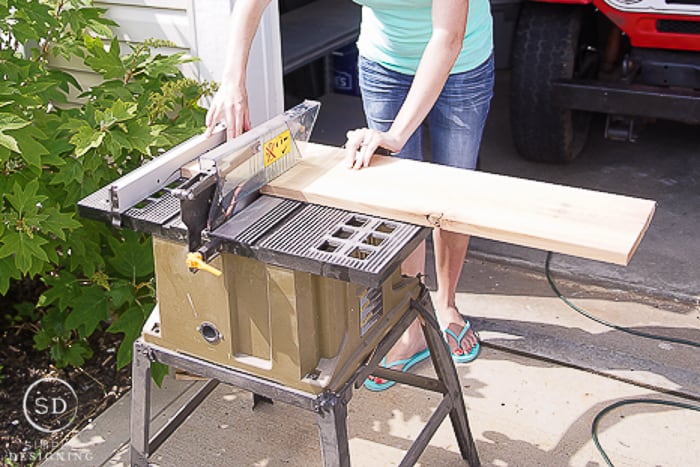
We cut 10" wide boards to the width we wanted the overall printer table to be. We cut 6 boards in total to the same length.
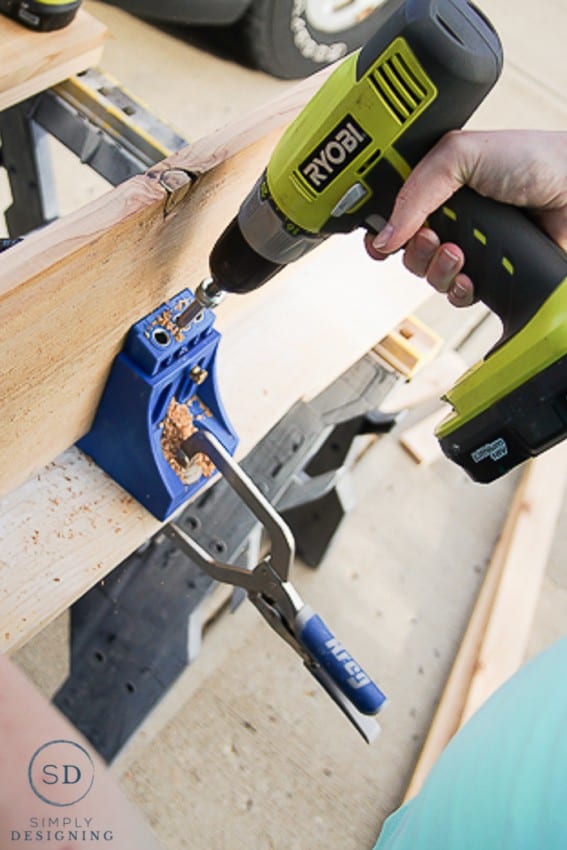
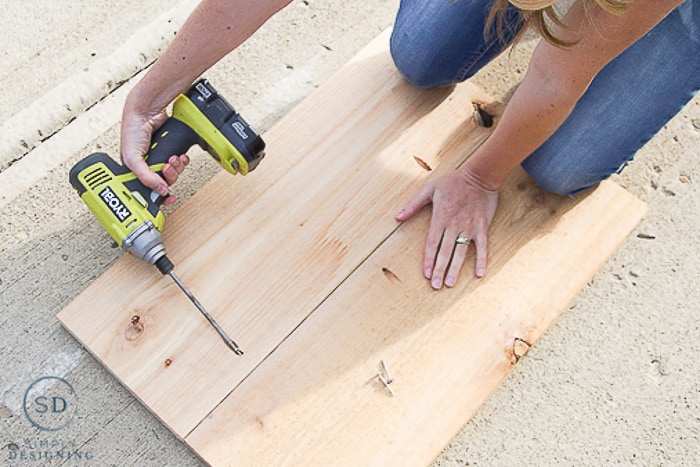
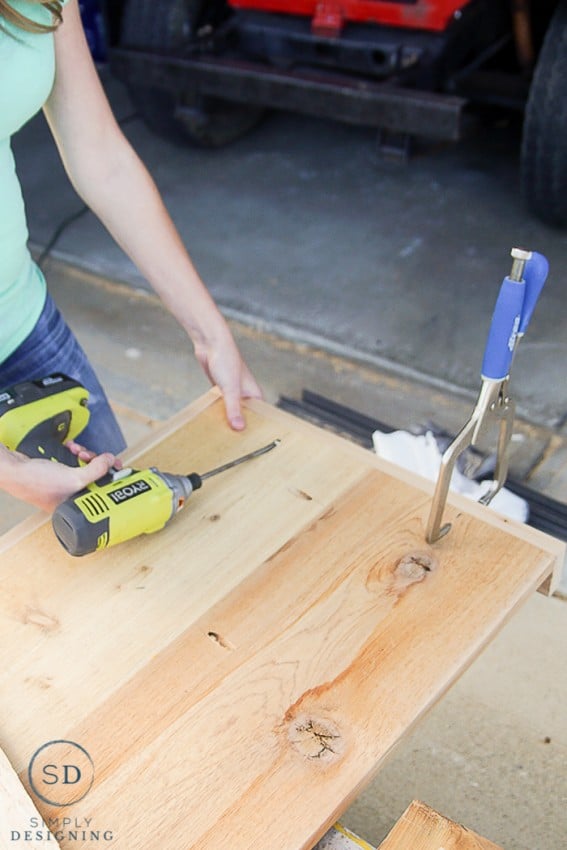
We used a Kreg Jig to secure two of the 10" boards together. So we ended up with 3 sections that would be our shelves.
We cut 1" x 3" boards to frame the shelves in and we attached them to the sides of the shelves using wood glue, and using pocket holes from the underneath side of the shelf into the frame boards.
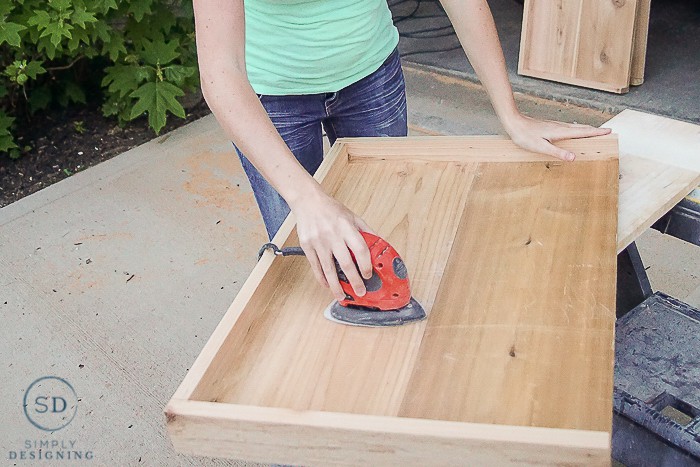
After we were done creating our shelves, we sanded all of them down. And then we stained them.
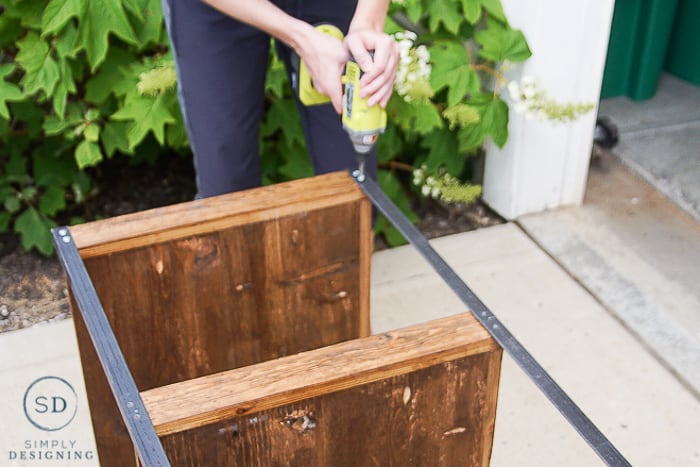
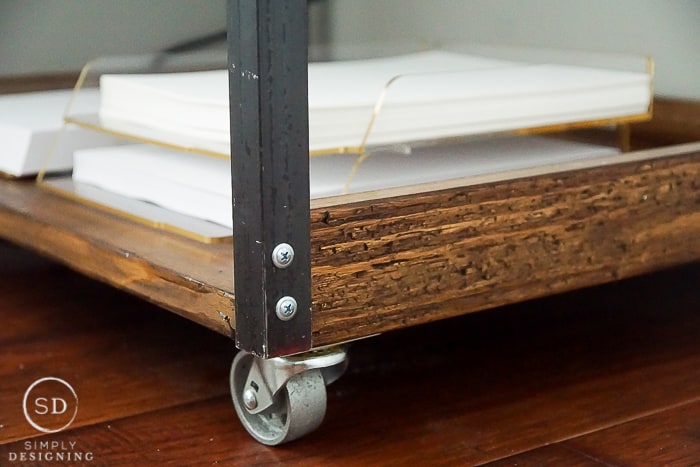
After the printer table shelves were dry we pre-drilled holes into the angle iron and screwed the shelves in place. We used a level to be sure everything was level and perfectly in place.
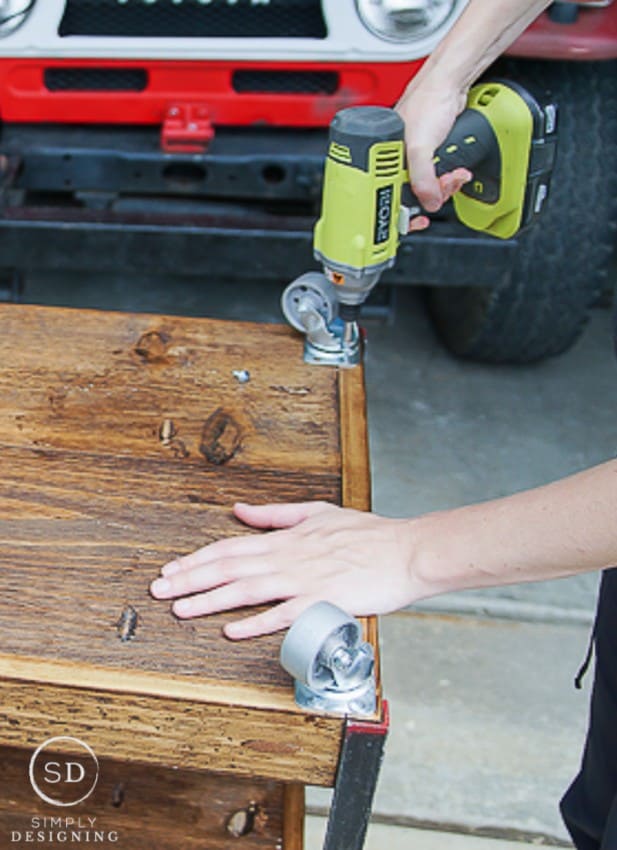
Then we added casters to the bottom of the printer table.
And that's it! This is really such a quick build and packs a lot of punch for awesome printer and storage space and it's so fun and stylish too!
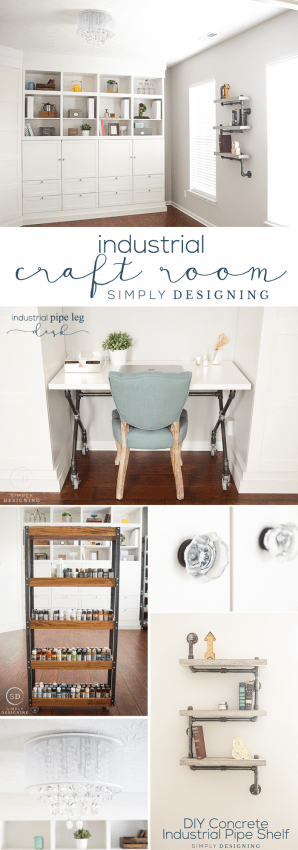
And this fits perfectly in my industrial craft room! You can read more about my industrial craft room HERE.
I am so happy to be participating in a big roundup of other amazing bloggers with fantastic office spaces! Click on the images below to see more great ideas!
If you liked this tutorial on how to make a printer table you might also enjoy some of the other posts about my craft room:
Industrial Work Table with Barn Wood Top



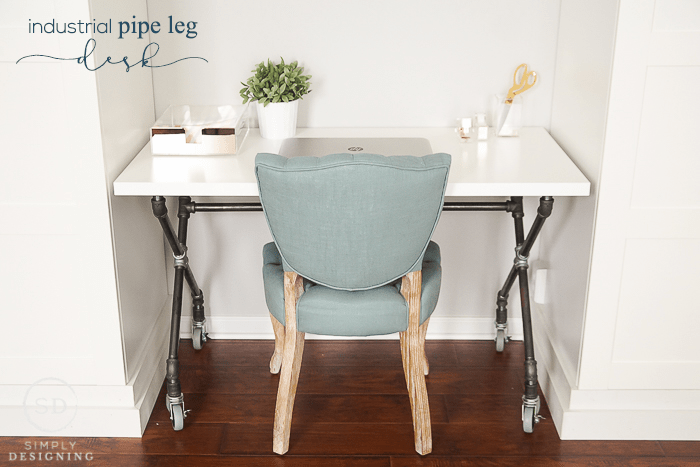
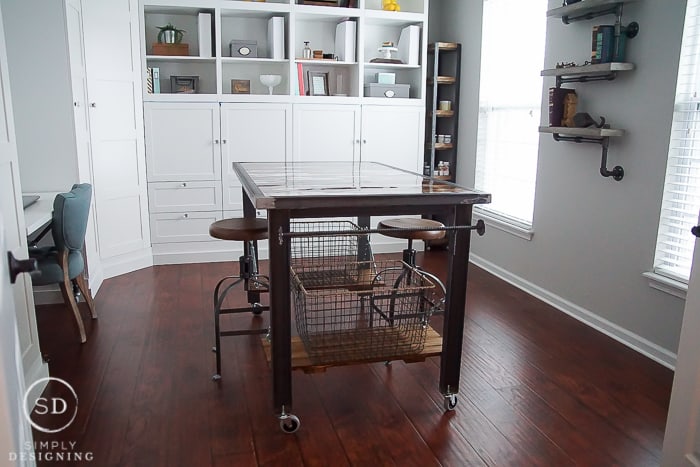
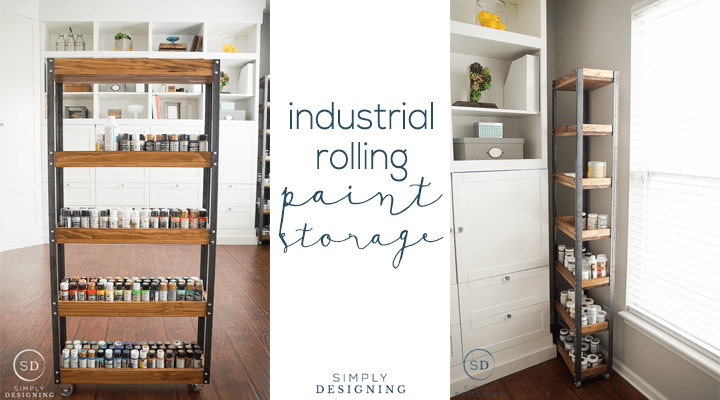
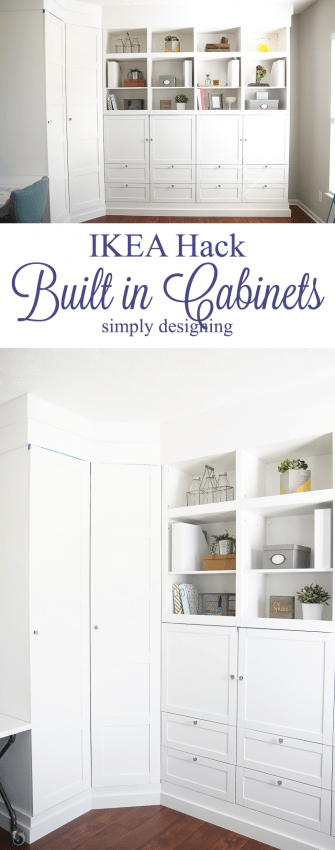


Tauni
Love your whole space! That rolling cart is perfect for your printer + could be used for lots of other things too. Thanks for sharing as part of the blog hop.
Ginger M Cochran
I just love this. I would be so honored if you would share in my new link up called Support Your Fellow Crafter Linky Party 🙂 Thank you so much! http://superstinkyboys.blogspot.com/2017/03/support-your-fellow-crafter-linky-party_20.html
STEPHANIE ABBOTT
Another awesome project of yours going straight to my Pinterest queue.
Kelly @ North Country Nest
I just discovered you from one of the link-up parties and I am loving your style and DIYs! This cart looks so easy to make. I too am obsessed with the industrial style and will definitely be adding this to my project list 🙂
Best,
Kelly
Jenny
This would be perfect for a bar cart too! Love it!
-Jenny (DIY + Style)
SweetTeal.com
Debrashoppeno5
What a great build. It looks so versatile as well.
Kimm at Reinvented
That really turned out beautiful. I love the metal posts.
Thanks for sharing at Funtastic Friday.
Lindi
LOVE this piece! It's beautiful 🙂 I want to make it now! I'll be featuring it at the creative gallery tomorrow 🙂
Kara
I LOVE this! What color stain did you use? And do you remember the cost of the project overall? I have a Kreg Jig but haven't used it yet, this would be the perfect start!
Ashley Phipps
I used Cabot's Aged Leather. They don't sell it at my local store anymore so I special order it. 🙁 But it is such a pretty stain IMO!
Megan
How long did it take to build?
Ashley Phipps
Hi there! This took a few hours to build and stain. Best of luck!
Cheryl
Hello! Love this project. Did you have to use a special drill bit to pre-drill the holes into the angled iron?
Ashley Phipps
Nothing special. Just a drill but that can go through metal, most should.
Devon
hey I love this but it would be super helpful if you had an outline of what exactly was needed from home depot? Just getting into the DIY woodworking game, I'd love to have an outline of what we need to purchase!
Thanks!
Brogan Miner
Where did you get the metal from? A local building supply store?
Peggy
Love this cart! I need a printer stand too. Please share where you get the angle iron?
Sarah
I would also like to know this. Please?
Scott
I just got some at Home Depot this afternoon, Lowes has it too, but a smaller selection here in SC. I bought 1" by 1" x 72" and cut them in half to make my shelves 36" tall (plus the casters). It can be tricky to find in the store, but just ask anyone where to get angle iron and they'll tell you.
Sylvia | Grace for a Gypsy
I saw a lot of things on this page I need in my life! That rolling printer cart is one of them!
Sylvia | Grace for a Gypsy
Also, I would like to invite you to link this post to our new blog party http://graceforagypsy.com/a-gathering-of-friends-link-party-3/
Anita Holland
Great project, I could use one like this for my printer and Cricut. Thanks for sharing. Pinned
Sarah @ The DIY Mommy
Love when organization meets style! This piece is functional and beautiful. Great post!
Susan
Where did you find a white paper cutter?Susan
Ashley Phipps
Hi! I believe it is a Martha Stewart brand paper cutter!
Meghan
Where did you get your printer? What kind of printer is it? I’m looking for a small/compact printer!
Ashley Phipps
Hi! This printer is a Canon Image CLASS LBP6030w. Here is my link to the exact one I bought: https://amzn.to/36DMBp8
Nora
This is such a great piece! What are the dimensions of the entire project? (Width, Depth, Height) Thank you!
Kay
Really love this! How much did it cost you to make?
LeeAnn
Hello, After ordering and then returning two printer carts from Amazon, I was looking for another one to purchase. I started to think, "why don't I make my own?" Searching for a DIY project brought me to your page. It's PERFECT!! I can make it to meet my size needs. Thank you so much!