• Skip to primary navigation
  • Skip to main content
  • Skip to primary sidebar

Simply Designing with Ashley

  • DIY
  • Oils
  • Recipes
  • Craft
  • Travel
  • Decor
  • Holiday
menu icon
go to homepage
  • DIY
  • Oils
  • Recipes
  • Craft
  • Travel
  • Decor
  • Holiday
search icon
Homepage link
  • DIY
  • Oils
  • Recipes
  • Craft
  • Travel
  • Decor
  • Holiday
×

DIY Bunny Canvas

Published: Mar 17, 2016 · Modified: Apr 11, 2016 by Ashley Phipps · 395 words. · About 2 minutes to read this article. · 4 Comments · This post may contain affiliate links · This blog generates income via ads and sponsored posts · This blog uses cookies · See our privacy policy for more info Filed Under: Holiday

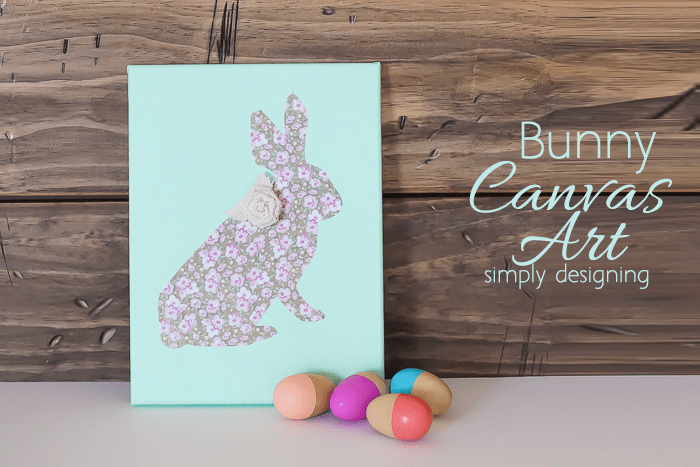
With Easter right around the corner and spring under way, I decided I wanted to create a fun and seasonal piece of art work for my home!  After thinking a lot about it, and taking a very inspirational trip to the craft store, I came up with this really cute DIY Bunny Canvas art idea and I am thrilled to be able to share it with you!  I think this is a perfect decoration to keep out all year long and the colors and pattern are perfect for spring and summer decor!
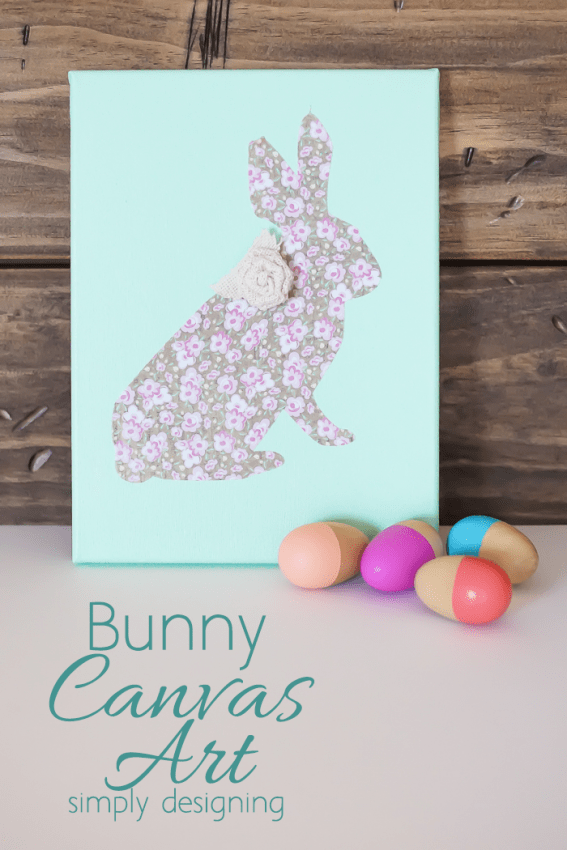
Bunny Canvas Art

Oh my goodness isn't this bunny adorable!?  With a little help from DecoArt and a few supplies from Michaels, this project did not take very long to create!  Here is how to create your own!

Bunny Canvas Art

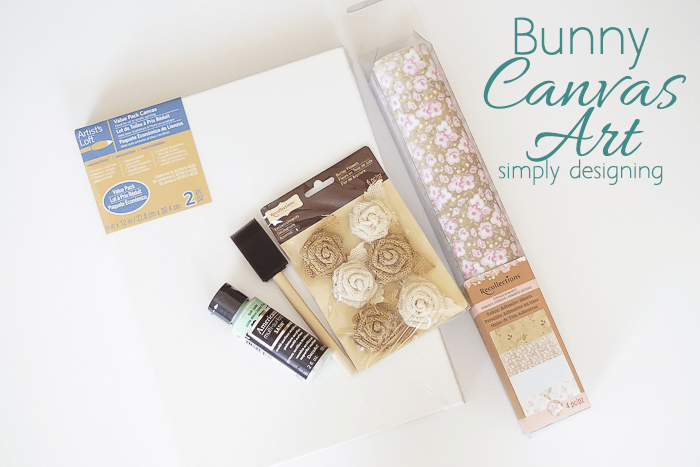
Supplies:

  • Americana Multi-Surface Paint, Soft Jade
  • 9" x 12" wrapped canvas
  • Recollections Fabric Adhesive Sheets, Vintage Romance
  • Burlap Flowers
  • Foam Paint Crush
  • Hot Glue Gun
  • Silhouette or other cutting machine, or scissors (affiliate link)

Supplies

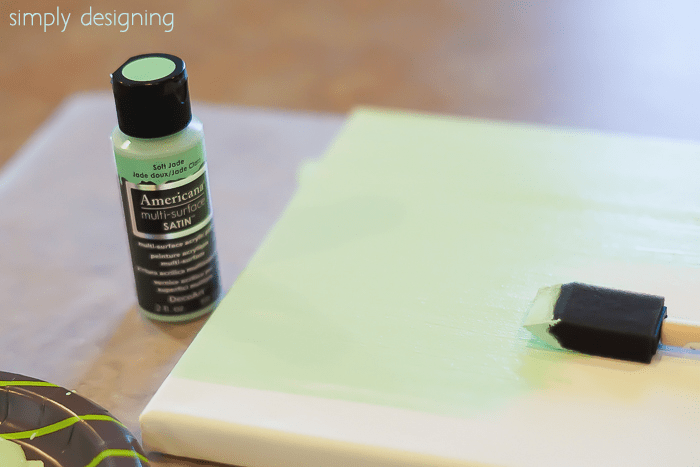
First I began by painting my canvas with my craft paint.  I am addicted to the Americana Multi-Surface line of paint!  It is perfect on nearly any surface and the color options are among my absolute favorite!  I painted the canvas with two coats of paint and then let it dry completely.

Paint

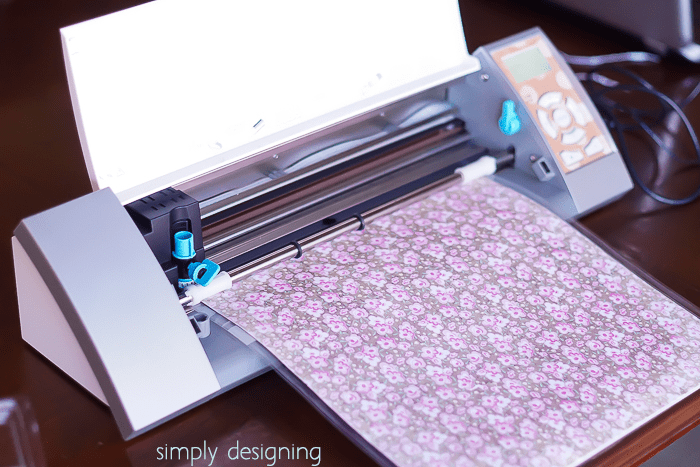
While my paint was drying I brought out my Silhouette and cut a bunny shape out of my adhesive fabric.  It worked perfectly!  And I just love the fabric!  This vintage pattern is just perfect for springtime and I think a bunny looks adorable out of it!

Cut Out Bunny Shape

Next I simply removed my adhesive fabric bunny and placed it carefully onto my painted canvas.  The adhesive fabric is really sticky and sticks to itself easily so be careful when handling this.

After my fabric bunny was placed on my painted canvas, I used my hot glue gun to add a little burlap flower to the bunny's neck.  I love how this adds a three dimensional aspect to the art and really accentuates the cute little spring fabric bunny.

DIY Bunny Canvas Art

I think this is really cute in my home and I will definitely be keeping it up all spring long!

If you are looking for other Bunny Ideas, you might like these:

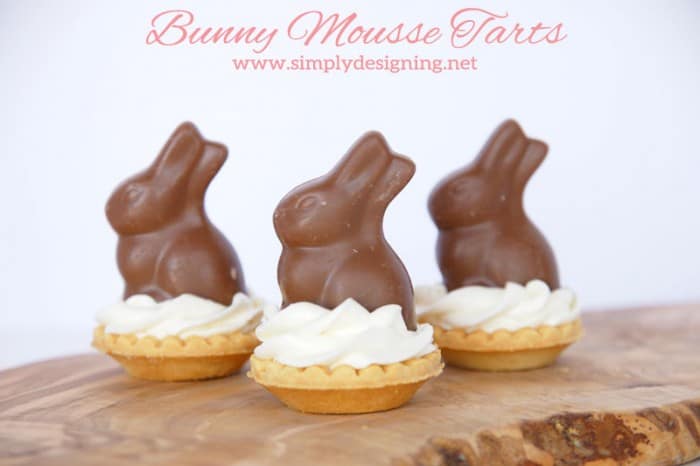
bunny mousse tarts

Bunny Mousse Tarts

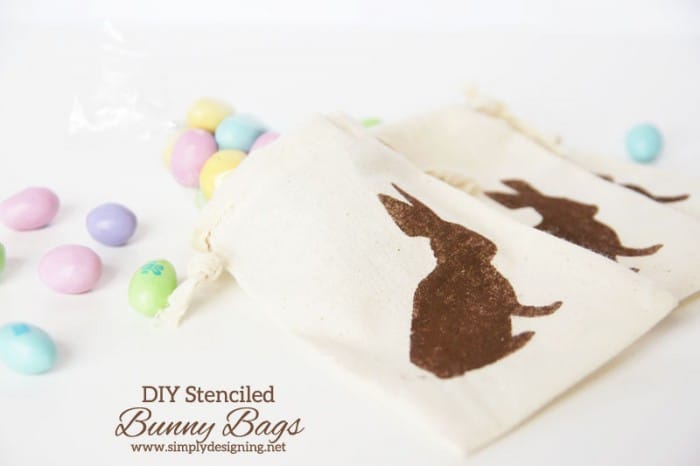
stenciled easter bags

DIY Stenciled Bunny Bags

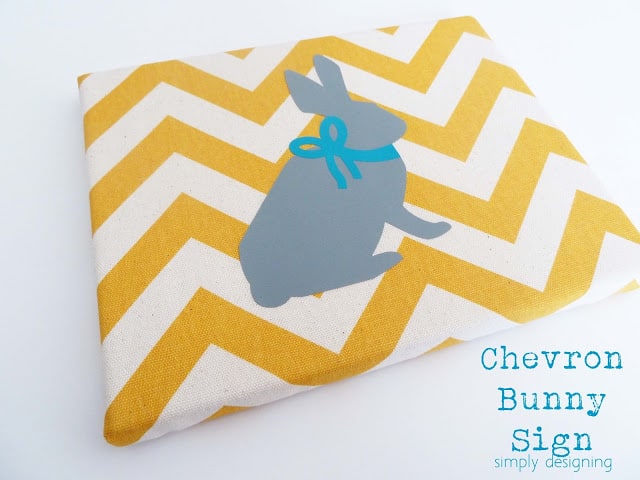
chevron bunny sign

Chevron Bunny Sign

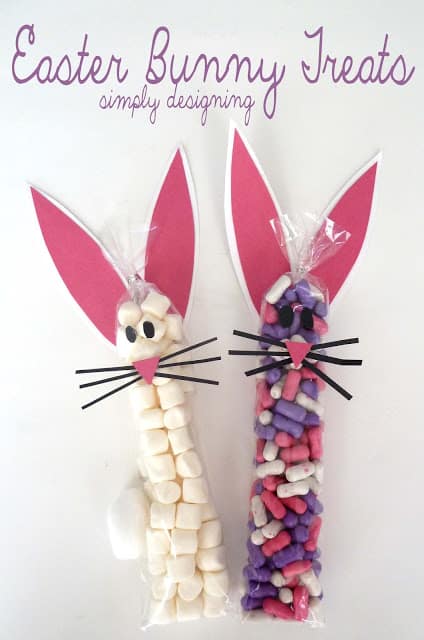
easter bunny treat bags

Easter Bunny Treat Bags

This post appeared first on DecoArt's blog.

More Holiday Inspiration

  • caramel hot cocoa bomb recipe with white mugs in the background
    Caramel Hot Cocoa Bombs
  • Peppermint Hot Chocolate Bombs
    Peppermint Hot Chocolate Bombs
  • hot chocolate bomb
    Hot Chocolate Bomb Recipe
  • This is the most comprehensive family holiday gift guide that is perfect for the family who wants to spend more time together and create family memories.
    The Most Comprehensive Family Holiday Gift Guide

Reader Interactions

Comments

  1. Julie

    March 20, 2016 at 7:01 pm

    Simple. easy. sweet what more could you want! Easily adapted to work with any décor too, lovely!

    Reply
  2. Marie

    March 22, 2016 at 9:38 pm

    What a super cute Easter decoration! Plus, it looks so easy to make. Love it! Thanks for sharing at Merry Monday this week. 🙂

    Reply
  3. Samantha

    March 24, 2016 at 9:32 am

    Super cute! Love the flower, such a great touch!

    Reply
  4. Kristi Dominguez

    March 25, 2019 at 9:58 am

    This is SO pretty! Such a lovely piece for Easter! Thank you bunches for linking up with us this week! xoxo

    Reply

Leave a Reply Cancel reply

Your email address will not be published. Required fields are marked *

Primary Sidebar

Hello Friends!

Ashley Phipps Simply Designing I'm Ashley Phipps and I love sharing SIMPLE DIY, home, travel, food, craft and essential oil ideas with you! Learn more about me here. Contact me here. Find Media/PR info here. Privacy is important to us. Please read my Privacy Policy.
  • Email
  • Facebook
  • Instagram
  • Pinterest
  • Twitter
  • YouTube

Join our mailing list

Get our latest updates & exclusive content!

Privacy Policy, Disclaimer & Terms of Use

Favorite Posts

woman installing lpv flooring

How to Install LVP Flooring and Why it is my FAVORITE Flooring for Families

body scrub recipe book

Body Scrub Recipe Book with 20 Scrumptious Recipes


COPYRIGHT: You’re welcome to link to Simply Designing or use a single image with a brief description to link back to any post. Republishing posts in their entirety is strictly prohibited.  Any use for commercial purposes is strictly prohibited. Feel free to pin on Pinterest. Find out more in my Privacy Policy.  Simply Designing with Ashley Phipps LLC is a participant in the Amazon Services LLC Associates Program, an affiliate advertising program designed to provide a means for sites to earn advertising fees by advertising and linking to Amazon.com . Simply Designing with Ashley Phipps LLC and it’s owner, employees and affiliates are not liable in any way for injury or loss (whether physical, emotional, monetary or any other kind of loss) resulting from any inspiration, ideas, directions or information gained from this website. We advise you to always follow manufacturer instructions, take appropriate safety precautions and hire a professional when in doubt. We love it when you use our site for inspiration, but by using it, you agree that you do so at your own risk.

Privacy Policy 

Copyright © 2025