• Skip to primary navigation
  • Skip to main content
  • Skip to primary sidebar

Simply Designing with Ashley

  • DIY
  • Oils
  • Recipes
  • Craft
  • Travel
  • Decor
  • Holiday
menu icon
go to homepage
  • DIY
  • Oils
  • Recipes
  • Craft
  • Travel
  • Decor
  • Holiday
search icon
Homepage link
  • DIY
  • Oils
  • Recipes
  • Craft
  • Travel
  • Decor
  • Holiday
×

Halloween Candy Bars

Published: Oct 2, 2015 · Modified: Oct 17, 2017 by Ashley Phipps · 412 words. · About 3 minutes to read this article. · 3 Comments · This post may contain affiliate links · This blog generates income via ads and sponsored posts · This blog uses cookies · See our privacy policy for more info Filed Under: Gift Ideas, Holiday, Recipes

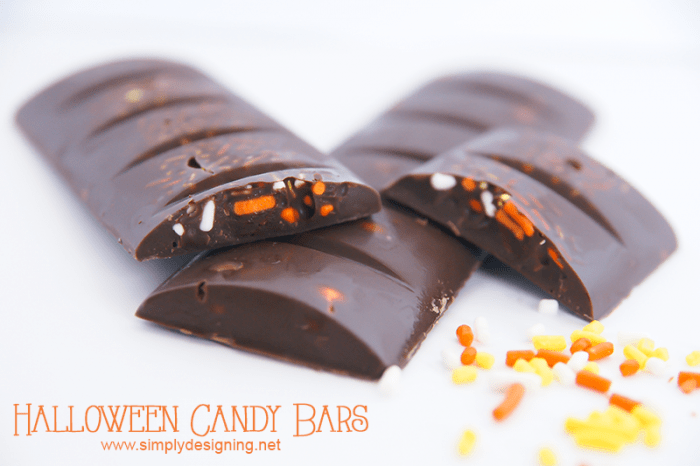
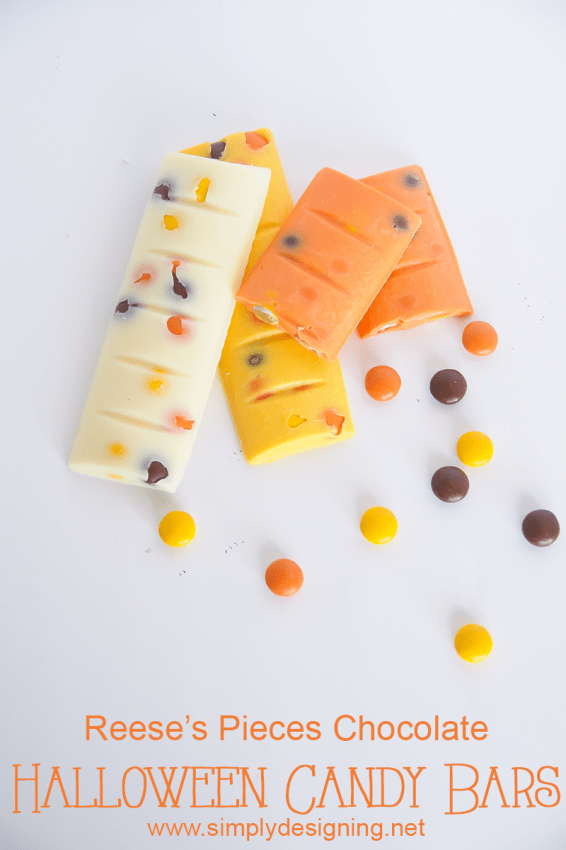
I love making tasty treats!  And making chocolate is one of my favorite things to make!  It is really so simple to create fun and tasty chocolate candy bars with just a few ingredients and a little bit of time!  Come and see how fun and simple it is to make, and customize your own Halloween Candy Bars!  These are so fun to make because you can truly customize them however you want!  By starting with a simple chocolate base, you can add any type of candy or treats (or sprinkles) to create a really fun and beautiful candy bar!

Halloween Candy Bar #halloween #candy #chocolate #fall #crafts

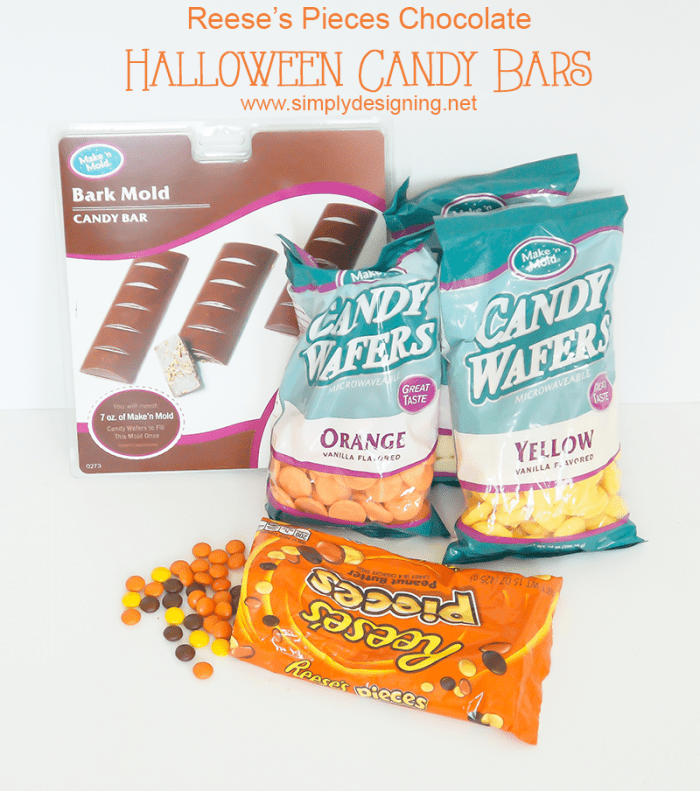
To create Halloween Candy Bars, you will need:

  • Make 'n Mold Bark Mold Candy Bar
  • Make 'n Mold Candy Wafers (orange, white, yellow, dark chocolate)
  • Make 'n Mold Microwaveable Candy Trays
  • Candy Fillings (jimmies, Reese's Pieces or other)

supplies

There are many ways to melt chocolate but I love microwaving it!

And I love the microwavable candy trays!  They are an inexpensive way to simply melt your chocolate without needing to then spend a lot of time cleaning up the mess!  I love the idea of melting chocolate in disposable containers and these work perfectly for that!

As a hint though, I found that if I put the microwavable try directly in my microwave, the bottom tends to overheat before the rest of the chocolate melts.  So I suggest placing your tray on a glass plate and then microwaving your chocolate!

DIY Candy Bar #halloween #candy #chocolate #fall #crafts

Simply put, you will microwave your chocolate on 40% power for about 10-20 seconds at a time, stirring in between until fully melted.

You can see all of my chocolate melting tips and tricks here.

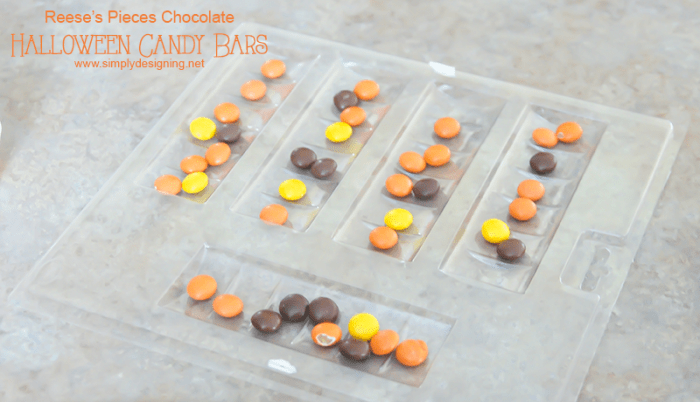
Once your chocolate is melted, you can fill your trays with your desired candy (I did a few with Reese's Pieces in them and a few with jimmies!)

Candy Bar Mold

Then you will spoon or pour your melted chocolate into the mold.  Gently tap your mold against the counter to remove air bubbles and then let your chocolate harden completely.

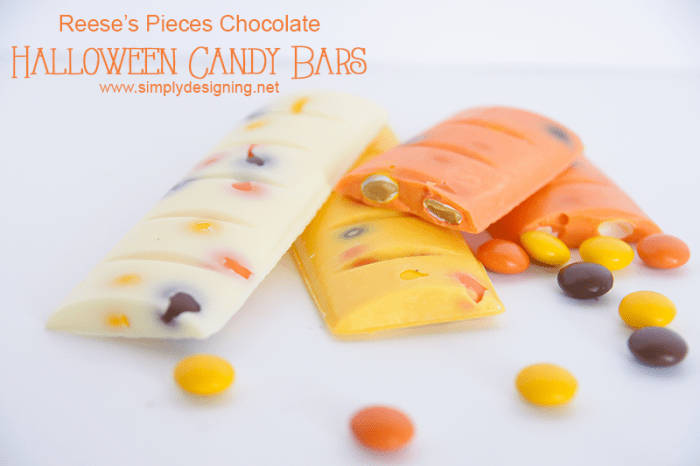
Reeses Pieces Halloween Candy Bar #halloween #candy #chocolate #fall #crafts

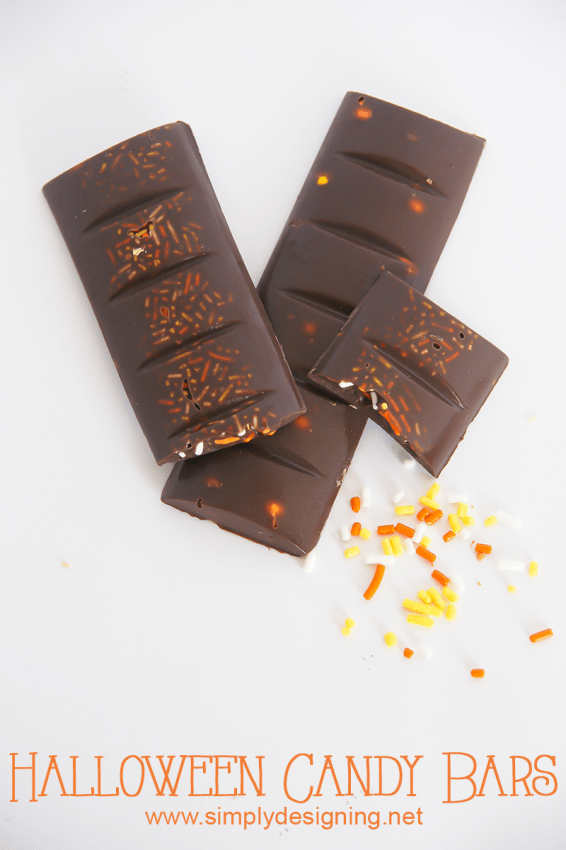
I love how these candy bars look in Halloween colors!  But they also look create in dark chocolate as well!  One of my favorite parts about making your own chocolate is the ability to customize these and create any kind and flavor of candy bar you like!  But I really do love how these Halloween Candy Bars turned out!

Peanut Butter Chocolate Candy Bar #halloween #candy #chocolate #fall #crafts

You might also like:

mint+chocolate+bark+1 | Halloween Candy Bars | 1 | halloween candy bars

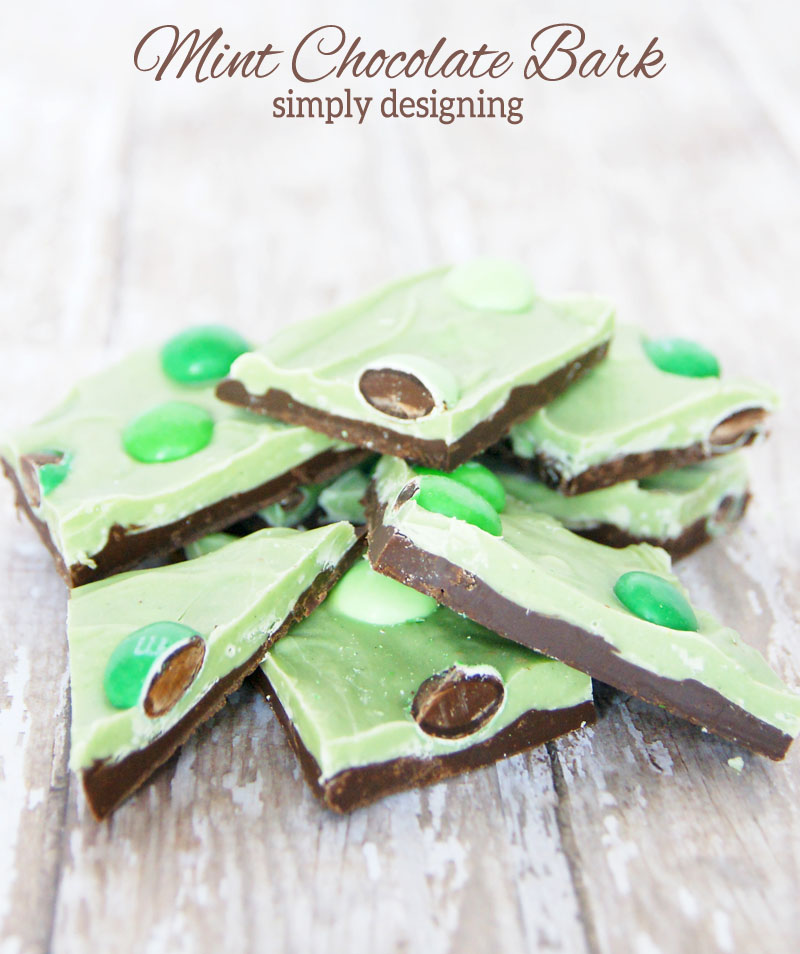
Mint Chocolate Bark

Cranberry&Walnut Winter Bark 01a | Halloween Candy Bars | 2 | halloween candy bars

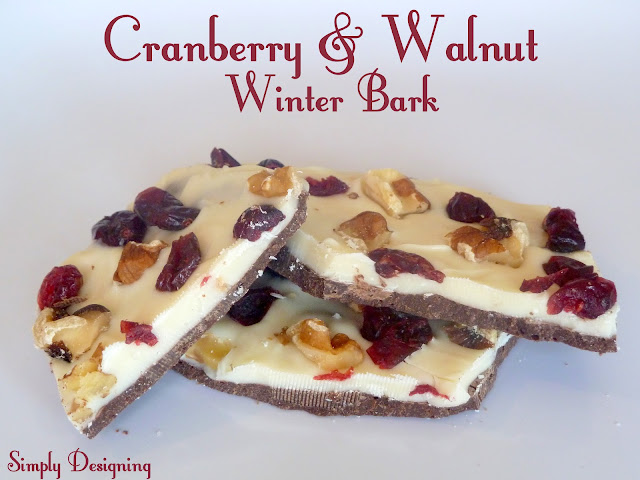
Cranberry & Walnut Chocolate Winter Bark

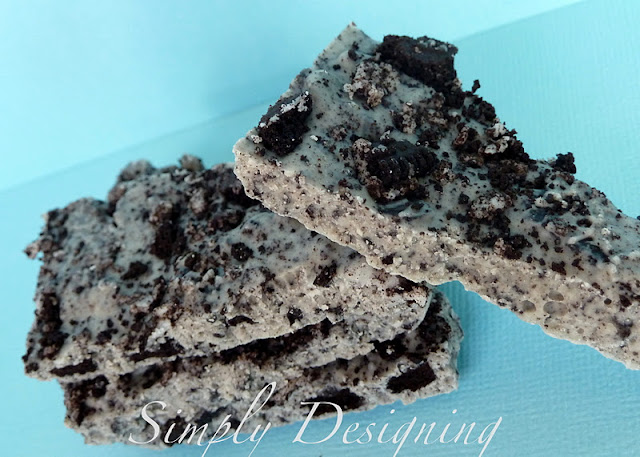
oreo+bark+01 | Halloween Candy Bars | 3 | halloween candy bars

Oreo Bark

This post first appeared at Crafts Unleashed blog.

More Gift Ideas

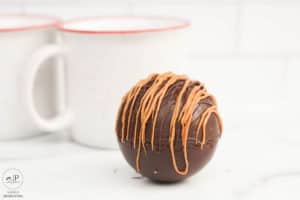
  • caramel hot cocoa bomb recipe with white mugs in the background
    Caramel Hot Cocoa Bombs
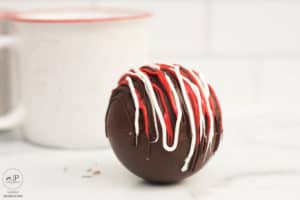
  • Peppermint Hot Chocolate Bombs
    Peppermint Hot Chocolate Bombs
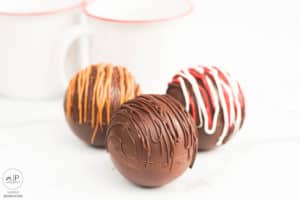
  • hot chocolate bomb
    Hot Chocolate Bomb Recipe
  • This is the most comprehensive family holiday gift guide that is perfect for the family who wants to spend more time together and create family memories.
    The Most Comprehensive Family Holiday Gift Guide

Reader Interactions

Comments

  1. Mimi

    September 25, 2016 at 7:47 pm

    Ashley, what a cute, adaptable idea! Mimi xxx

    Reply
  2. Megan

    September 29, 2016 at 9:42 am

    All these variations look delicious! I've used those candy melts in the past to decorate treats, but never thought to make it THE treat! Thanks for sharing this at Merry Monday! Pinned!

    Reply
  3. Jasmine | Midsummer Life Dream

    September 19, 2019 at 8:34 am

    This is so simple, but genius! I've got to try this!

    Reply

Leave a Reply Cancel reply

Your email address will not be published. Required fields are marked *

Primary Sidebar

Hello Friends!

Ashley Phipps Simply Designing I'm Ashley Phipps and I love sharing SIMPLE DIY, home, travel, food, craft and essential oil ideas with you! Learn more about me here. Contact me here. Find Media/PR info here. Privacy is important to us. Please read my Privacy Policy.
  • Email
  • Facebook
  • Instagram
  • Pinterest
  • Twitter
  • YouTube

Favorite Posts

Delicious Easter Treats

Easy Easter Bunny Projects

Easy Easter Bunny Projects


COPYRIGHT: You’re welcome to link to Simply Designing or use a single image with a brief description to link back to any post. Republishing posts in their entirety is strictly prohibited.  Any use for commercial purposes is strictly prohibited. Feel free to pin on Pinterest. Find out more in my Privacy Policy.  Simply Designing with Ashley Phipps LLC is a participant in the Amazon Services LLC Associates Program, an affiliate advertising program designed to provide a means for sites to earn advertising fees by advertising and linking to Amazon.com . Simply Designing with Ashley Phipps LLC and it’s owner, employees and affiliates are not liable in any way for injury or loss (whether physical, emotional, monetary or any other kind of loss) resulting from any inspiration, ideas, directions or information gained from this website. We advise you to always follow manufacturer instructions, take appropriate safety precautions and hire a professional when in doubt. We love it when you use our site for inspiration, but by using it, you agree that you do so at your own risk.

Privacy Policy 

Copyright © 2023