I have tackled several furniture refinishing projects over the last couple of years and I love experimenting with new techniques, new products and new ways to create different looks and finishes. Something that I had always wanted to do was to use a glaze. So today I want to show you how easy it is to refinish furniture using glaze and I bet you'll fall in love with it as quickly as I did!
Several years ago, when I re-did my entry way table to red, after I finished painting it, I distressed it and then put a coat of stain on it. I quickly wiped some of the stain off, but much of it remained on the table. Since my red paint was a bit too bright for me, this was the look I wanted and so it worked perfectly for this application.
I have since tried to use this same method on other wood pieces. And it works will on bright / dark colors which I want the overall color to darken or become muted. But on light colors, it doesn't work as well. I mean it works, it gives is a certain dark and distressed look, but not always what I want.
Enter Glaze.
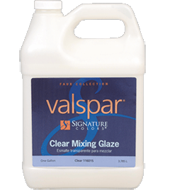
A Clear Mixing Glaze can thin out (and essentially lighten) paint or stain and it also increases the work-ability of whatever you mix it with as well. It does what!?!??!?
Clear mixing glaze actually lengths the dry time of your paint / stain which means, you have more time to "work" with it. In this case, it would give me more time to wipe off the excess stain before it dries!
Let me show you what I mean.
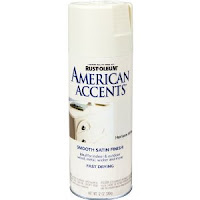
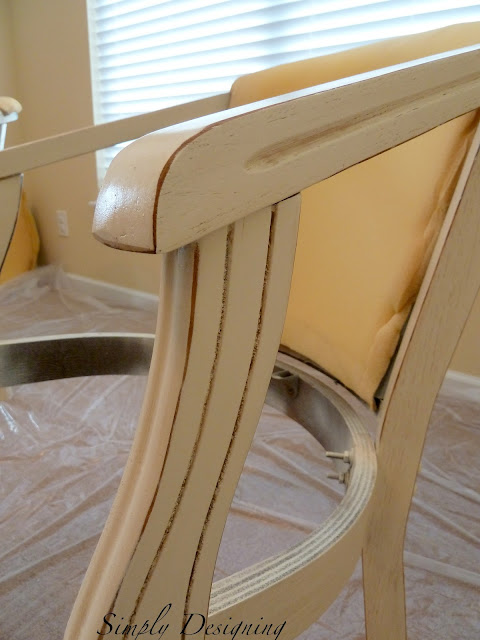
I've been working on refinishing a couple of chairs for my piano room. After we took off the leather, and gave the chairs a nice sand, I used good 'ole spray paint to paint my chairs. I used +Rustoleum Heirloom White spray paint (one of my all-time favorite paints!) to paint both of these chairs! It is a really pretty soft white color. Not a bright white, not ivory, a soft in-between color! Beautiful! (you can check out my completed chairs here) Anyway...
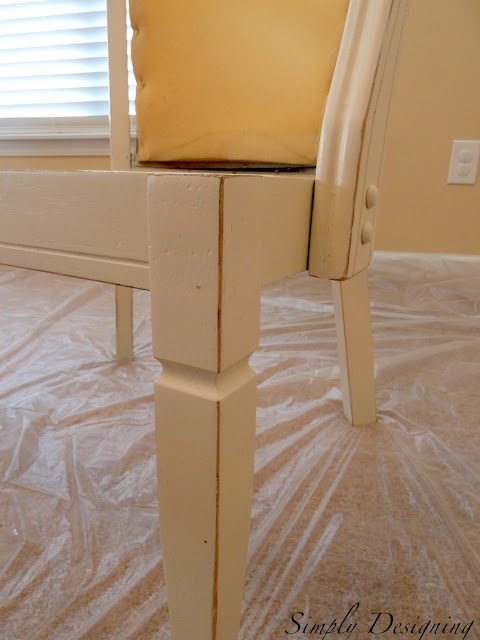
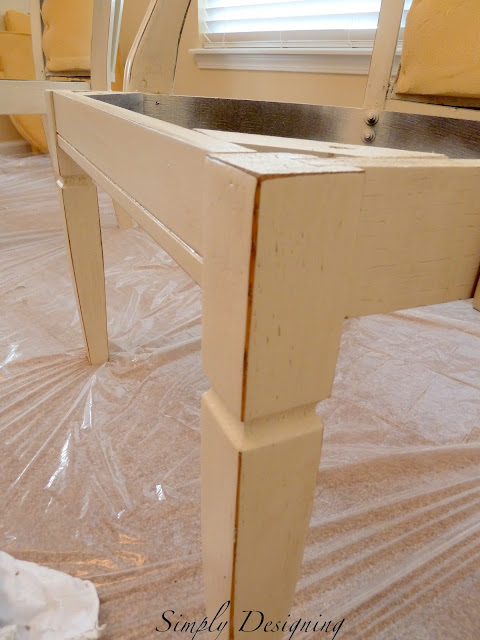
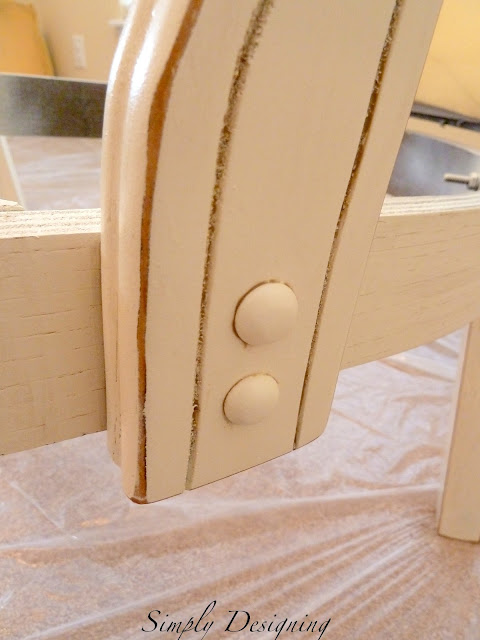
After the chairs received a couple of coats of paint and were allowed to dry completely, we took our handheld electric sander and distressed the edges up a bit. After you do this it is important to wipe down the entire chair with a tack cloth.
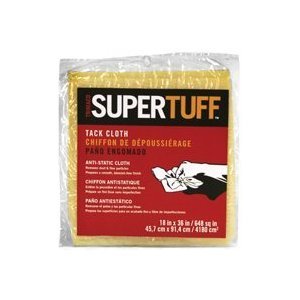
Tack cloths will remove your saw dust from your furniture. If you don't get all of the saw dust off after sanding, you will inevitable end up with pieces of it in your next layer of paint / stain. This will lead to a rough possibly bumpy finish and I can guarantee you won't be happy with your results. So I always recommend using a tack cloth after any sanding.
Next you will take your stain and your clear mix glaze (I used +Valspar Clear Mixing Glaze from +Lowe's Home Improvement) and mix them together in a new container according to the directions on the back of the mixing glaze. It's about a 4-8 parts glaze to 1 part paint mixture though.
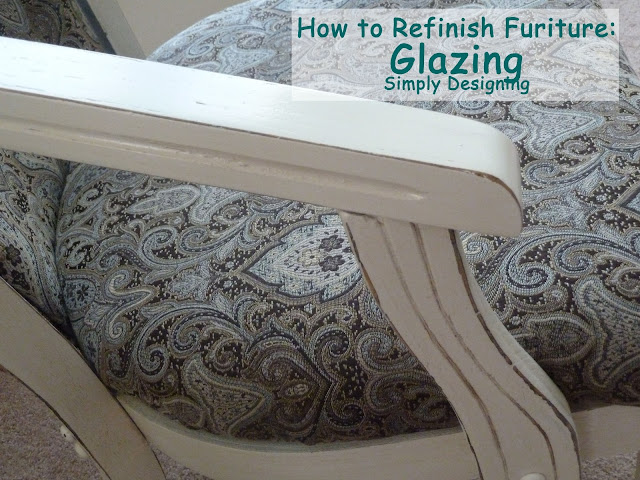
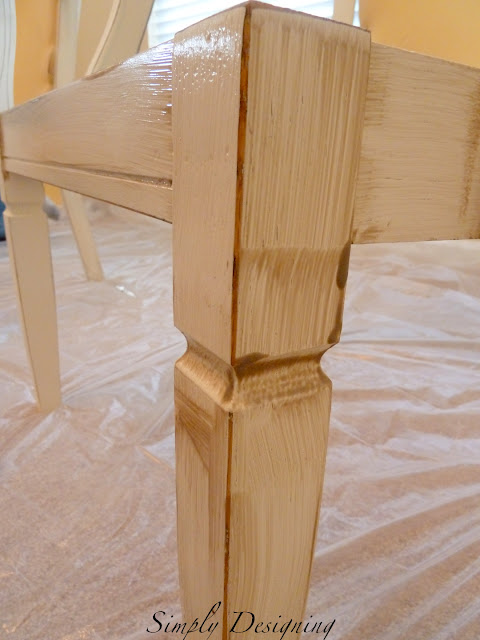
Using a clean, soft cloth, rub stain off of surface. I like to leave a little more stain in the distressed and recessed areas while taking more stain off of the white surfaces. But it's totally a personal preference thing so play with this and see what look you like best.
After the final clear coat is dried, your furniture is ready to use!
Oh and one last thing, please note that this glaze takes 30 days to completely cure. After that time you can wipe your surfaces down with a non-abrasive cleaner but be careful wiping it down before it has cured completely.
I think the results are amazing! I have used this technique with several pieces of furniture I have done, several boards, and lots of crafts and decor items that I have made! After doing this technique once, I realized how EASY glaze makes it to distress furniture and I just love the look too!
Have you used glaze before?





Rain on a Tin Roof
Thanks so much for sharing! This post was very informative!! I haven't tried glazes yet, but was really wanted to. This helped a lot!<br /><br />Jenna @ rainonatinroof.com
Erika Monroe-Williams "The Hopeless Housewife"
Thanks for linking up to our first ever Link Party! I love this technique and hope you will share with us again!
ehtesham hyder
I love this blog! you have done great job.<br /><a href="http://www.furniturenation.com/" rel="nofollow">Furniture stores in dallas</a>
Lydia Bridges
That's amazing. I love those tips! Thank you for sharing this information.- <a href="http://www.colonialrestorationstudio.com/" rel="nofollow">www.colonialrestorationstudio.com</a>
Jill @ Create.Craft.Love.
I love this! The glazing adds such a cool dimension to the furniture!
reFresh reStyle
Love the glaze! And the heirloom white.