A big huge thanks to The Tile Shop for sending us product to help make this post possible.
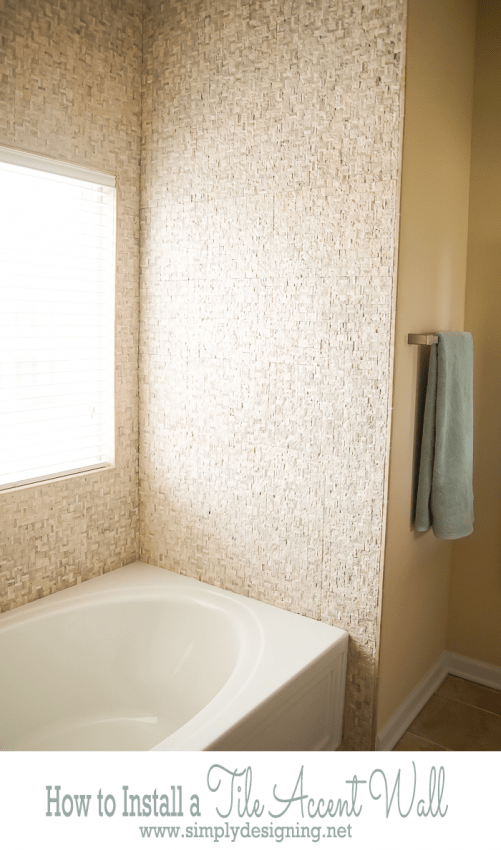
I am so excited to be sharing our final tile post from our master bathroom remodel! This project has been huge, and since we DIY'd it completely ourselves, it took a little longer then we hoped. But we are grateful it is complete and our hard work paid off big time! Our bathroom is amazing! I have a few other posts to share with you about this space, but this is our final tile project in the room. When you walk into our bathroom, the first thing you see is a tub and a huge wall. We knew we wanted to turn that in a beautiful focal point and make it an accent wall. And we decided to do it using a beautiful architectural tile! So here is our complete tutorial for How to Install a Tile Accent Wall!
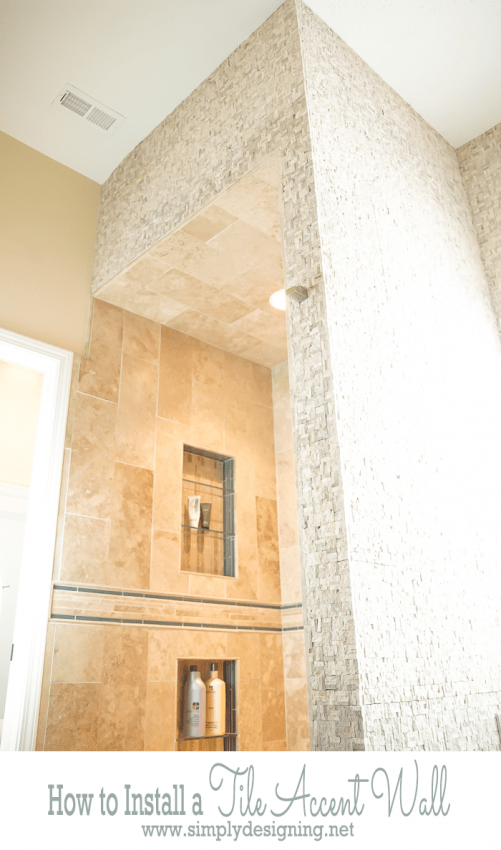
How to Install a Tile Accent Wall
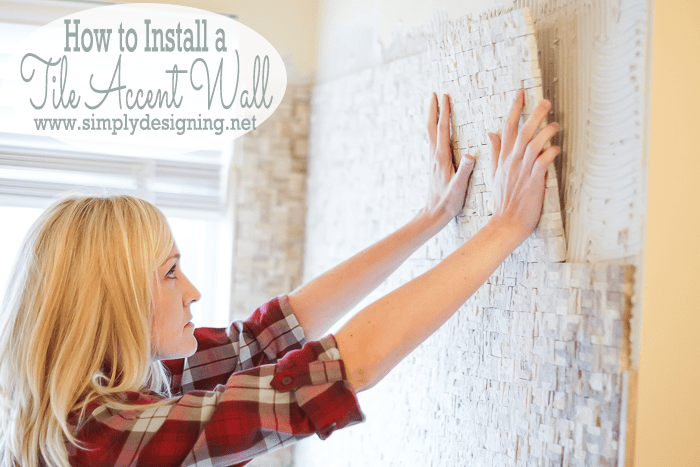
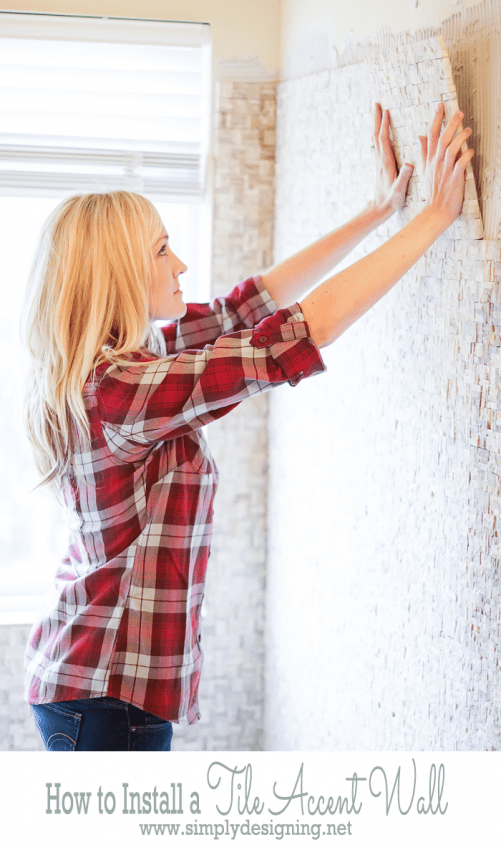
This was one of the easier areas to tile in our bathroom because there were very few cuts and the tile we chose came in 12" x 12" sheets. This accent tile also did not need to be grouted so that saved us a few time consuming steps in this process. In fact, it is possible to install a tile accent wall like ours fairly quickly!
Prep Your Surface
We had a bit of existing tile around our tub insert so we removed it when we demo'd the rest of the bathroom. But we were left without walls in some areas. So we installed ½" thick Perma Base Cement Board directly to the studs in the areas where we needed to. We the tapped the seams and applied thinset over the tape.
Lay Your Tile
With an architectural tile such as this we did not need to grout. So we placed the tile sheets as close as possible to each other. We staggered the tile sheets to avoid seeing visible rows or columns.
We added pencil tile around the edges of this wall and around the window ledge for a clean finished look.
Cutting Tile Tips
Grout
Wait. I just told you you didn't need to grout this tile!! It's true. You don't need to. And honestly, with how rough the tile is, it would be nearly impossible to grout it well. However, there were a few areas where there were visible gaps in between tile sheets even though we pressed them as close together as possible. In these areas we added a tiny bit of grout by hand and wiped it down with water and a sponge. We also added grout between the accent tile and the pencil tile.
A few additional tips to remember when you install a tile accent wall:
- Be sure to have all the right tools prior to beginning a project like this. It is the worst to get part way through a project and have to stop to run out to the store.
- Be careful to lay your tile evenly so that one tile isn't higher then the next. But if you use architectural tile like we did, there will be some variation. So you don't have to be a perfectionist about this.
- Measure twice and cut once.
- When in doubt, ask a professional! The Tile Shop has many professionals that love to help answer your DIY questions to help you install a tile accent wall.
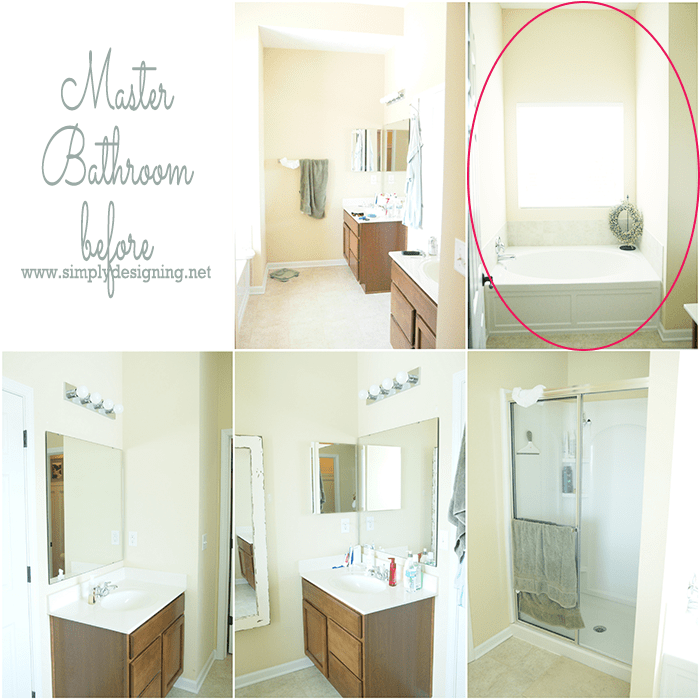
As a reminder, here is what our bathroom looked like before. Check out the pink circled area, that is the empty wall we turned into a beautiful accent wall:
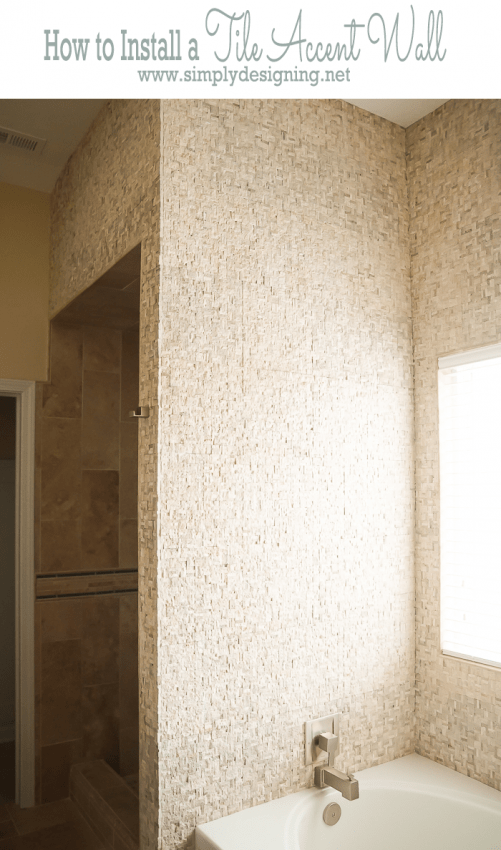
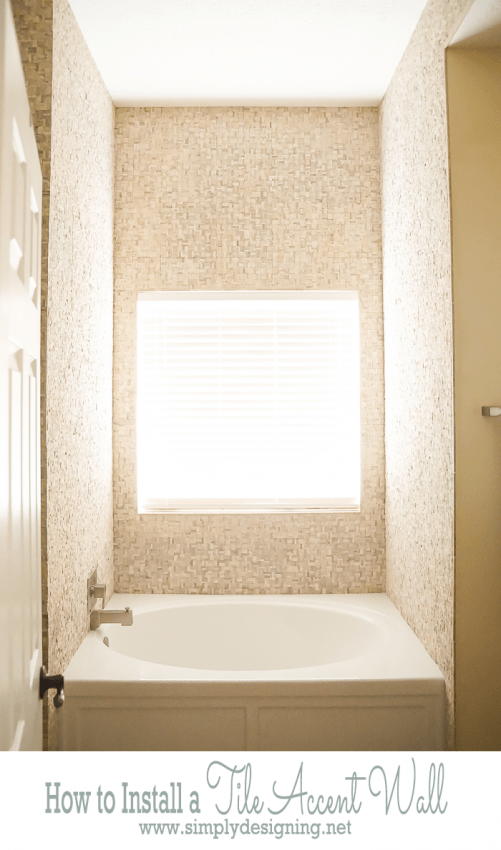
And here is what it looks like right now:
Isn't the transformation amazing!?!? We really love how this turned out! I love my bathroom, I think it might be my favorite room in my home! I now regularly give people tours of my bathroom...which is kind of weird...but true! It is such a stunning transformation and a beautiful master bathroom! We truly turned this from builder grade blah to amazing!
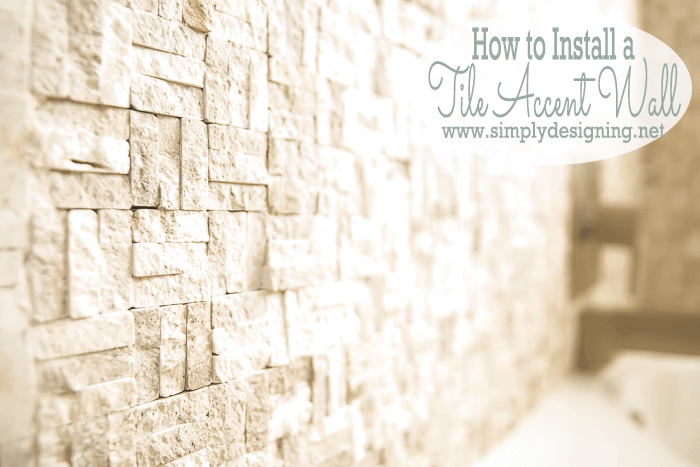
And here is a close up of how cool this tile is!
Here is a quick supply list of what we used in case you want to install a tile accent wall too:
SUPPLIES Needed to Install a Tile Accent Wall
- Tile: Multi Tumb. Split Rec., #659245
- Pencil Tile: Bucak Lt Walnut Somerset, #658307
- Proflex Thinset (aka mortar)
- Trowel
- Notched Trowel
- Mortar Mixing Paddle (for use with a power drill)
- Tile Saw
- Eye Protection
- Ear Protection
- 1 Bucket
Check Out Our Master Bathroom Remodel Series:
Part 1: Master Bathroom Inspiration
Part 6: Installing Moen Posi-Temp® Shower Fixtures
Part 7: How to Install Radiant Heated Tile Floors
Part 8: Install New Tile Counter Tops
Part 9: Install a Tile Accent Wall
How to Install a new Shower Door
How to Install new Bathroom Mirror Frames (in about 10 minutes!)
DIY Framed Mirror with Hidden Jewelry Organization
Please note that I am not a professional. I am just sharing what worked for us. As always please use all proper safety precautions and read and follow all manufacturer instructions. Please note that I am not responsible in any way for any outcome if you try this yourself. I am not liable for any injury or additional cost or expense incurred. I always recommend consulting and hiring a professional if needed. And always be sure to check with local building codes to obtain all permits needed for any DIY project.




Jenna
Ashley! This tile wall is simply stunning! You're making me want my own!
Ashley Phipps
Thank you so much Jenna!
Amy Anderson
Those results are gorgeous - I would never guess this is a "do it yourself" project. Looks like something a professional would have to do!
Ashley Phipps
Oh my goodness you are so sweet for saying that!! We are in love with the results too!