This summer we have been hard at work on the inside of our home, mainly our master bathroom remodel, however we have also taken the opportunity to do a few outdoor projects as well. Earlier this summer we re-stained our deck and pergola, but we had two planter boxes and an arbor that we had built last year that we still needed to stain. So I was absolutely thrilled when Thompson's WaterSeal told me about one of their new products, Wood Stain in a Spray Can and I couldn't wait to try it out to help us quickly stain our planter boxed and arbor! A big huge thanks to Thompson's for helping make this post (and project) possible!
Like I mentioned, last year we build our secret garden area! It contained two planter boxes, an arbor and we also landscaped around this final side of our home. We really do love how it turned out, it is a beautiful little oasis on the side of our home that is actually quite private. But we knew that we needed to stain our planter box and arbor asap. And I was hoping to find a way to quickly stain this area since we have been short on time.
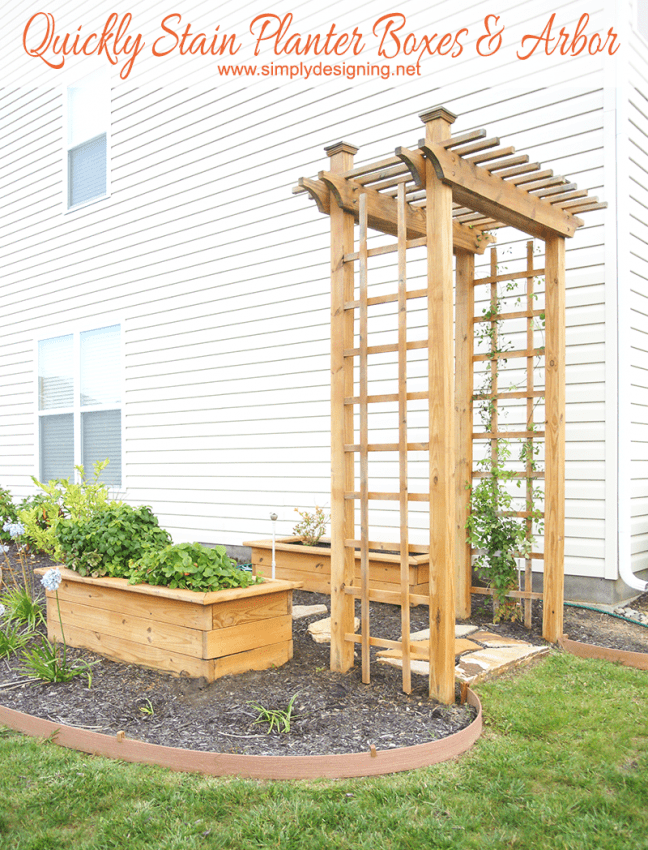
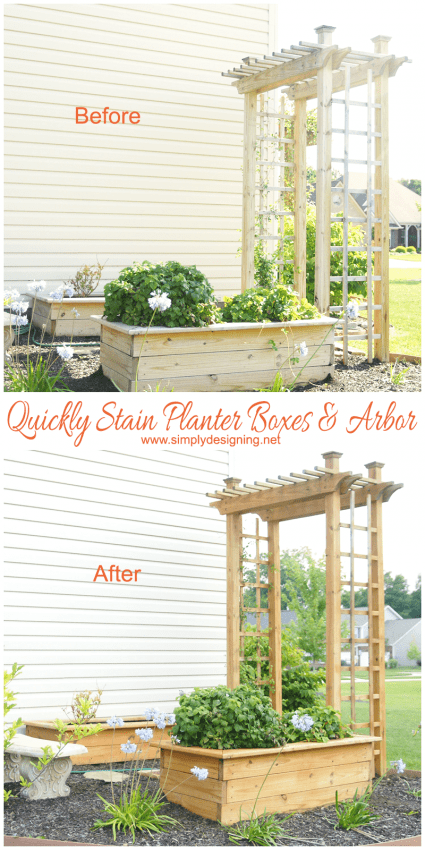
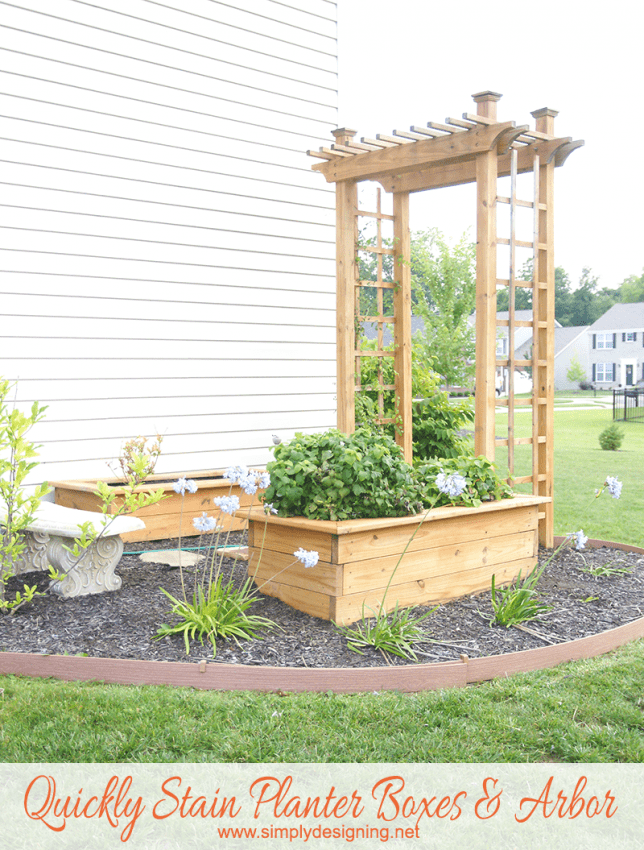
This is how our planter boxes and arbor looked at the beginning of the summer...and what they look like after we stained them! The stain made a huge difference in the appearance of how they look, but more importantly, 0ur wood is now protected from natural wear and from water.
We used Thompson's Water Seal when we stained our deck and were really happy with how it turned out. We planned to stain our secret garden area this summer but hadn't gotten around to it yet. Until my sweet friends at Thompson's told me about their amazing product, perfect for staining small jobs! Thompson's WaterSeal now has Wood Stain that comes in a spray can and they told me it would be the perfect solution to quickly stain our planter boxes and arbor!
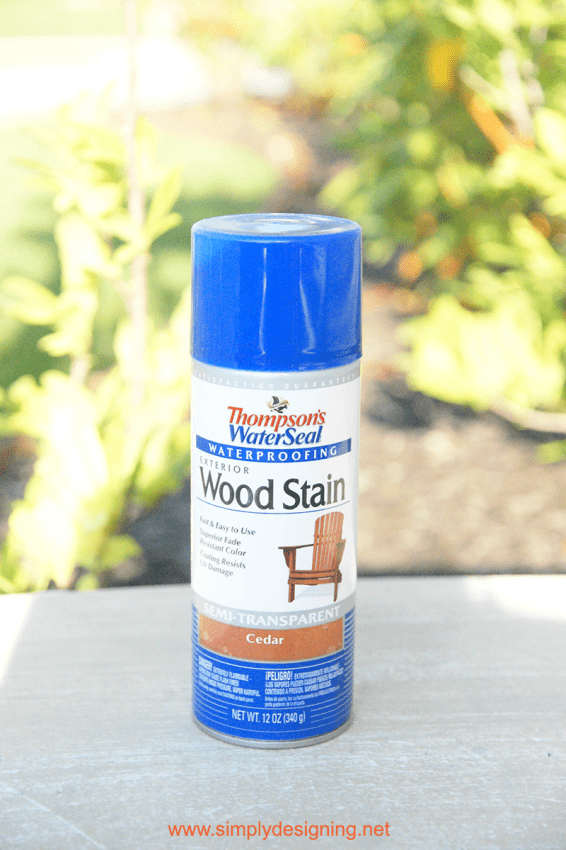
We chose Thompson's WaterSeal Waterproofing Exterior Wood Stain, Semi-Transparent, Cedar in the spray can to use for this project! This is the same color that our deck is stained.
First we cleaned our planter boxes and our arbor with a deck cleaner. Then we waited three consecutive, dry days until the wood had sufficiently dried out. Our summer has been a wet one, and usually two or three times a week we end up with rain, so it was tricky for us to find enough dry days in a row to get this project completed! But it is important to make sure your wood is prep'd properly, and completely dry before continuing on.
And then we stained our entire project in about 30 minutes. Seriously!!!
How to Quickly Stain Planter Boxes & Arbor
I was curious just how much time I would save, spraying the stain versus applying it with a brush. But man oh man, was I impressed! It literally took about 5-7 minutes to stain each of our planter boxes!!! Seriously! It was so fast!
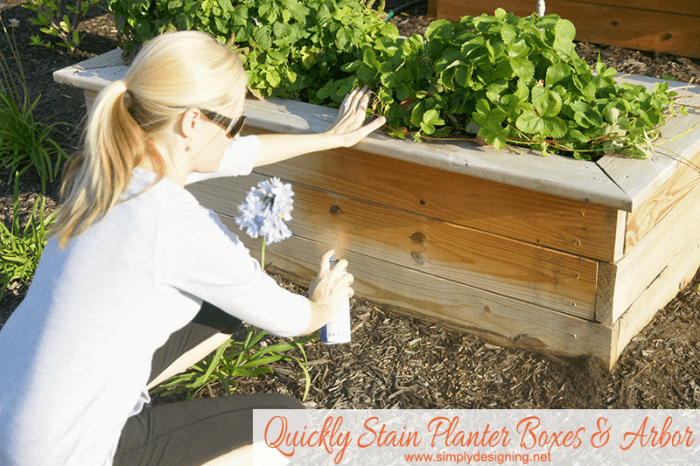
You simply spray the stain onto the wood like you would with normal spray paint! No rubbing at all! The stain soaked in nicely and did not streak at all!
On the upper portion of our planter boxes we used a thick piece of cardboard to shield the dirt and plants from over spray.
But no joke, in 5-7 minutes, and with about 1 container of spray, I had a planter box completely and totally stained, sealed and protected!
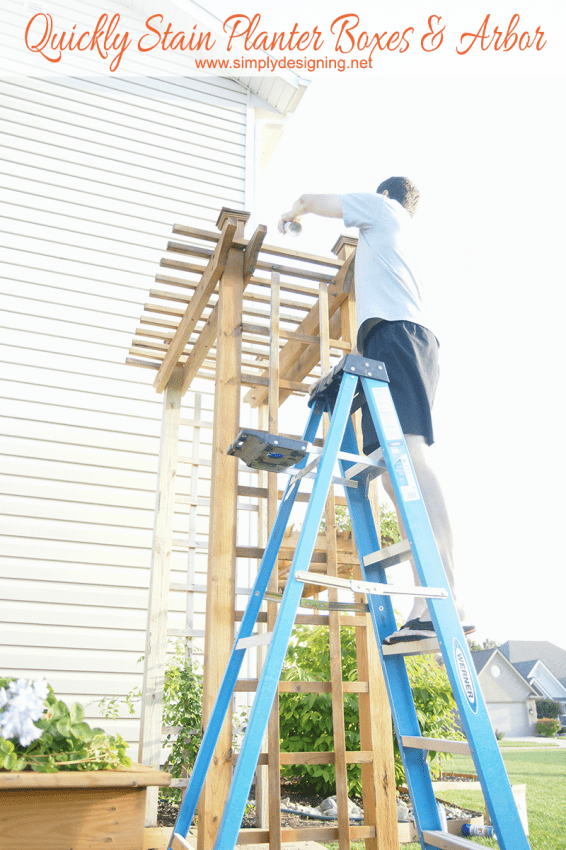
The arbor took a little bit longer. It took about 15 minutes to stain and I had to call in reinforcements to help with the high areas. This arbor is tall and there were portions of it that my 6'3" husband, on a ladder could barely reach! So thankfully he helped me get those areas because I am much shorter then he is and I couldn't reach them at all.
But even with the lattice and the all the extra decorative trim we have on the arbor, this was stained, sealed and protected in about 15 minutes! Our arbor took about 2 cans of stain to complete.
I was honestly in shock at how quickly this went. And I love how it looks too!
Now that I know that Thompson's WaterSeal exists in spray form, and that it works so well, I will definitely re-think any outdoor staining project I ever do and consider using their stain in a spray can whenever I can!
I love how beautiful our secret garden area looks now! It finally looks finished and complete! Thanks Thompson's WaterSeal for the help!




Michele @ The Scrap Shoppe
Um, that's AWESOME!! The thought of staining those large items makes my toes curl at the amount of time I thought I would need to get it done. I'm super impressed!! And awesome job on that arbor and planters! They look phenomenal!
Ashley Phipps
Thanks Michele! It really was sooooo simple!
ColleenB.
Very impressive. Looks lovely and it really made a big difference.
Amazing what alittle stain or paint can do to a project.
You're going to be the envy of the neighborhood with your lovely landscaping
Ashley Phipps
Ah thanks so much Colleen! 🙂 And thanks for stopping by!
Mary Beth @ Cupcakes and Crinoline
Awesome! So much easier than painting. Everything looks so crisp and pretty.
Ashley Phipps
Thanks so much! And thanks for stopping by!
Heather
Gorgeous!! I love quick results! I'll be checking this product out soon!
Ashley Phipps
Oh thank you so much Heather!!
Natalie @ A Turtle's Life for Me
That's insane!! I've never heard of this product but I'm heading out tomorrow to see if I can find some! I built some planter boxes earlier this year and have been dragging my feet getting them stained, but this would make it SO fast! I just love this post! Thank you!!
Ashley Phipps
Oh I am so glad that this helped! It really was sooooo fast!!!
Jenna
Looks great, Ashley! I love that spray stain - I used it on my lattice and the difference was amazing!
Ashley Phipps
Thanks Jenna! Oh I bet your lattice looks amazing!!!
Amanda @ Serenity Now
What a great before and after! You planters and arbor are gorgeous! 🙂
Ashley Phipps
Thank you so much Amanda!!! And thanks for stopping by!
kristi@ishouldbemoppingthefloor
Wow, what a huge difference!! And love how easy it is!
Ashley Phipps
Thanks Kristi!! It really was so simple!
Randi Sowders
I am loooooving how your garden looks! And what a great idea about the spray stain!
Bethany the ngnrdgrl
Beautiful garden! Looks much more complete now that it is stained. 😀
Ashley Phipps
Thank you so much!
Bernie Taylor
Hi, Ashley. Last year, my daughter gave me a wooden planter. It has sat in the rain, snow and sun. I want to restore it, so I was so happy to find your post. The stain looks easy to use, it's the right amount and the results are beautiful. But I was wondering, was it Thompson's deck wash that you used? And did you waterproof the interior of your planters; and, if so, did you use the stain or a liner? This is the first planter I've had so any help you can give me is greatly appreciated.