• Skip to primary navigation
  • Skip to main content
  • Skip to primary sidebar

Simply Designing with Ashley

  • DIY
  • Oils
  • Recipes
  • Craft
  • Travel
  • Decor
  • Holiday
menu icon
go to homepage
  • DIY
  • Oils
  • Recipes
  • Craft
  • Travel
  • Decor
  • Holiday
search icon
Homepage link
  • DIY
  • Oils
  • Recipes
  • Craft
  • Travel
  • Decor
  • Holiday
×

Christmas Tree String Art

Published: Dec 11, 2014 · Modified: Dec 26, 2014 by Ashley Phipps · 458 words. · About 3 minutes to read this article. · 4 Comments · This post may contain affiliate links · This blog generates income via ads and sponsored posts · This blog uses cookies · See our privacy policy for more info Filed Under: Holiday, Sponsored Post

I am part of the Make It Fun Team® with FloraCraft® and I am thrilled that they helped make this post possible today.

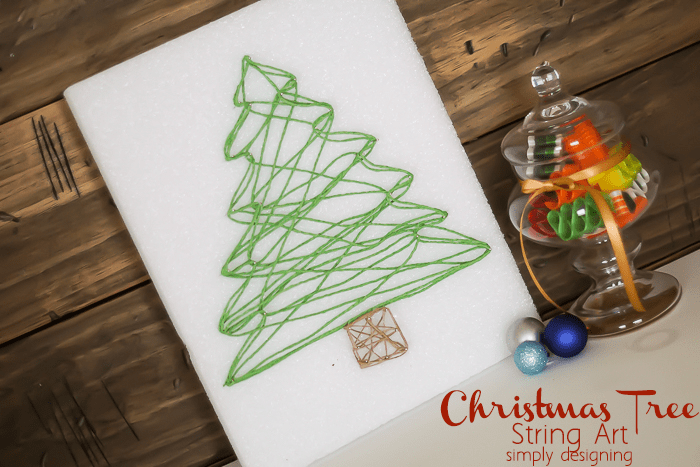
I can't believe Christmas is right around the corner!  My house is mostly decorated but I decided to make a really cute and fun last minute Christmas decoration and wall art using a sheet of FloraCraft® Make It: Fun® Styrofoam, a few pins and some fun colored jute and paper rope!  It only takes a few minutes and a few supplies to create this really fun Christmas Tree String Art!  Come see how!

Christmas Tree String Art

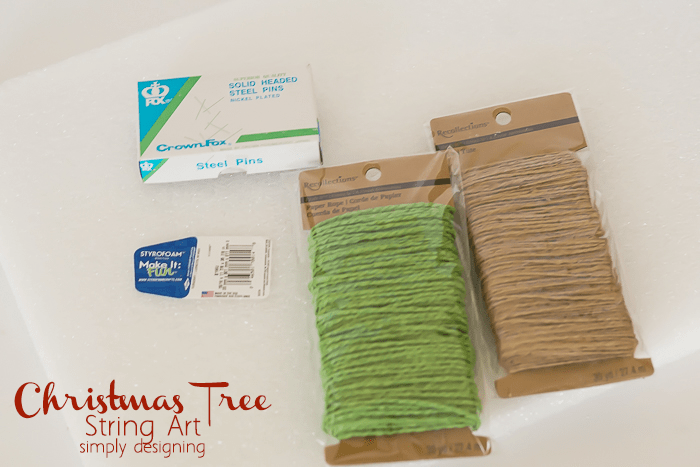
To make this Christmas Tree String Art, you will need:

  • FloraCraft® Make It: Fun® Foam Sheet, 15/16" x 11 ⅞" x 35 ⅞", cut down to approximately 15" long
  • Straight Pins
  • Jute, tan
  • Paper Rope, green

Supplies

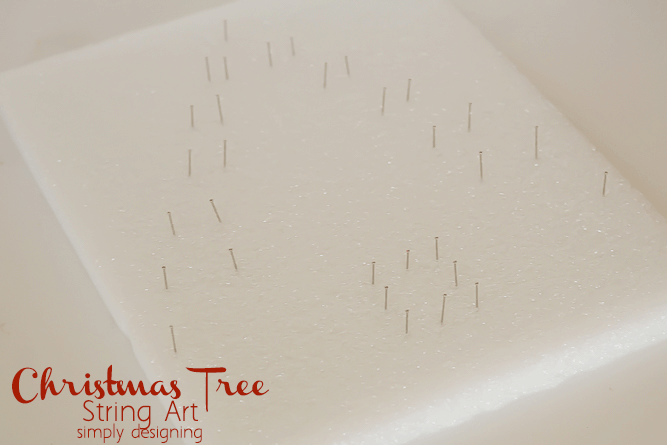
After I cut my Styrofoam down to size, I started adding pins in the shape of a Christmas Tree into the board.  You can sketch this out if you want it to be perfect, but I just eye-balled the whole thing and love how it turned out!  I created a tree, and then I also created a tree trunk as well.  You could of course do this in a different shape if you prefer.

Pins in Styrofoam

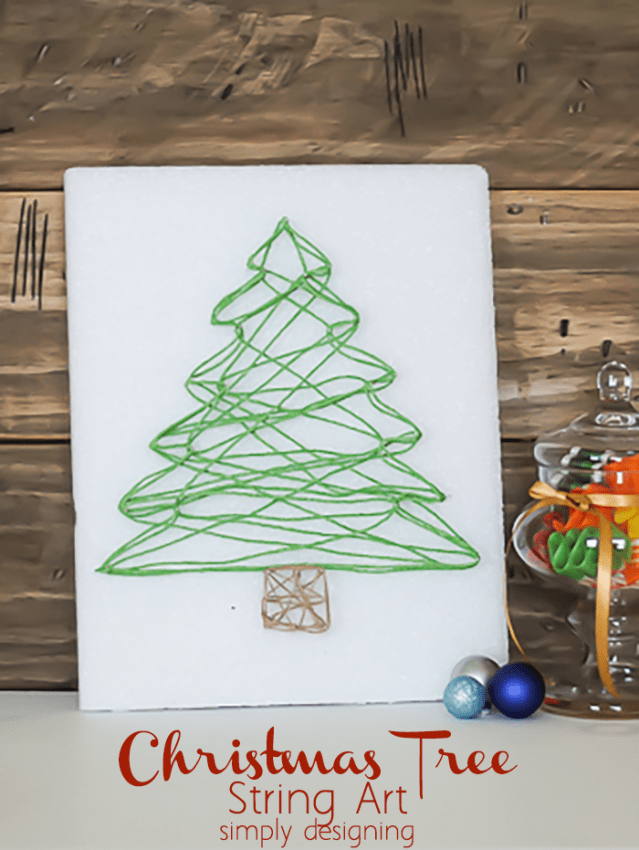
After the pins were in place, I began with my green paper rope and tied it into a knot around one of the pins.  Then I randomly strung the rope from one pin to another one, zigzagging back and forth across the tree until I like how it looked.  Then I went around the tree two times to create a defined outline of the Christmas Tree.

After my tree was completed, I did the same thing with the tan jute to create the trunk of the tree.  After that my Christmas Tree String Art was complete!

This is something that can be completely customized to your preference.  You could simply do the outline of the tree or you can zigzag around like I did.  I used a paper rope that I found in the scrapbook section of my local craft store, but you could use thread, string or embroidery floss.  The options are truly endless!

But I love the rustic look of the jute and the paper rope for this project!

And I really love that this Christmas Tree String Art was simple to make, inexpensive and was something that my kids could help me with too!  Plus it adds a bit of fun and rustic Christmas decor to my house which I love!

Christmas Tree Art

And I have the perfect spot to hang this up at in my house for the holiday season!

Do you buy or make your holiday decorations?

Check out these other winter projects:

Gumdrop Forest

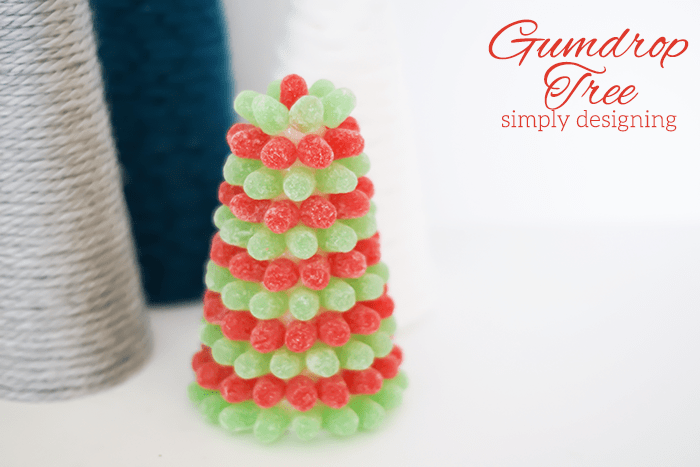
Gumdrop Tree

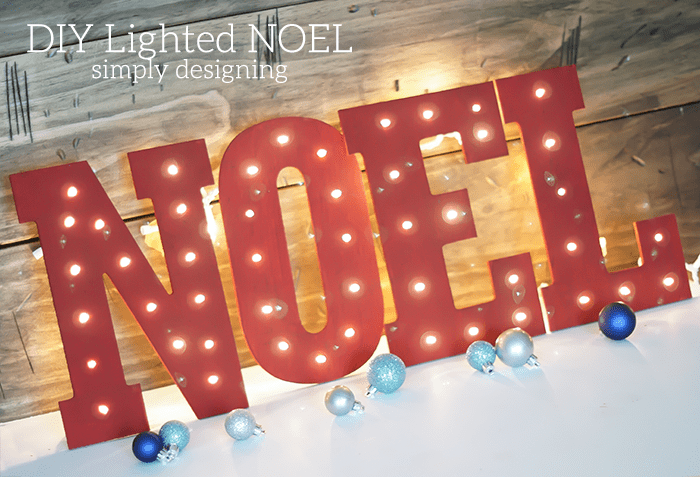
DIY Lighted NOEL

DY Lighted NOEL

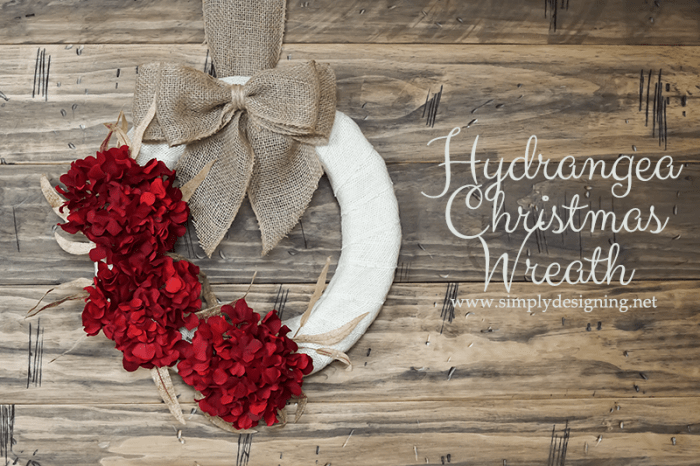
Hydrangea Christmas Wreath with Burlap | #wreath #crafts #burlap #christmas #holiday #hydrangea

Hydrangea Christmas Wreath

More Holiday Inspiration

  • caramel hot cocoa bomb recipe with white mugs in the background
    Caramel Hot Cocoa Bombs
  • Peppermint Hot Chocolate Bombs
    Peppermint Hot Chocolate Bombs
  • hot chocolate bomb
    Hot Chocolate Bomb Recipe
  • This is the most comprehensive family holiday gift guide that is perfect for the family who wants to spend more time together and create family memories.
    The Most Comprehensive Family Holiday Gift Guide

Reader Interactions

Comments

  1. Sharon

    December 11, 2014 at 3:25 pm

    Hooray -- there's no loud pounding smashed fingers when making this string art. I know a few kids who would adore making these, too. Thank you!

    Reply
  2. Genie

    March 24, 2018 at 6:17 pm

    Did you remove the pins? I don’t see them. If so how does it hold together?

    Reply
    • Ashley Phipps

      March 26, 2018 at 9:57 am

      You need to leave the pins in place for the string art to stay together.

      Reply

Trackbacks

  1. Christmas Tree Crafts Roundup - The Crafty Blog Stalker says:
    December 21, 2021 at 3:53 pm

    […] Christmas Tree String Art from Simply Designing […]

    Reply

Leave a Reply Cancel reply

Your email address will not be published. Required fields are marked *

Primary Sidebar

Hello Friends!

Ashley Phipps Simply Designing I'm Ashley Phipps and I love sharing SIMPLE DIY, home, travel, food, craft and essential oil ideas with you! Learn more about me here. Contact me here. Find Media/PR info here. Privacy is important to us. Please read my Privacy Policy.
  • Email
  • Facebook
  • Instagram
  • Pinterest
  • Twitter
  • YouTube

Join our mailing list

Get our latest updates & exclusive content!

Privacy Policy, Disclaimer & Terms of Use

Favorite Posts

St. Patrick's Day Treats

body scrub recipe book

Body Scrub Recipe Book with 20 Scrumptious Recipes


COPYRIGHT: You’re welcome to link to Simply Designing or use a single image with a brief description to link back to any post. Republishing posts in their entirety is strictly prohibited.  Any use for commercial purposes is strictly prohibited. Feel free to pin on Pinterest. Find out more in my Privacy Policy.  Simply Designing with Ashley Phipps LLC is a participant in the Amazon Services LLC Associates Program, an affiliate advertising program designed to provide a means for sites to earn advertising fees by advertising and linking to Amazon.com . Simply Designing with Ashley Phipps LLC and it’s owner, employees and affiliates are not liable in any way for injury or loss (whether physical, emotional, monetary or any other kind of loss) resulting from any inspiration, ideas, directions or information gained from this website. We advise you to always follow manufacturer instructions, take appropriate safety precautions and hire a professional when in doubt. We love it when you use our site for inspiration, but by using it, you agree that you do so at your own risk.

Privacy Policy 

Copyright © 2025