• Skip to primary navigation
  • Skip to main content
  • Skip to primary sidebar

Simply Designing with Ashley

  • DIY
  • Oils
  • Recipes
  • Craft
  • Travel
  • Decor
  • Holiday
menu icon
go to homepage
  • DIY
  • Oils
  • Recipes
  • Craft
  • Travel
  • Decor
  • Holiday
search icon
Homepage link
  • DIY
  • Oils
  • Recipes
  • Craft
  • Travel
  • Decor
  • Holiday
×

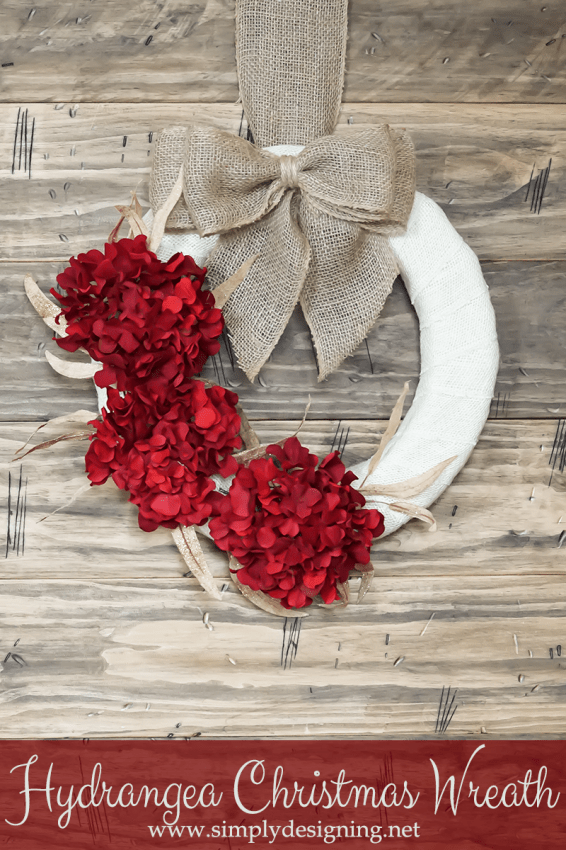
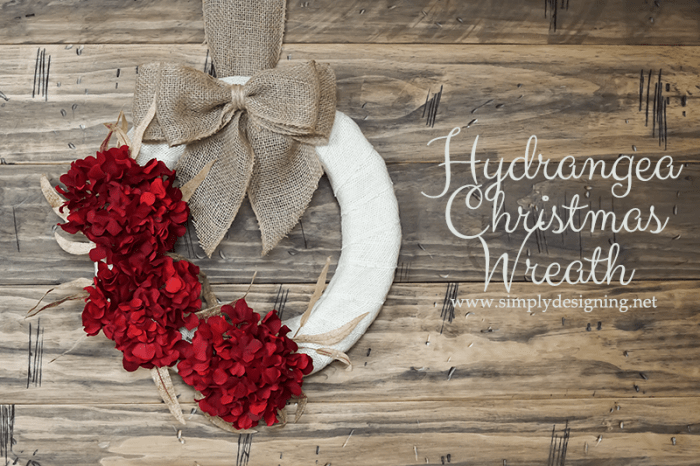
Hydrangea Christmas Wreath

Published: Dec 3, 2014 · Modified: Jan 15, 2018 by Ashley Phipps · 394 words. · About 2 minutes to read this article. · 10 Comments · This post may contain affiliate links · This blog generates income via ads and sponsored posts · This blog uses cookies · See our privacy policy for more info Filed Under: Craft, Holiday

It's not every day you see a wreath tutorial on my blog.  I have a few wreaths that I simply adore such as my Simple Felt Wreath and my Yarn and Berries Wreath, but if I am being perfectly honest, there are times when I have no wreath on my front door.  It's true.  So when I was challenged to create a Christmas wreath as part of a fun blog series, I jumped at the chance to create a new wreath for my front door!  I have a wreath that goes on my front door every year, but, it is old.  I think we made it abut 10 years ago (gasp!).  To say that it is dated is a bit of an understatement.  So I am excited to put away throw away my dusty dated wreath this year and put up my new, beautiful Hydrangea Christmas Wreath!
Hydrangea Christmas Wreath | #wreath #crafts #burlap #christmas #holiday #hydrangea

To create this Hydrangea Christmas Wreath, you will need:

(affiliate links included)

  • 18" Styrofoam FloraCraft Wreath Form
  • Burlap Ribbon (Tan and Cream)
  • Jute
  • 3 Red Hydrangeas
  • 1 stem of Accent Foliage (mine is a burlap, glittery, leaves...they are so fun and festive!)
  • Hot Glue Gun with Glue Sticks
Supplies to make a Christmas Hydrangea Wreath
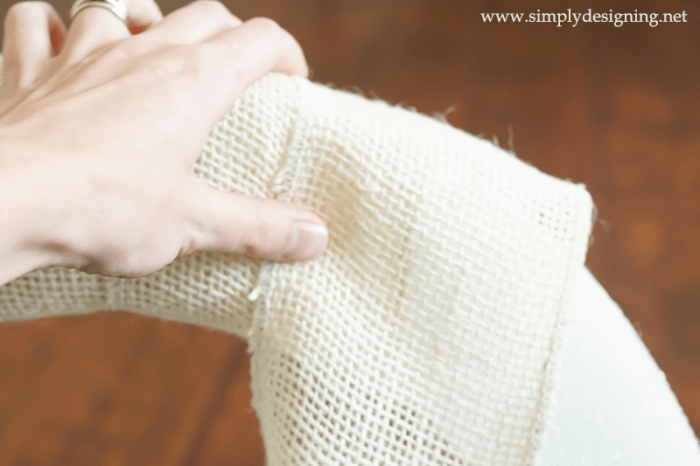
First you will secure the end of your cream burlap ribbon to your wreath form using a low temp hot glue gun, and then wrap the burlap ribbon around the wreath form until it is fully covered.  Secure the end in place with hot glue.
Wrap Burlap Around Wreath Form
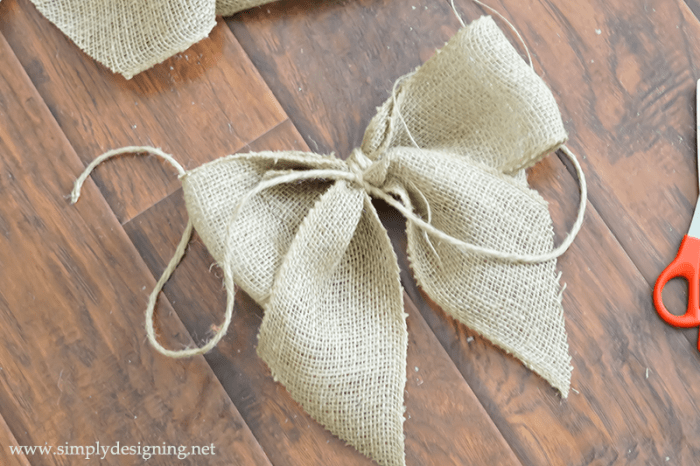
Create a bow using the tan burlap ribbon.  I created a double bow by simple laying my ribbon down and folding it back and forth over each other until I had enough ribbon for a double bow.  Then I secured it in place with jute.
Make a Bow
 Next I cut another piece of tan burlap and tied it onto the back of my bow to create ribbons hanging down.
How to make a Bow #diy #crafts #bow
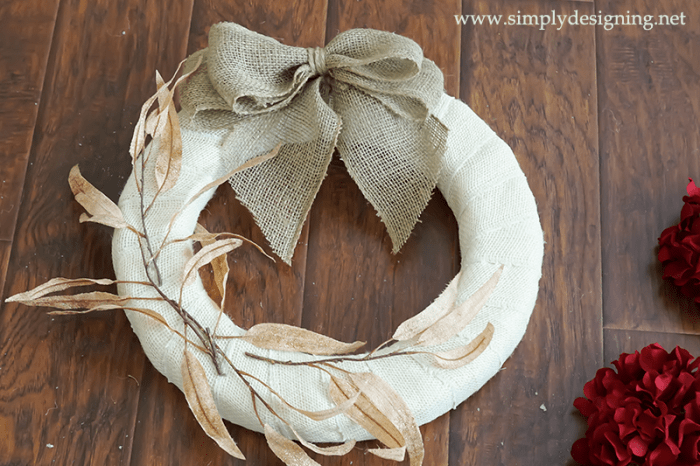
And then I hot glued the bow in place on my wreath!
Then I glued my foliage in place.
Place Greenery on Wreath
And finally, I hot glued my hydrangea in place!
I love love love how my new Hydrangea Christmas Wreath turned out!  I think it is so fun and so cute and way better then my old one that we will never speak of ever again!
Hydrangea Christmas Wreath with Burlap | #wreath #crafts #burlap #christmas #holiday #hydrangea
If you are looking for other Holiday craft ideas, come check out these too:
Pottery Barn Knock-Off JOY
Pottery Barn Knock-Off JOY Decor
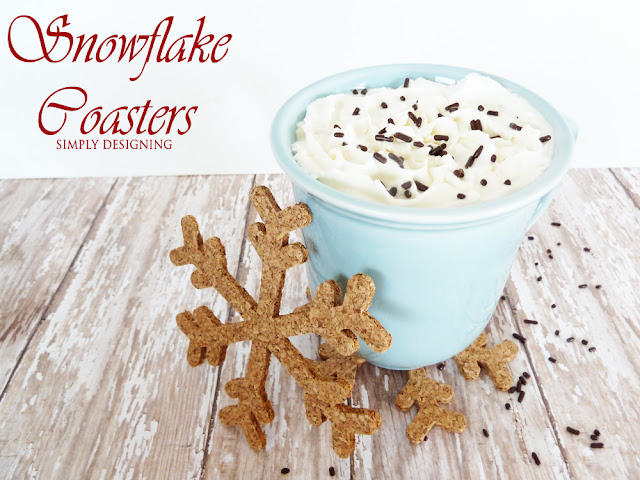
Snowflake Coasters
Snowflake Coasters
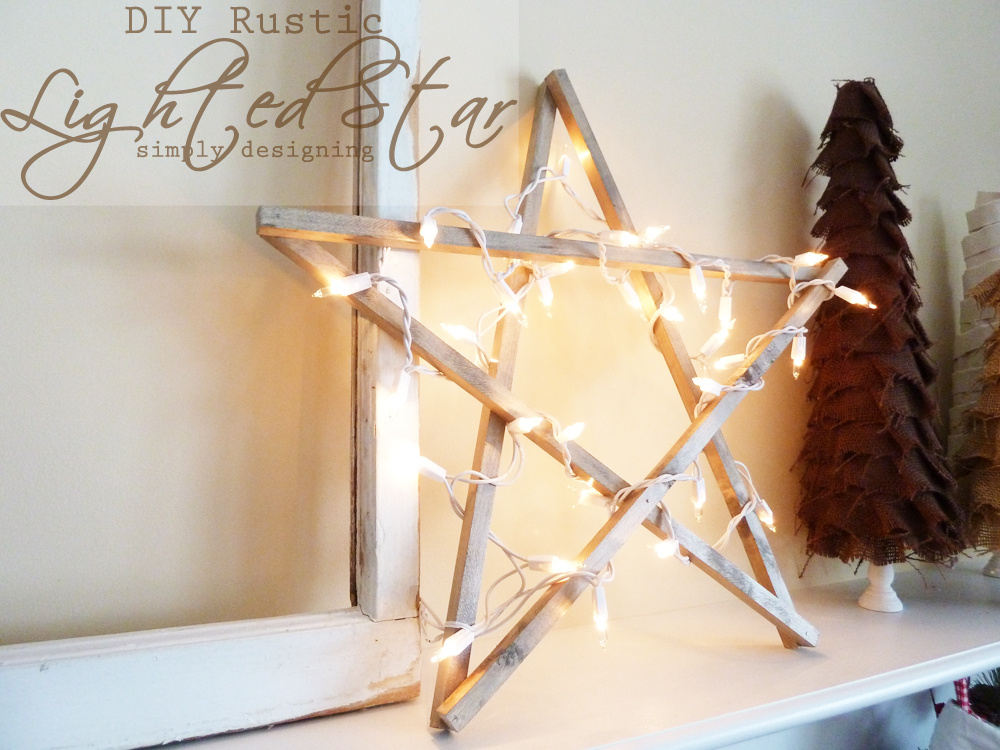
DIY Rustic Lighted Star
blog hop graphic

More Crafts

  • looking from the top down on a body scrub made with salt with greenery on the top of the photo and a wood lid to the right
    How to make a Salt Scrub
  • greenery hoop wreath with lavender and burlap bow
    Summer Hoop Wreath
  • DIY farmhouse christmas ornaments
    How to make Farmhouse Christmas Ornaments
  • Peppermint Sugar Scrub in a glass jar with red and white twine around the jar
    Peppermint Sugar Scrub

Reader Interactions

Comments

  1. ColleenB.

    December 03, 2014 at 11:04 am

    Love the looks of your Hydrangea Christmas Wreath as well as your Joy décor.
    Both stunning and such an easy project.
    thank you for All your wonderful inspiration

    Reply
  2. Sharon

    December 04, 2014 at 7:50 am

    So pretty, Ashley. I love the big red hydrangeas and burlap bow. Sharing!

    Reply
    • Ashley Phipps

      December 09, 2014 at 8:56 pm

      Thank you so much Sharon!

      Reply
  3. Coco

    December 09, 2014 at 5:14 pm

    SOOOO beautiful!!! Also, wanted to let you know about a party at my blog on Wednesday - hope to see you there! Can't wait to party with you @ https://homeschoolapalooza.wordpress.com 🙂

    Reply
  4. Bonnie @ Our Secondhand House

    December 11, 2014 at 2:48 pm

    I love hydrangeas! Your wreath is so pretty. I have a plain artificial pine wreath on my door right now. I haven't even gotten around to putting a bow on it. lol
    ~Bonnie @ Our Secondhand House

    Reply
  5. Kim~madeinaday

    December 01, 2015 at 8:35 pm

    Pretty & simple wreath! Thanks for linking up to Merry Monday! Sharing on our MM Pinterest board! Have a great week!
    Kim

    Reply
  6. Jessica

    December 03, 2015 at 7:44 pm

    I love the way burlap looks, especially with the red hydrangeas. Especially when it's paired with all of the other sparkle of the holidays. Gorgeous!

    Reply
  7. Anita

    December 04, 2015 at 12:36 am

    This is such an amazing idea! Thanks for sharing it. I'm Anita visiting from ’m Lovin’ It.

    Reply
  8. Tiffany

    December 04, 2015 at 10:07 am

    Hi, Ashley ~ This is such a beautiful wreath! I like that it's easy and comes together fairly quickly. Pinning this for later. :0) Thanks for sharing with us at the Merry Monday Link Party! Hope to see you again Sunday night!

    Reply

Trackbacks

  1. 27 Best DIY Christmas Wreaths says:
    September 29, 2022 at 11:07 pm

    […] GET TUTORIAL HERE […]

    Reply

Leave a Reply Cancel reply

Your email address will not be published. Required fields are marked *

Primary Sidebar

Hello Friends!

Ashley Phipps Simply Designing I'm Ashley Phipps and I love sharing SIMPLE DIY, home, travel, food, craft and essential oil ideas with you! Learn more about me here. Contact me here. Find Media/PR info here. Privacy is important to us. Please read my Privacy Policy.
  • Email
  • Facebook
  • Instagram
  • Pinterest
  • Twitter
  • YouTube

Join our mailing list

Get our latest updates & exclusive content!

Privacy Policy, Disclaimer & Terms of Use

Favorite Posts

image of guy in jeans installing lvp or laminate flooring - LVP vs LAMINATE FLOORING

LVP vs Laminate Flooring: Differences, Pros and Cons

woman installing lpv flooring

How to Install LVP Flooring and Why it is my FAVORITE Flooring for Families


COPYRIGHT: You’re welcome to link to Simply Designing or use a single image with a brief description to link back to any post. Republishing posts in their entirety is strictly prohibited.  Any use for commercial purposes is strictly prohibited. Feel free to pin on Pinterest. Find out more in my Privacy Policy.  Simply Designing with Ashley Phipps LLC is a participant in the Amazon Services LLC Associates Program, an affiliate advertising program designed to provide a means for sites to earn advertising fees by advertising and linking to Amazon.com . Simply Designing with Ashley Phipps LLC and it’s owner, employees and affiliates are not liable in any way for injury or loss (whether physical, emotional, monetary or any other kind of loss) resulting from any inspiration, ideas, directions or information gained from this website. We advise you to always follow manufacturer instructions, take appropriate safety precautions and hire a professional when in doubt. We love it when you use our site for inspiration, but by using it, you agree that you do so at your own risk.

Privacy Policy 

Copyright © 2025