• Skip to primary navigation
  • Skip to main content
  • Skip to primary sidebar

Simply Designing with Ashley

  • DIY
  • Oils
  • Recipes
  • Craft
  • Travel
  • Decor
  • Holiday
menu icon
go to homepage
  • DIY
  • Oils
  • Recipes
  • Craft
  • Travel
  • Decor
  • Holiday
search icon
Homepage link
  • DIY
  • Oils
  • Recipes
  • Craft
  • Travel
  • Decor
  • Holiday
×

How to Make a Tulip Centerpiece for Spring

Published: Apr 2, 2018 · Modified: Apr 22, 2021 by Ashley Phipps · 446 words. · About 3 minutes to read this article. · 4 Comments · This post may contain affiliate links · This blog generates income via ads and sponsored posts · This blog uses cookies · See our privacy policy for more info Filed Under: Home Decor, Craft, DIY

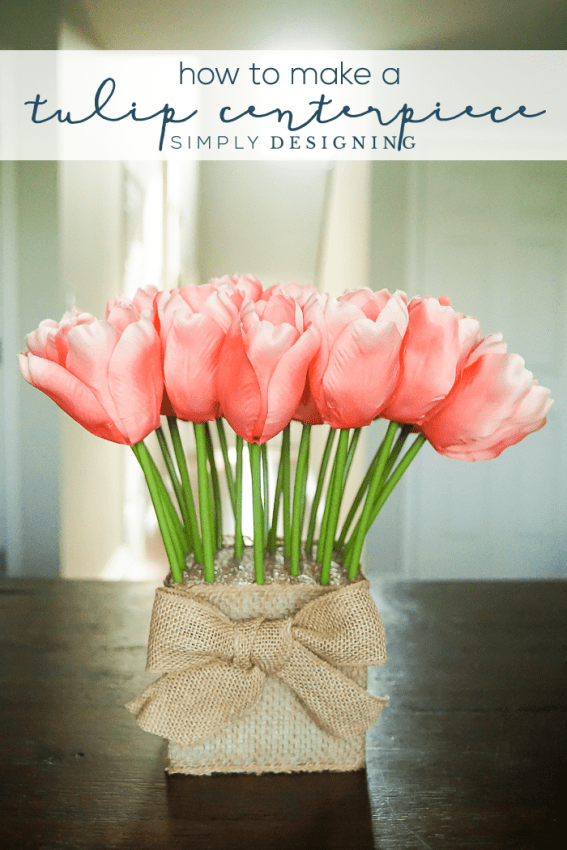
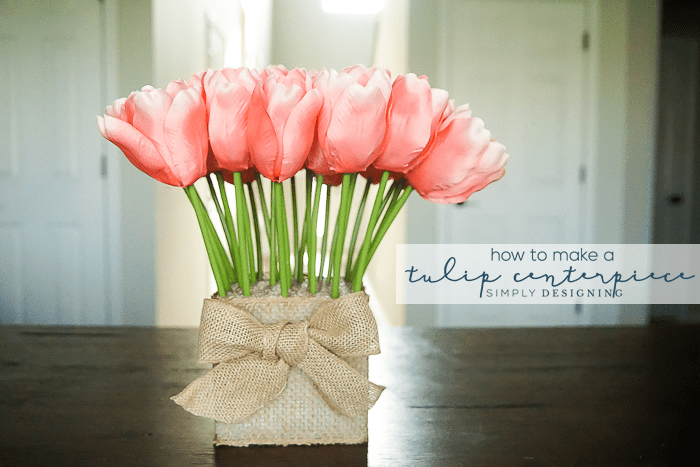
Don't you just love Spring? One of my favorite parts of Spring is watching all the flowers bloom in beautiful colors. And I just love tulips. Don't you? They come in so many fun colors, and their bright blooms give a great pop of color to wherever they are. That's why this Tulip Centerpiece is a wonderful way to decorate for Spring! And you don't have to worry about these tulips not lasting all Spring. I chose to use pink tulips for this centrepiece, because who doesn't love pink tulips? But you could use yellow, or pink, or purple, or red. Whatever suits your taste!

How to make a Tulip Centerpiece for Spring

Supplies Needed to Make a Tulip Centerpiece

This post contains affiliate links for your convenience.  By purchasing any items, I receive a small commission but you never pay a penny more.  Thank you for supporting my blog.

  • Foam Cube, 5x5x5 
  • Two bunches of silk tulips (I used a coral-pink tulip)
  • 6" wide Burlap Ribbon
  • Burlap ribbon, wired - 2-inches wide
  • Wire Snips
  • Scissors
  • Paint
  • Foam Brush
  • Low Temp Hot Glue Gun
  • Low Temp Hot Glue Sticks

How to make a Tulip Centerpiece for Spring

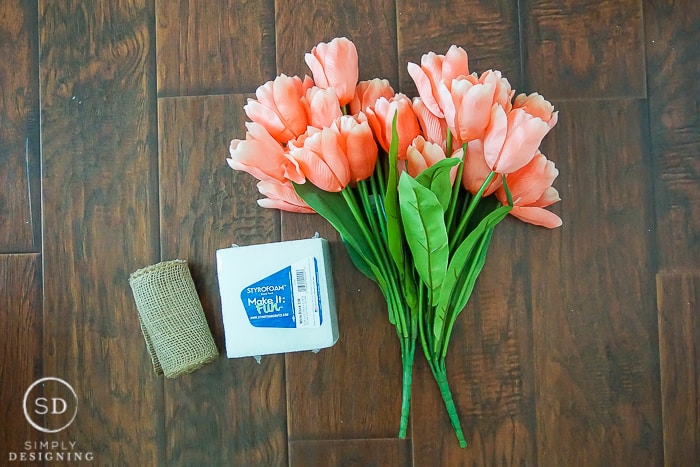
First, gather all your supplies.

How to make a Tulip Centerpiece for Spring

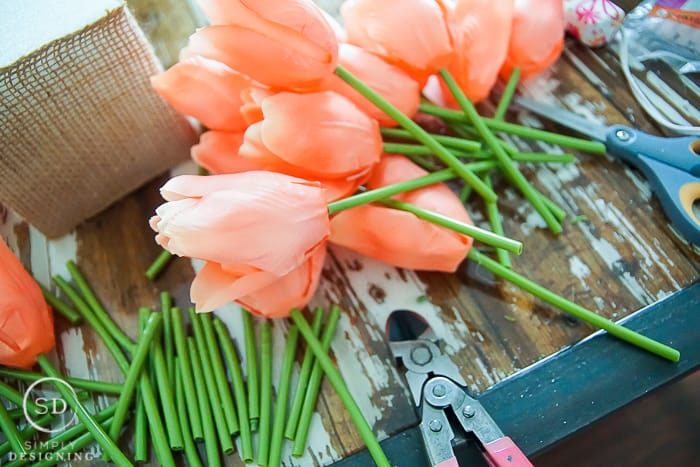
The first thing you will need to do to make this tulip centerpiece is to use your wire snips to cut the tulips from the bunch. You will want each stem to be relatively the same size--but they don't have to be perfect. No need to get a ruler out to measure them!

How to make a Tulip Centerpiece for Spring

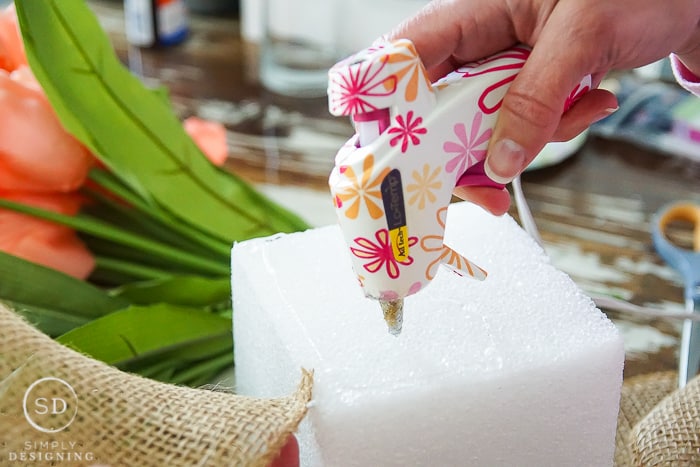
Cut a piece of the wider burlap ribbon to cover the outside of the foam cube. Secure with glue. A low-temperature hot glue gun will work better with this project so that the foam doesn't melt.

How to make a Tulip Centerpiece for Spring

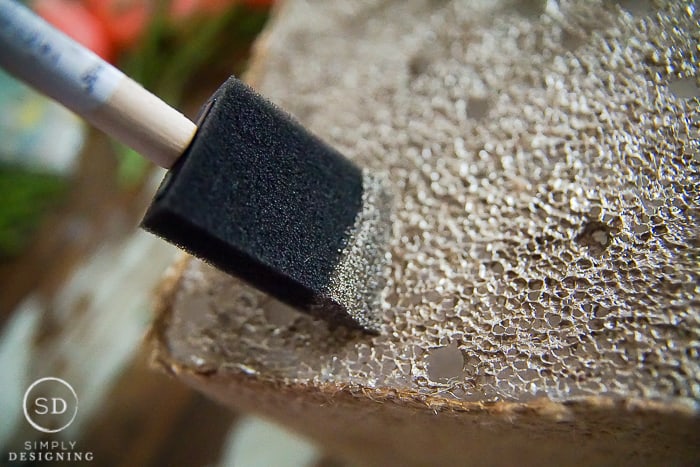
To make the top match the burlap ribbon, I chose to paint around the top of my cube before securing all the stems with glue. I chose a bronze paint. If you chose to use another color of ribbon, you might want to match your paint to your ribbon color, too.

How to make a Tulip Centerpiece for Spring 02538 | How to Make a Tulip Centerpiece for Spring | 1 | Tulip Centerpiece

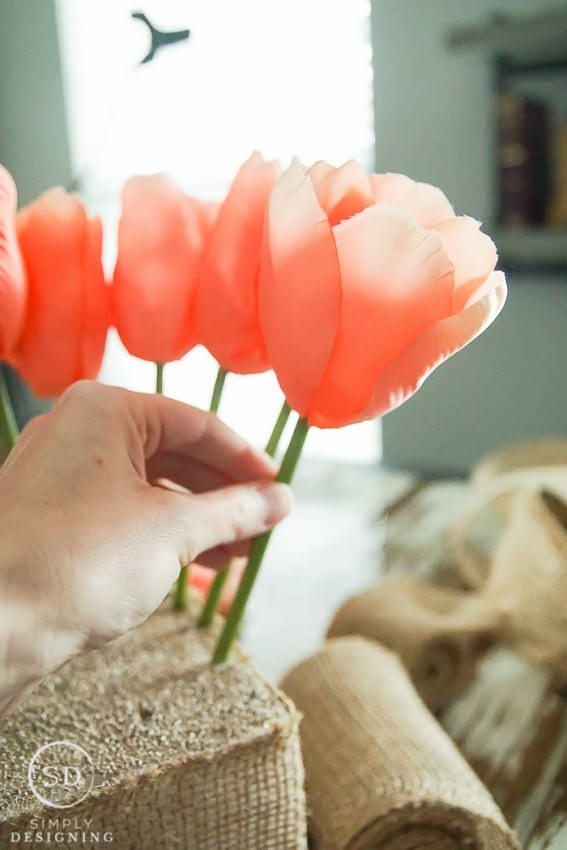
Then, you will want to place the tulips into the top side of the foam cube. If the stems don't look like they are holding very well, feel free to push a drop or two of glue into each hole.

How to make a Tulip Centerpiece for Spring

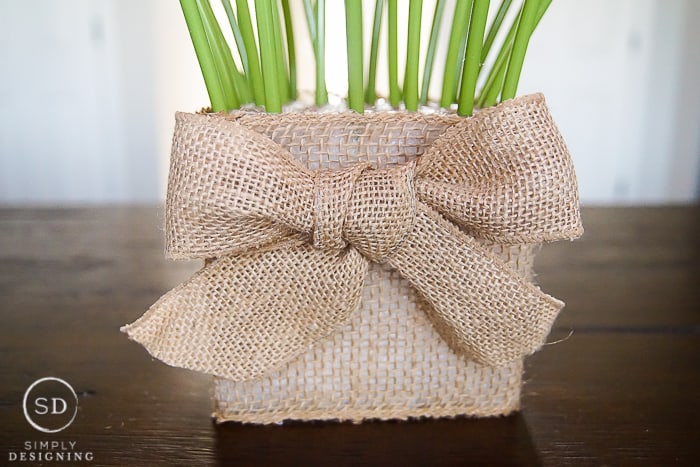
Then, tie a thinner ribbon in a pretty bow and fasten to the foam cube with your glue gun. I used a wired burlap ribbon that was thinner than the ribbon I used to cover the cube. The wire helped the bow to hold its shape. Now, it's one of my favorite centerpieces to use on my table!

How to make a Tulip Centerpiece for Spring

This idea was first shared on the Make It Fun blog.

You might also enjoy:

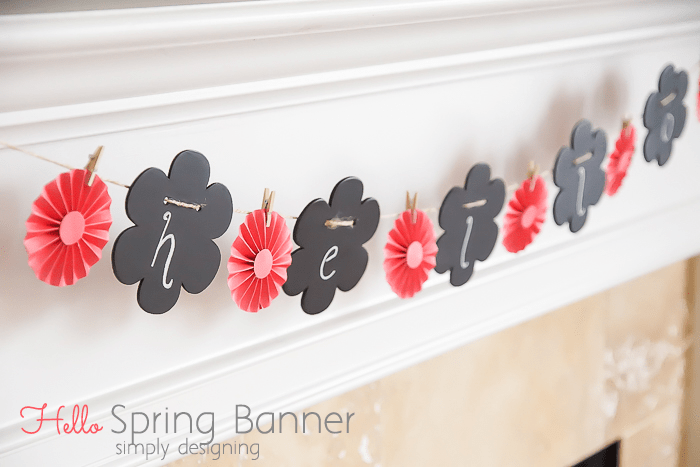
Hello Spring Garland with Rosettes and Chalkboard Flowers

Hello Spring Banner

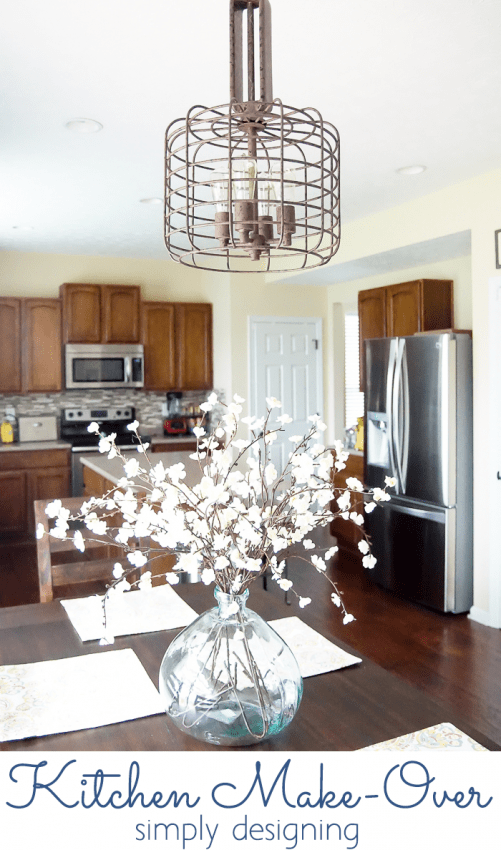
Kitchen Make-Over - new light and table centerpiece

Kitchen Make-Over

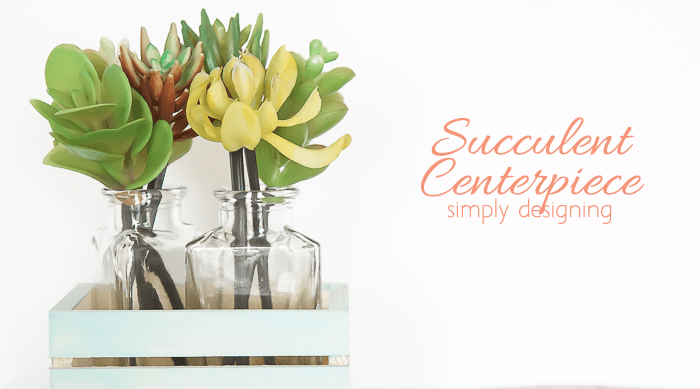
Succulent Centerpiece Featured Image

Succulent Centerpiece

More Home Decor

  • minimalist living room with white and grey background
    Easy Minimalist Living for a clutter-free home and mind
  • Budget-Friendly Modern Home Decor Ideas
    16 Budget-Friendly Modern Home Decor Ideas
  • 40 light bright and beautiful home inspiration ideas
    45 Light Bright and Beautiful Home Inspiration Ideas
  • greenery hoop wreath with lavender and burlap bow
    Summer Hoop Wreath

Reader Interactions

Comments

  1. lisa

    April 10, 2018 at 1:17 pm

    This is beautiful, and quite simple too. I think I can actually pull it off, lol, I'm not that crafty. Thanks so much for sharing 🙂

    Reply
  2. Nicole

    April 16, 2018 at 12:55 pm

    This is so easy and so pretty. Love this tulip centerpiece for spring. Pinned!
    Stopping by from the #HomeMattersParty link up. Thanks for partying with us!

    Reply
  3. Ivory

    April 30, 2018 at 10:31 pm

    I completely love all of these DIY's. thanks for sharing.

    Reply
  4. Bobette Kyle

    January 20, 2020 at 7:11 am

    These would be so easy and elegant for a spring wedding! (BTW, found you via @heykristiehill 🙂 )

    Reply

Leave a Reply Cancel reply

Your email address will not be published. Required fields are marked *

Primary Sidebar

Hello Friends!

Ashley Phipps Simply Designing I'm Ashley Phipps and I love sharing SIMPLE DIY, home, travel, food, craft and essential oil ideas with you! Learn more about me here. Contact me here. Find Media/PR info here. Privacy is important to us. Please read my Privacy Policy.
  • Email
  • Facebook
  • Instagram
  • Pinterest
  • Twitter
  • YouTube

Favorite Posts

Easter Gift Ideas from Amazon

Easter Gift Ideas You Can Buy From Amazon

DIY Foil Easter Eggs

DIY Foil Easter Eggs


COPYRIGHT: You’re welcome to link to Simply Designing or use a single image with a brief description to link back to any post. Republishing posts in their entirety is strictly prohibited.  Any use for commercial purposes is strictly prohibited. Feel free to pin on Pinterest. Find out more in my Privacy Policy.  Simply Designing with Ashley Phipps LLC is a participant in the Amazon Services LLC Associates Program, an affiliate advertising program designed to provide a means for sites to earn advertising fees by advertising and linking to Amazon.com . Simply Designing with Ashley Phipps LLC and it’s owner, employees and affiliates are not liable in any way for injury or loss (whether physical, emotional, monetary or any other kind of loss) resulting from any inspiration, ideas, directions or information gained from this website. We advise you to always follow manufacturer instructions, take appropriate safety precautions and hire a professional when in doubt. We love it when you use our site for inspiration, but by using it, you agree that you do so at your own risk.

Privacy Policy 

Copyright © 2023