• Skip to primary navigation
  • Skip to main content
  • Skip to primary sidebar

Simply Designing with Ashley

  • DIY
  • Oils
  • Recipes
  • Craft
  • Travel
  • Decor
  • Holiday
menu icon
go to homepage
  • DIY
  • Oils
  • Recipes
  • Craft
  • Travel
  • Decor
  • Holiday
search icon
Homepage link
  • DIY
  • Oils
  • Recipes
  • Craft
  • Travel
  • Decor
  • Holiday
×

How to Make a Colorblocked Cement Planter

Published: Apr 20, 2018 · Modified: Jul 20, 2018 by Ashley Phipps · 379 words. · About 2 minutes to read this article. · 3 Comments · This post may contain affiliate links · This blog generates income via ads and sponsored posts · This blog uses cookies · See our privacy policy for more info Filed Under: Craft, DIY, Home Decor

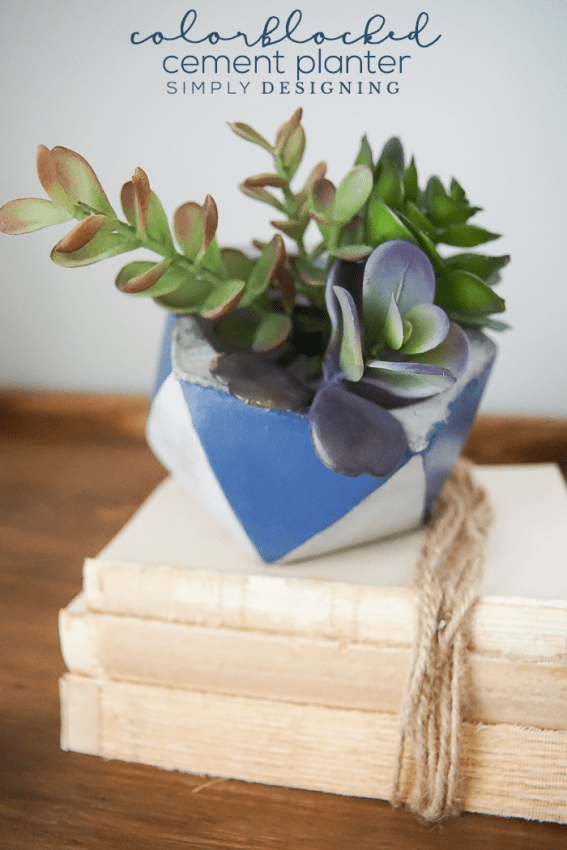
Have you fallen in love with succulents as much as I have? Aren't they fabulous? I use them all the time, but sometimes I have more succulents than I have places to put them! When I saw this concrete container, I thought it would be a great place for succulents. I decided to paint it in a colorblocked pattern and--voila! This Colorblocked Cement Planter is one of my new favorite pieces in my home. It would also make a great gift for a friend, and it is so easy to make. With only a few supplies, you can make your own for your house or for someone you love.

Colorblocked Cement Planter

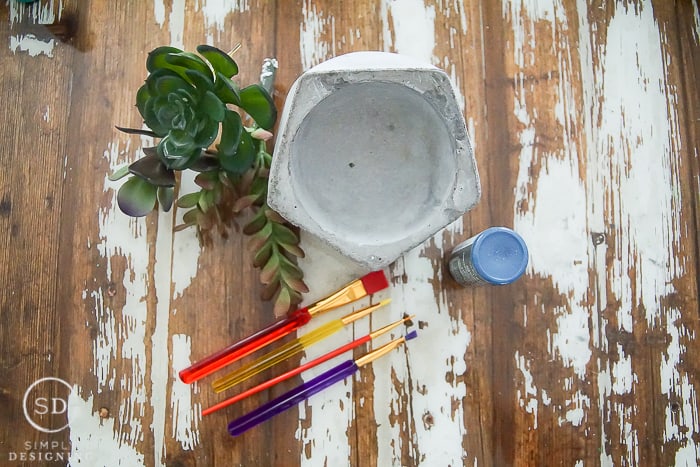
Colorblocked Cement Planter Supplies:

This post contains affiliate links for your convenience.  By purchasing any items, I receive a small commission but you never pay a penny more.  Thank you for supporting my blog.

  • Large Angled Cement Planter Pot 
  • Artificial Succulent Multipack 
  • Paint Color of your Choice (I used a dark blue)
  • Paint Brushes
  • Wire Snips

Colorblocked Cement Planter

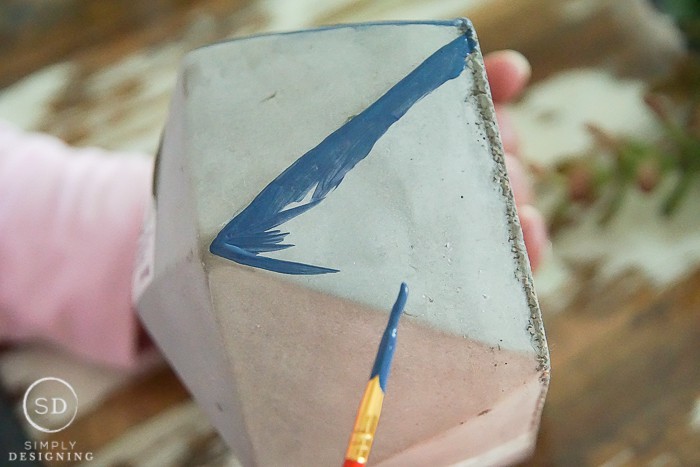
First, gather all the supplies you will need. Begin by painting triangles on your cement pot. I chose a dark blue, but you could choose whatever color you'd like.

Colorblocked Cement Planter

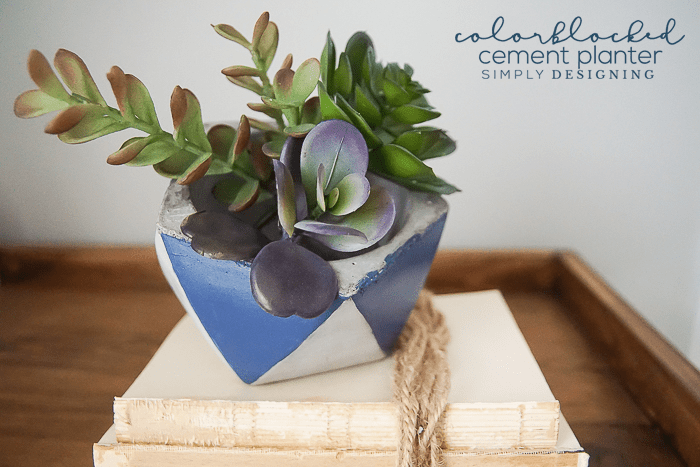
Since I didn't want to worry about perfect lines, I chose a flat paintbrush and free-handed the edges of each triangle section. If you wanted to be more particular, you could tape off each edge of the triangle with painter's tape. I also chose to leave the lower triangles the natural concrete gray. But you could paint different colored triangles or a pattern of triangles in two or three colors. The options are limitless!

While I was waiting for the paint to dry, I gathered my succulents to put into the center of the pot. I took off the tags and trimmed the stems slightly with wire cutters. I thought about using floral foam, but in the end was able to simply balance the succulents in the pot. Because of the shape of the base of the planter, it tilts to the side in such a cute way. I'm so happy with how easy and fun this colorblocked cement planter turned out!

Colorblocked Cement Planter

This idea was first shared on Darice's blog.

You might also enjoy:

DIY Concrete Industrial Pipe Shelf

DIY Concrete Industrial Pipe Shelf
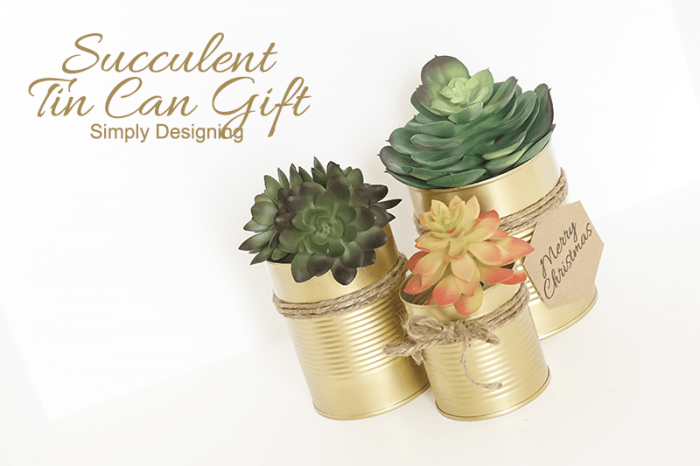
Succulent Gift

Succulent Tin Can Gift

How to make a Faux Succulent Wreath - Pottery Barn Knock Off

Faux Succulent Wreath

More Crafts

  • looking from the top down on a body scrub made with salt with greenery on the top of the photo and a wood lid to the right
    How to make a Salt Scrub
  • greenery hoop wreath with lavender and burlap bow
    Summer Hoop Wreath
  • DIY farmhouse christmas ornaments
    How to make Farmhouse Christmas Ornaments
  • Peppermint Sugar Scrub in a glass jar with red and white twine around the jar
    Peppermint Sugar Scrub

Reader Interactions

Comments

  1. ivory

    April 20, 2018 at 11:55 am

    love these, wow! thanks forswearing.

    Reply
  2. Kim~madeinaday

    April 23, 2018 at 4:37 pm

    Super cute project! Thank you for sharing on Merry Monday! Hope to see ya next week!
    Kim

    Reply
  3. Marissa | Squirrels of a Feather

    July 01, 2018 at 4:49 pm

    I love the cement and also the color blocking! I definitely need fake plants because I kill the live ones 😉

    Reply

Leave a Reply Cancel reply

Your email address will not be published. Required fields are marked *

Primary Sidebar

Hello Friends!

Ashley Phipps Simply Designing I'm Ashley Phipps and I love sharing SIMPLE DIY, home, travel, food, craft and essential oil ideas with you! Learn more about me here. Contact me here. Find Media/PR info here. Privacy is important to us. Please read my Privacy Policy.
  • Email
  • Facebook
  • Instagram
  • Pinterest
  • Twitter
  • YouTube

Join our mailing list

Get our latest updates & exclusive content!

Privacy Policy, Disclaimer & Terms of Use

Favorite Posts

Himmeli Wreath with Shamrocks

St. Patrick's Day Himmeli Wreath

St. Patrick's Day Treats


COPYRIGHT: You’re welcome to link to Simply Designing or use a single image with a brief description to link back to any post. Republishing posts in their entirety is strictly prohibited.  Any use for commercial purposes is strictly prohibited. Feel free to pin on Pinterest. Find out more in my Privacy Policy.  Simply Designing with Ashley Phipps LLC is a participant in the Amazon Services LLC Associates Program, an affiliate advertising program designed to provide a means for sites to earn advertising fees by advertising and linking to Amazon.com . Simply Designing with Ashley Phipps LLC and it’s owner, employees and affiliates are not liable in any way for injury or loss (whether physical, emotional, monetary or any other kind of loss) resulting from any inspiration, ideas, directions or information gained from this website. We advise you to always follow manufacturer instructions, take appropriate safety precautions and hire a professional when in doubt. We love it when you use our site for inspiration, but by using it, you agree that you do so at your own risk.

Privacy Policy 

Copyright © 2025