• Skip to primary navigation
  • Skip to main content
  • Skip to primary sidebar

Simply Designing with Ashley

  • DIY
  • Oils
  • Recipes
  • Craft
  • Travel
  • Decor
  • Holiday
menu icon
go to homepage
  • DIY
  • Oils
  • Recipes
  • Craft
  • Travel
  • Decor
  • Holiday
search icon
Homepage link
  • DIY
  • Oils
  • Recipes
  • Craft
  • Travel
  • Decor
  • Holiday
×

Metallic Painted Pails for Organization

Published: Aug 17, 2015 · Modified: Jan 26, 2018 by Ashley Phipps · 394 words. · About 2 minutes to read this article. · Leave a Comment · This post may contain affiliate links · This blog generates income via ads and sponsored posts · This blog uses cookies · See our privacy policy for more info Filed Under: Craft, Home Decor, Sponsored Post

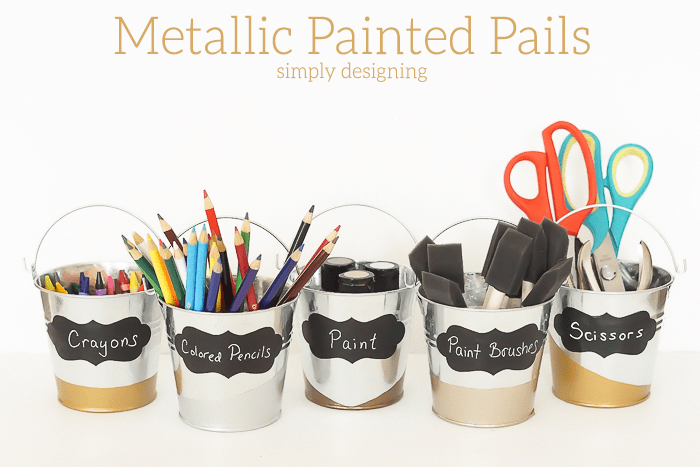
I love finding simple and beautiful ways to organize my home!  And office and craft supplies in our home always seem to be overflowing out of cabinets and closets and drawers!  So I came up with a simple and beautiful way to organize a few art and craft supplies without breaking the bank and while still looking stylish and modern!  I came up with these beautiful Metallic Painted Pails that I just love!  Come and see how I created them.

Metallic Painted Pails

Aren't these just adorable!?!?

Metallic Painted Pails

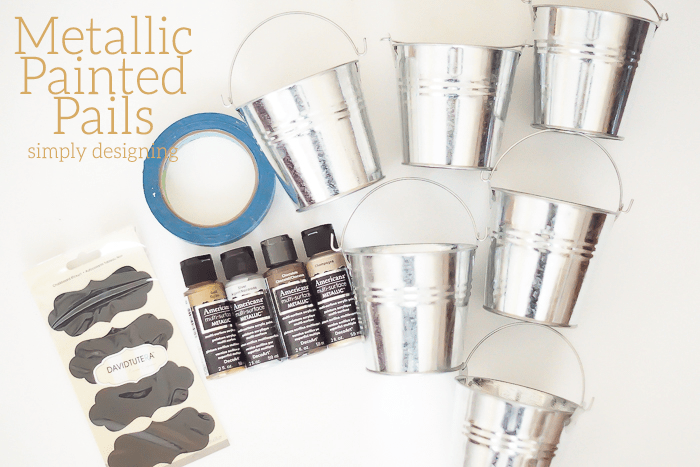
To create these metallic painted pails you will need metal pails, painters tape, and Americana Multi Surface Paint in metallic colors.  I used Gold, Silver, Chocolate and Champagne.  I also used a few chalkboard tags I had on hand and a chalk marker to complete the pails.

Painted Metallic Pails Supplies

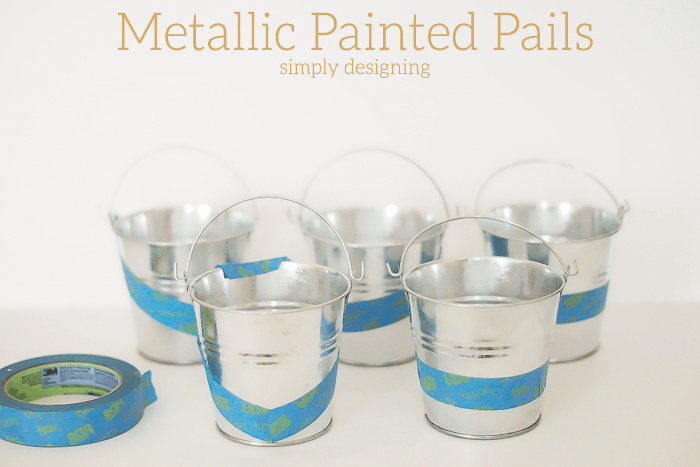
First I used painters tape to create a design on my pails.  On some I put the painters tape straight around the pail, others I did at an angle.  You can be as creative as you want with this!  Just ensure that you create a tight seal between the tape and the pail so that the paint does not seep through.

Then I painted my pails with my metallic paint.  Because you are painting on metal, you will need to do 2-3 coats of paint in order to create a well painted design.  After the paint had set for a few minutes I removed the painters tape and allowed the pails to dry completely.

Tape Pails

Once the pails were dry, I added chalkboard tags to my pails and then used my chalk marker to write on them!

Hands on, I only spent a few minutes creating a whole stash of these to use around my home and in my office.  But they do take a little but to dry completely.

I love how fun and modern these are!  The angles and straight clean lines give these pails a beautifully modern feel and I love the metallic paint so much!  The metallic paint add the right amount of sparkle and glam without being over the top.  They are really so fun!

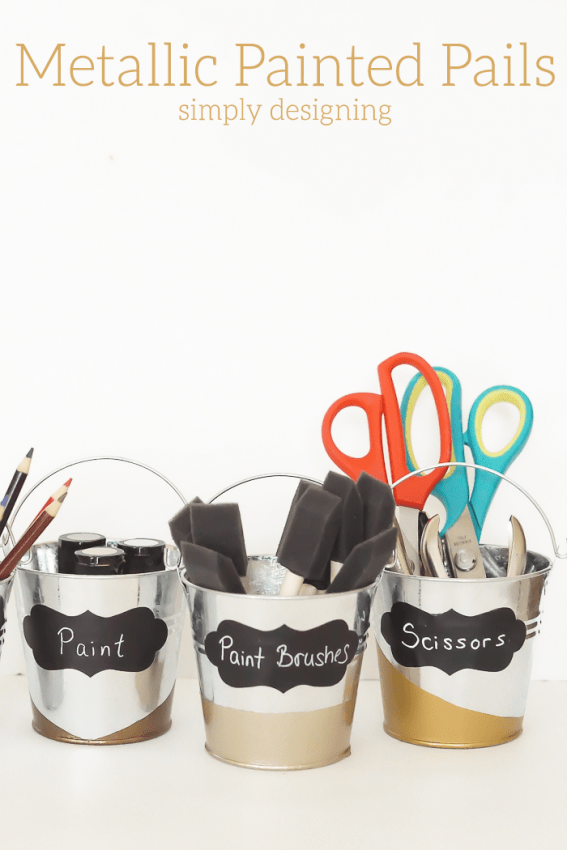
Painted Metallic Pails for Organization

These pails are perfect for organizing markers, colored pencils, scissors and even paint brushes!  The possibilities are truly endless!

You might also enjoy:

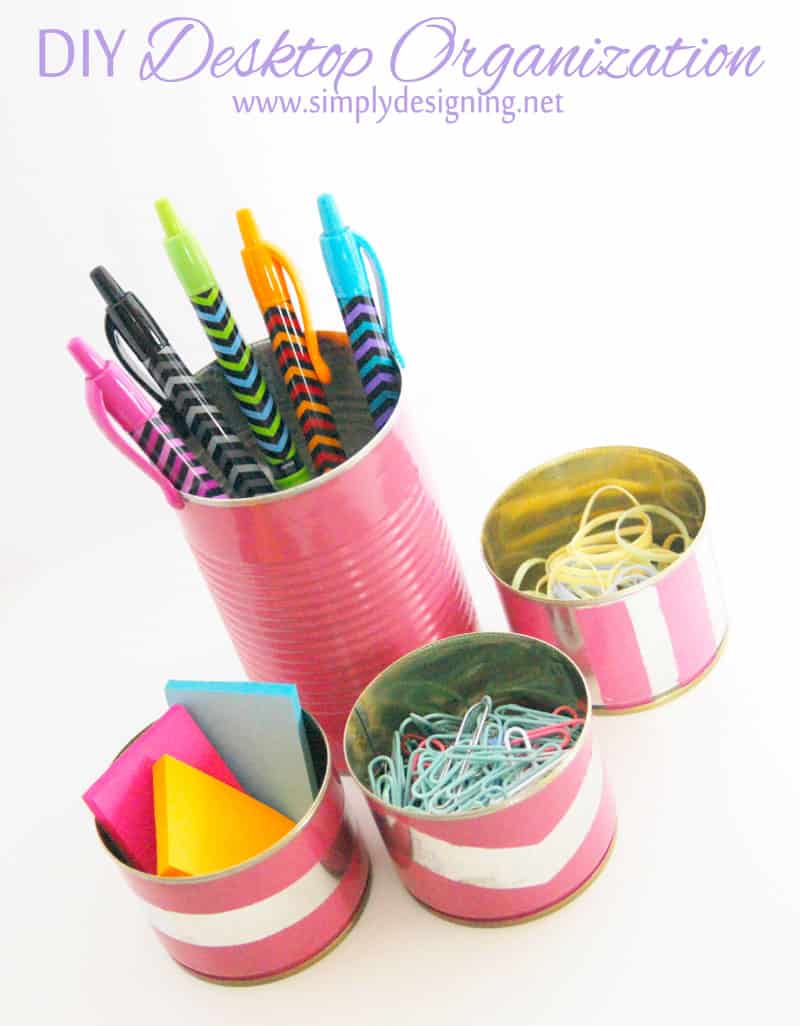
$1 DIY Desktop Organization | for less then $1 you can DIY your own cute desktop accessories

$1 Desktop Organization

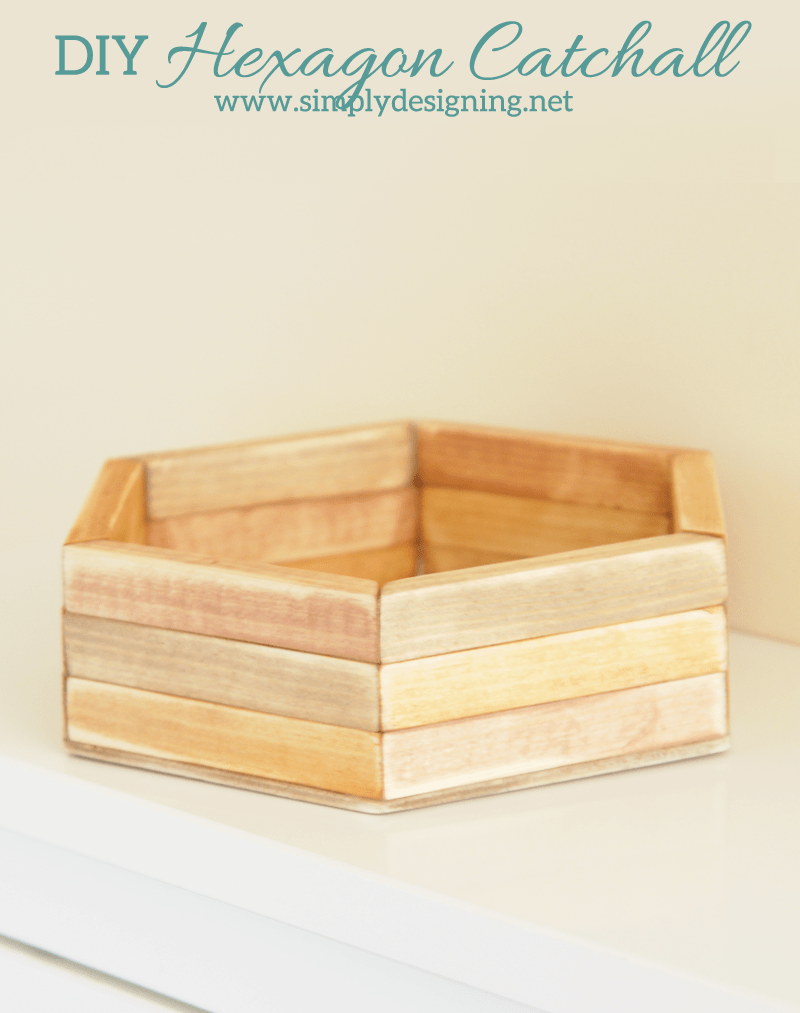
DIY Hexagon Catchall | click the photo to see how to create this really cool layered hexagon catchall

Hexagon Catchall

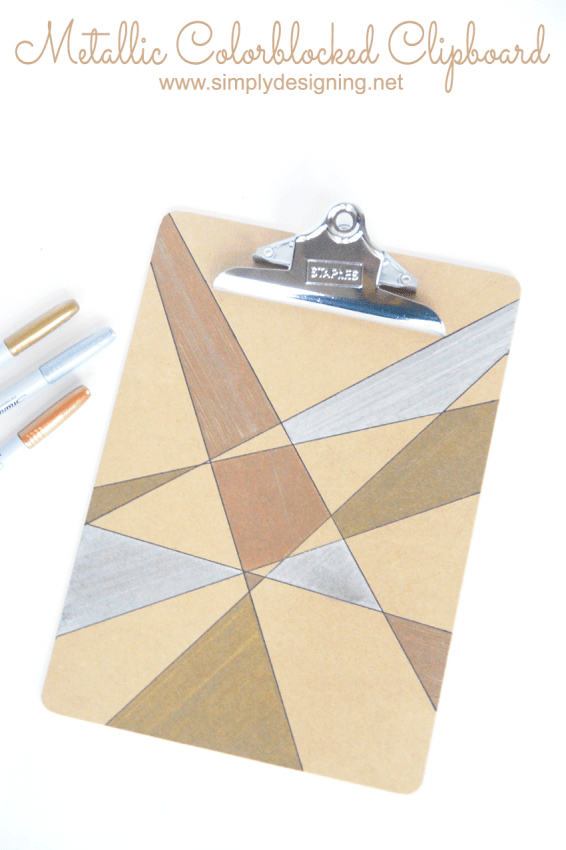
Metallic Colorblocked Clipboard

Metallic Color Blocked Clipboard

This post was first published on the DecoArt blog.

More Crafts

  • looking from the top down on a body scrub made with salt with greenery on the top of the photo and a wood lid to the right
    How to make a Salt Scrub
  • greenery hoop wreath with lavender and burlap bow
    Summer Hoop Wreath
  • DIY farmhouse christmas ornaments
    How to make Farmhouse Christmas Ornaments
  • Peppermint Sugar Scrub in a glass jar with red and white twine around the jar
    Peppermint Sugar Scrub

Reader Interactions

Leave a Reply Cancel reply

Your email address will not be published. Required fields are marked *

Primary Sidebar

Hello Friends!

Ashley Phipps Simply Designing I'm Ashley Phipps and I love sharing SIMPLE DIY, home, travel, food, craft and essential oil ideas with you! Learn more about me here. Contact me here. Find Media/PR info here. Privacy is important to us. Please read my Privacy Policy.
  • Email
  • Facebook
  • Instagram
  • Pinterest
  • Twitter
  • YouTube

Join our mailing list

Get our latest updates & exclusive content!

Privacy Policy, Disclaimer & Terms of Use

Favorite Posts

Himmeli Wreath with Shamrocks

St. Patrick's Day Himmeli Wreath

minimalist living room with white and grey background

Easy Minimalist Living for a clutter-free home and mind


COPYRIGHT: You’re welcome to link to Simply Designing or use a single image with a brief description to link back to any post. Republishing posts in their entirety is strictly prohibited.  Any use for commercial purposes is strictly prohibited. Feel free to pin on Pinterest. Find out more in my Privacy Policy.  Simply Designing with Ashley Phipps LLC is a participant in the Amazon Services LLC Associates Program, an affiliate advertising program designed to provide a means for sites to earn advertising fees by advertising and linking to Amazon.com . Simply Designing with Ashley Phipps LLC and it’s owner, employees and affiliates are not liable in any way for injury or loss (whether physical, emotional, monetary or any other kind of loss) resulting from any inspiration, ideas, directions or information gained from this website. We advise you to always follow manufacturer instructions, take appropriate safety precautions and hire a professional when in doubt. We love it when you use our site for inspiration, but by using it, you agree that you do so at your own risk.

Privacy Policy 

Copyright © 2025