• Skip to primary navigation
  • Skip to main content
  • Skip to primary sidebar

Simply Designing with Ashley

  • DIY
  • Oils
  • Recipes
  • Craft
  • Travel
  • Decor
  • Holiday
menu icon
go to homepage
  • DIY
  • Oils
  • Recipes
  • Craft
  • Travel
  • Decor
  • Holiday
search icon
Homepage link
  • DIY
  • Oils
  • Recipes
  • Craft
  • Travel
  • Decor
  • Holiday
×

Striped Pen Holder - decoart

Published: Aug 2, 2016 · Modified: Oct 27, 2016 by Ashley Phipps · 409 words. · About 3 minutes to read this article. · 5 Comments · This post may contain affiliate links · This blog generates income via ads and sponsored posts · This blog uses cookies · See our privacy policy for more info Filed Under: Craft

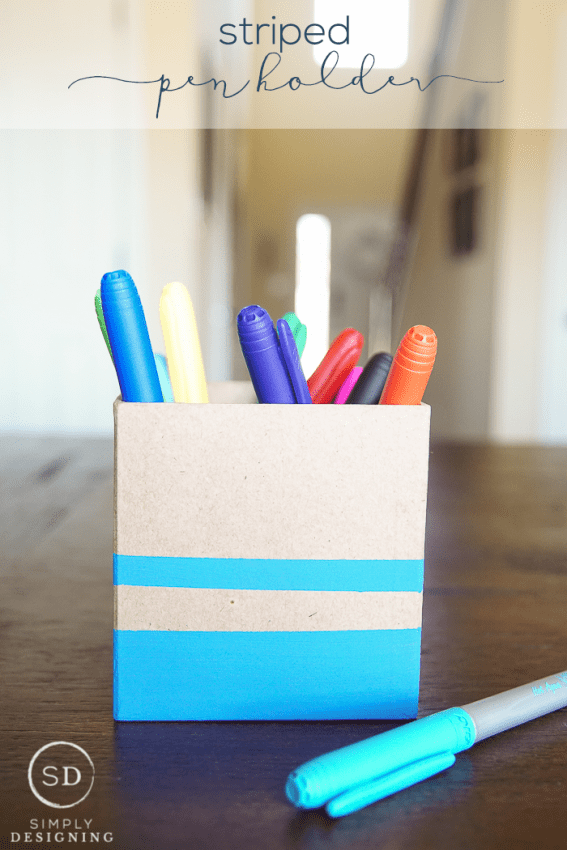
Today I am sharing a really fun and simple way to make your office space a little more fun and customized!  This is also perfect for Back to School!  And a great way to get organized this time of year.  I am sharing how to make your own striped pen holder.  This is such a fun and simple project and a great way to add a useful office organizational items plus a fun splash of color to your office or craft space!  Come see how easy it is to make this cute, and totally customizable striped pen holder!

Striped Pen Holder

I love that this is a fun way to add a pop of color to an office space.  I used blue paint, but you can use any color you like to make this fit your style and match your office space!  You can even use more than one color if you like!  It's completely up to you and there are so many options and ways to make this project completely your own!


Striped Pen Holder

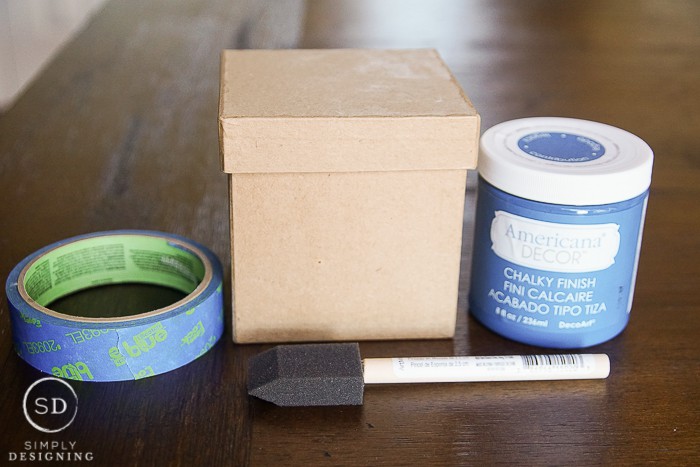
To create this striped pen holder, you will need:

  • 1 cardboard box from craft store, lid removed
  • 1 foam paint brush
  • painters tape
  • Americana Decor Chalky Finish Paint in Legacy

Striped Pen Holder supplies

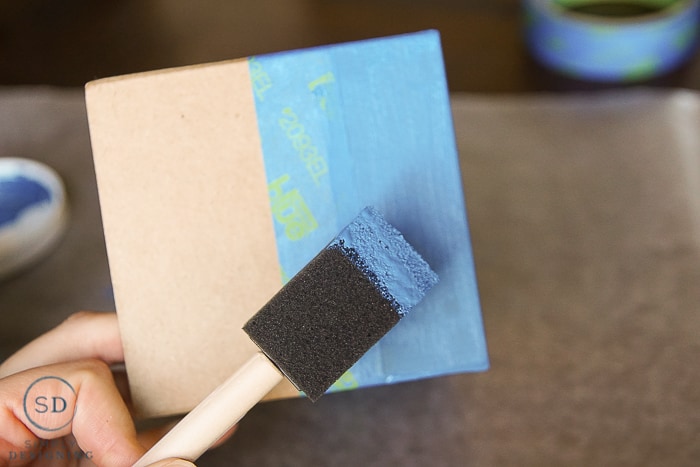
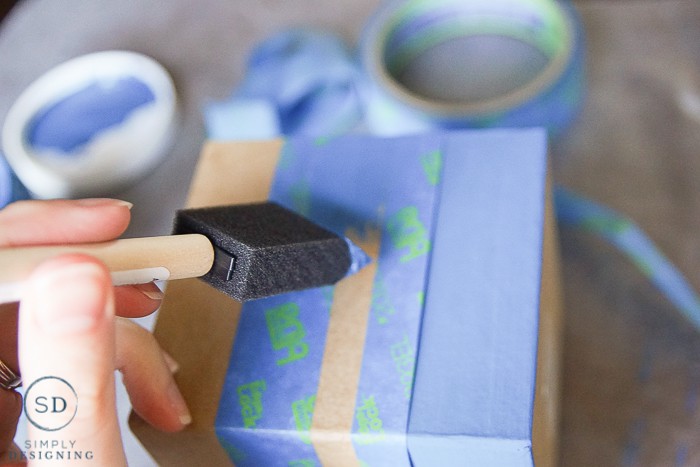
I began by taping a portion of the bottom of my box off and painting it with one coat of Americana Decor Chalky Finish paint in Legacy.  You can do two coats but I really don't think that you need it.

Once the paint has dried you will remove your painters tape.

Striped Pen Holder - paint it

If you'd like to do a second stripe, add painters tape to the top and bottom portion of where you want your second stripe to go.  Use your foam brush to paint a second stripe using the chalky finish paint.

Again you can do one or two coats of paint, one was enough for me though.

Let the paint dry completely and then remove the painters tape.

Striped Pen Holder - paint stripes

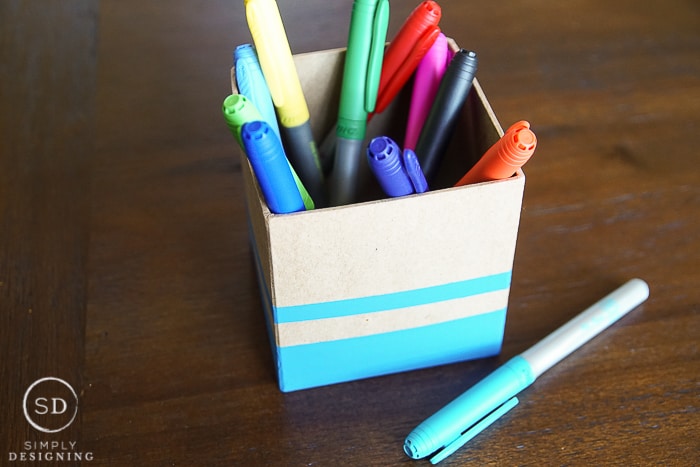
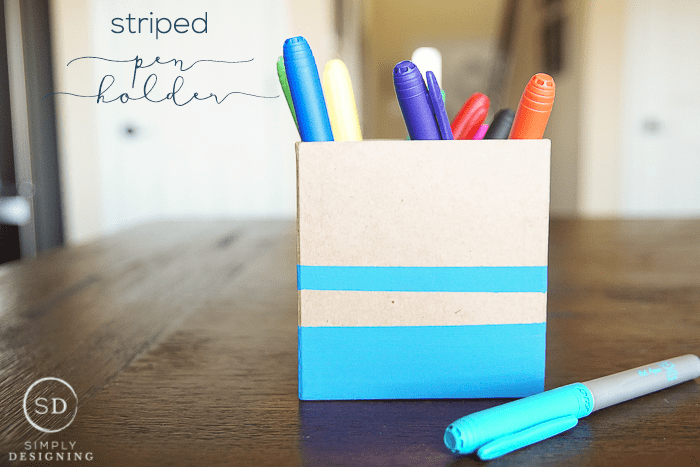
After the paint is dried and the painters tape is removed, your striped pen holder is ready to use!

I filled mine with permanent markers because I use them all the time and have a huge stash of them (this photo only shows a few of them).  But you can fill this with pencils, pens, markers, highlighter or anything else you use and want to keep handy in your office space!

Striped Pen Holder

What color would you paint your striped pen holder?

This post was originally shared on the DecoArt Blog.  

More Crafts

  • looking from the top down on a body scrub made with salt with greenery on the top of the photo and a wood lid to the right
    How to make a Salt Scrub
  • greenery hoop wreath with lavender and burlap bow
    Summer Hoop Wreath
  • DIY farmhouse christmas ornaments
    How to make Farmhouse Christmas Ornaments
  • Peppermint Sugar Scrub in a glass jar with red and white twine around the jar
    Peppermint Sugar Scrub

Reader Interactions

Comments

  1. Kristen @ Making Home

    August 03, 2016 at 7:14 am

    Cute and simple!!

    Reply
  2. Brenda

    August 04, 2016 at 12:10 am

    This is a cute idea! I would paint mine with light purple stripes.

    Reply
  3. Emily

    August 18, 2016 at 10:20 am

    Cute & easy! I'd probably choose a pink or orange. Thanks for linking up with Merry Monday!

    Reply
  4. Angela Boone

    August 18, 2016 at 6:05 pm

    This is really cute! Thanks for sharing at Work it Wednesday!!

    Reply
  5. BonBon

    August 20, 2016 at 7:15 pm

    Thanks for sharing at Inspire Me Monday Link party. This is so cute and looks easy. Win win. Hope to see you at this week's link up. Enjoy your day!

    Reply

Leave a Reply Cancel reply

Your email address will not be published. Required fields are marked *

Primary Sidebar

Hello Friends!

Ashley Phipps Simply Designing I'm Ashley Phipps and I love sharing SIMPLE DIY, home, travel, food, craft and essential oil ideas with you! Learn more about me here. Contact me here. Find Media/PR info here. Privacy is important to us. Please read my Privacy Policy.
  • Email
  • Facebook
  • Instagram
  • Pinterest
  • Twitter
  • YouTube

Join our mailing list

Get our latest updates & exclusive content!

Privacy Policy, Disclaimer & Terms of Use

Favorite Posts

St. Patrick's Day Printables

minimalist living room with white and grey background

Easy Minimalist Living for a clutter-free home and mind


COPYRIGHT: You’re welcome to link to Simply Designing or use a single image with a brief description to link back to any post. Republishing posts in their entirety is strictly prohibited.  Any use for commercial purposes is strictly prohibited. Feel free to pin on Pinterest. Find out more in my Privacy Policy.  Simply Designing with Ashley Phipps LLC is a participant in the Amazon Services LLC Associates Program, an affiliate advertising program designed to provide a means for sites to earn advertising fees by advertising and linking to Amazon.com . Simply Designing with Ashley Phipps LLC and it’s owner, employees and affiliates are not liable in any way for injury or loss (whether physical, emotional, monetary or any other kind of loss) resulting from any inspiration, ideas, directions or information gained from this website. We advise you to always follow manufacturer instructions, take appropriate safety precautions and hire a professional when in doubt. We love it when you use our site for inspiration, but by using it, you agree that you do so at your own risk.

Privacy Policy 

Copyright © 2025